
How To Use RebelGive With My Launcher?
If you already have RebelGive's trigger installed on your website, you might run into an issue where the Nucleus Next Steps Launcher trigger loads underneath or overtop the RebelGive trigger.
Don't worry! There's a solution to your troubles. In fact, there are TWO solutions!
Note:
- This guide will focus specifically on how to manage your RebelGive trigger, not how to initially install your Launcher code to your website. To view instructions on how to initially install your Launcher on your website, click here.
Solution 1: Move your trigger to the other side
The simplest solution is to simply move your GivingFlow trigger to the left side of your website. This means you'll have two triggers that load on your site: your RebelGive trigger on the left side, your Nucleus Launcher on the right side.
1. Login to your RebelGive account here.
2. Visit your Installation tab in your GivingFlow panel.
3. Scroll down and select Left under the Customize Your Give Button section.
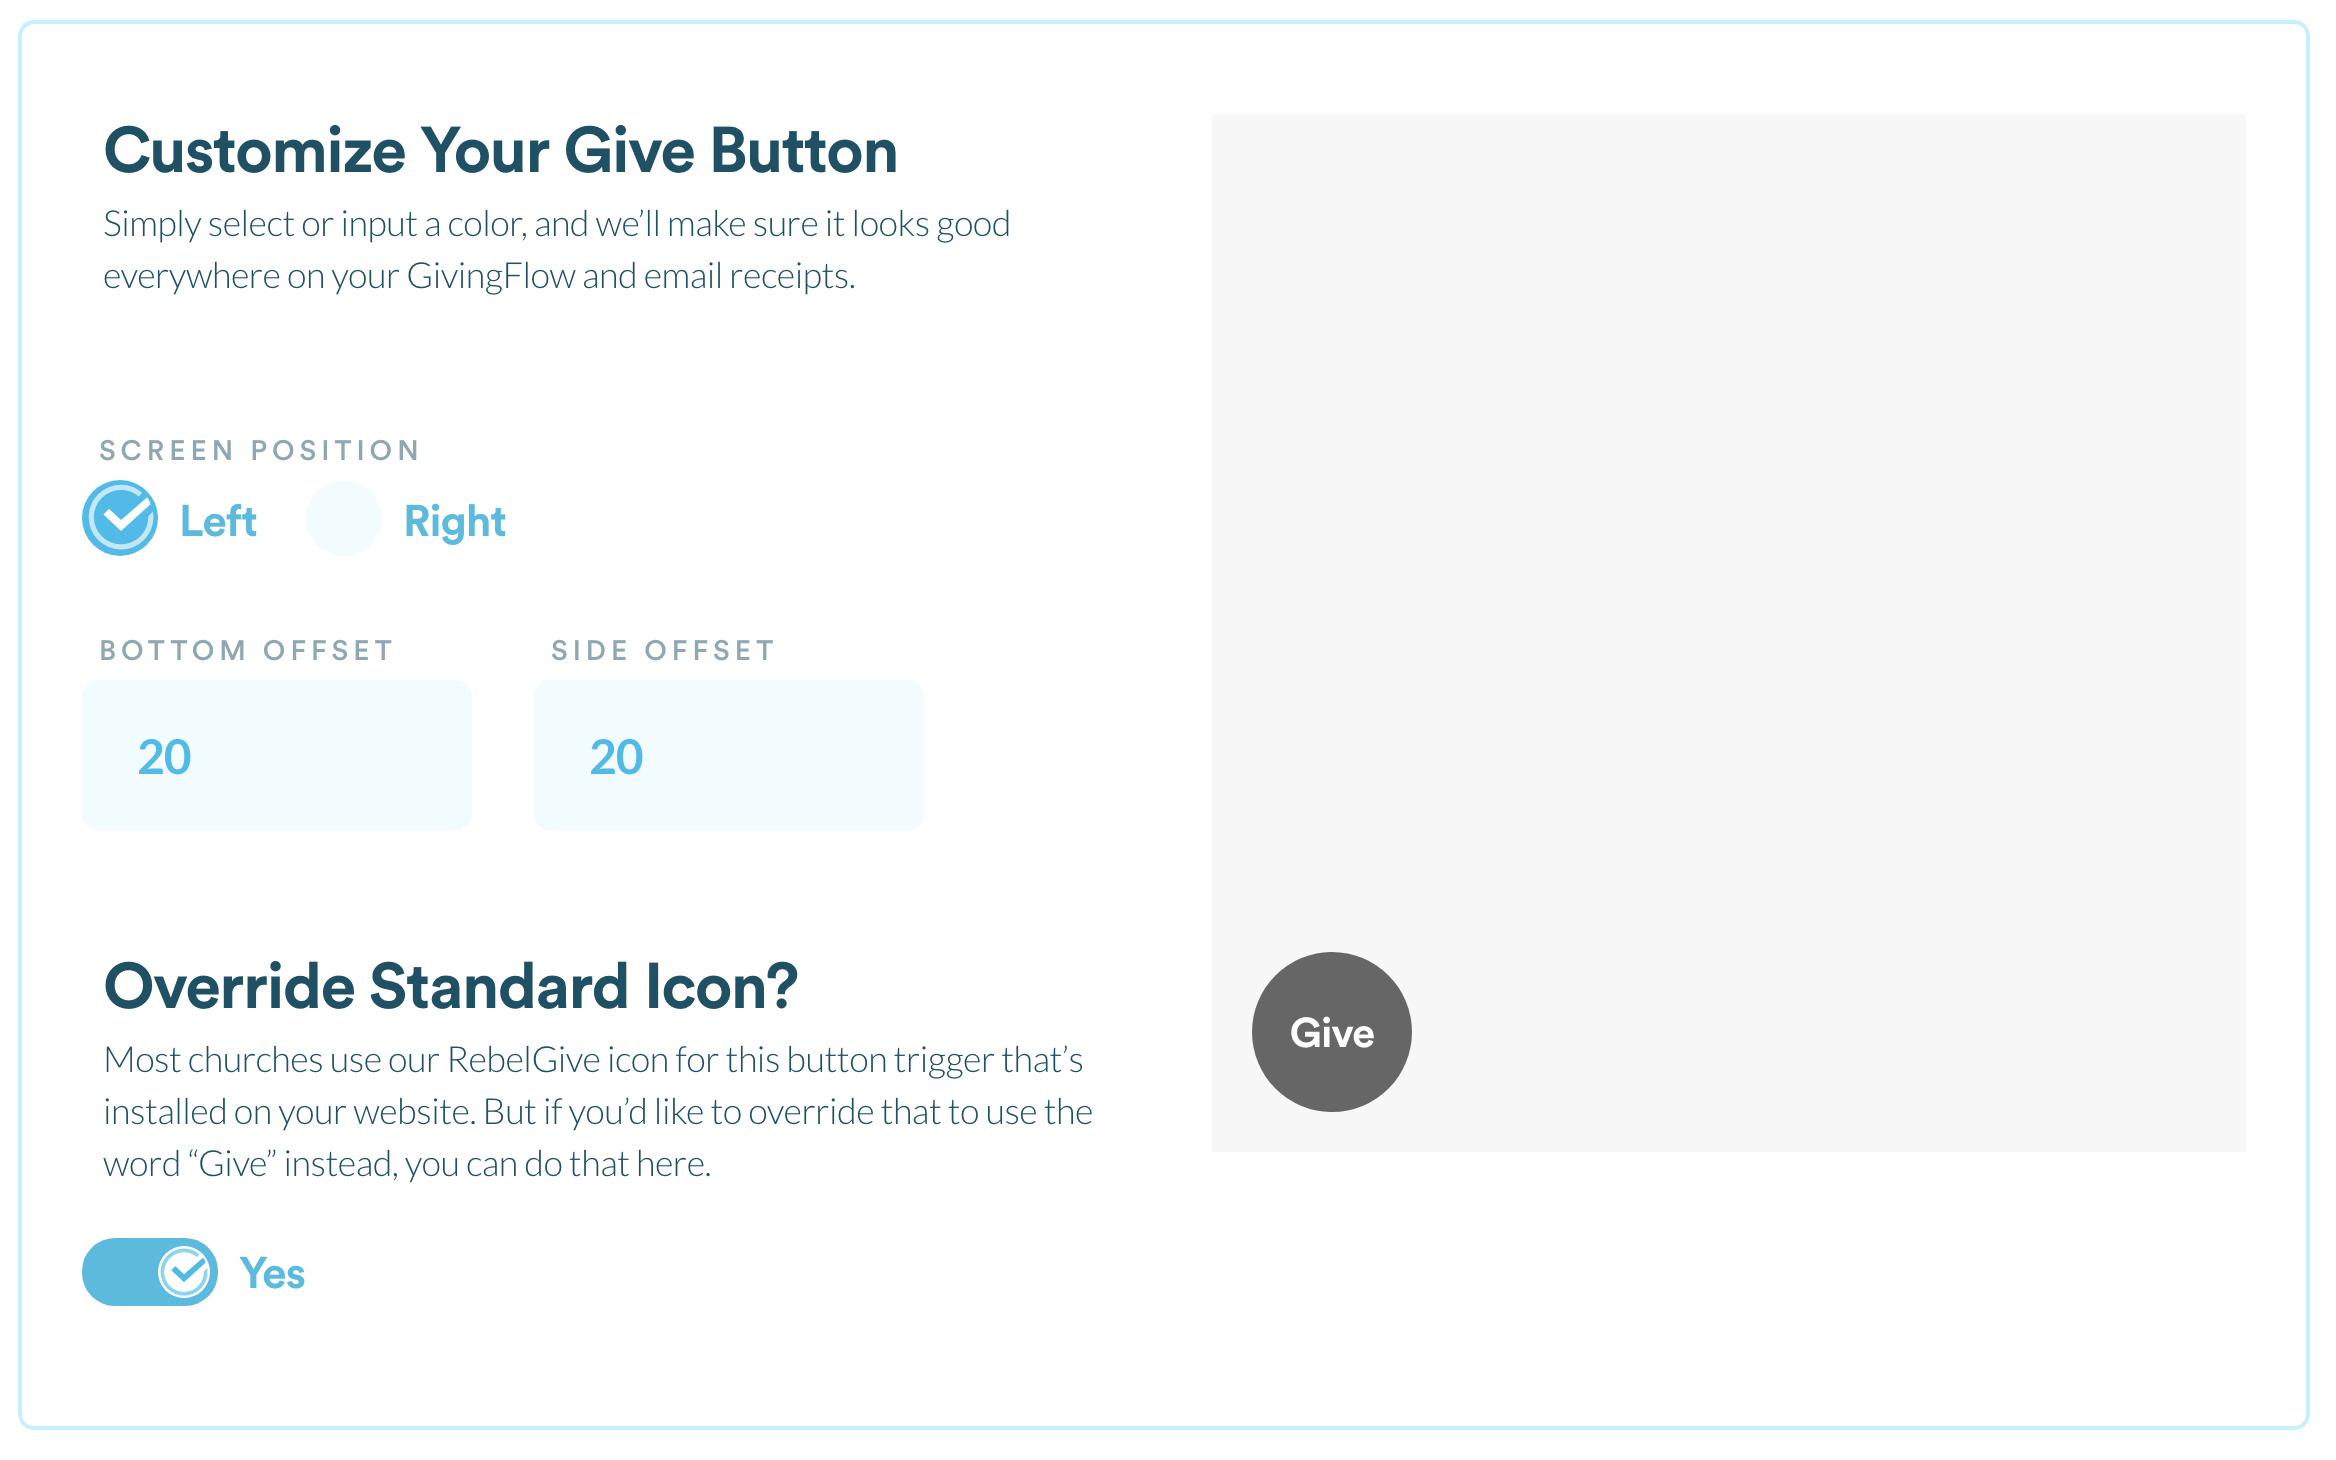
4. Save those changes and visit your church's website. You should now see both triggers load on opposite sides of the screen.
Step 3: Hide your GivingFlow trigger
If you prefer to only have the Nucleus Launcher trigger appear on your site but still want RebelGive installed on your site, follow these steps to hide your GivingFlow trigger.
Nucleus websites
1. In your Nucleus 1 Dashboard, hover over Giving and click on Page Controls.
2. Click on Specific Pages. If you want your GivingFlow trigger hidden from all pages, make sure there are no pages selected here.
3. Next, go to your Nucleus 2 Dashboard and go to your Launcher.
4. Add a new item and label it Give or however you'd like to title this action.
5. Click the Setup button.
6. Select to use a URL instead of a Flow. Then enter the following in the URL field that appears:
#givingflow
7. Save those changes and visit your church's website. Test the new action you just created to make sure your GivingFlow loads when you click your Give action.
Non-Nucleus websites
1. In your website's settings, go to where you've added your GivingFlow installation code. If you've linked your Nucleus and RebelGive accounts together, you can find this under Settings and clicking on RebelGive. (Or click here.)
2. In the GivingFlow installation code, find the third line where your flow_id is.
3. At the end of that line, hit the return/enter key and paste the following in the new line:
trigger: { visible: false },
4. At the end, it should look like the following:
 5. Save those changes.
6. Next, go to your Nucleus 2 Dashboard and go to your Launcher.
7. Add a new item and label it Give or however you'd like to title this action.
8. Click the Setup button.
9. Select to use a URL instead of a Flow. Then enter the following in the URL field that appears:
#givingflow
10. Save those changes and visit your church's website. Test the new action you just created to make sure your GivingFlow loads when you click your Give action.
Note:
- To see an example of this, visit https://lifeabundant.ca