Manage Your Media Presets
Across your website, there are several different places where media - images and videos - can be used to enhance and complement the information you wish to convey.
While you can display your images and videos without any treatment, depending on the placement of them, it can be beneficial to add and adjust a layer on top of your media. (For instance, showcasing an image in the background with a bunch of text over top, adding a fade to the image can help ensure the text is legible and easily scannable.)
To begin, go to Web. Then select Design in the main menu, and then choose Media in the left sidebar. Click here for direct access.
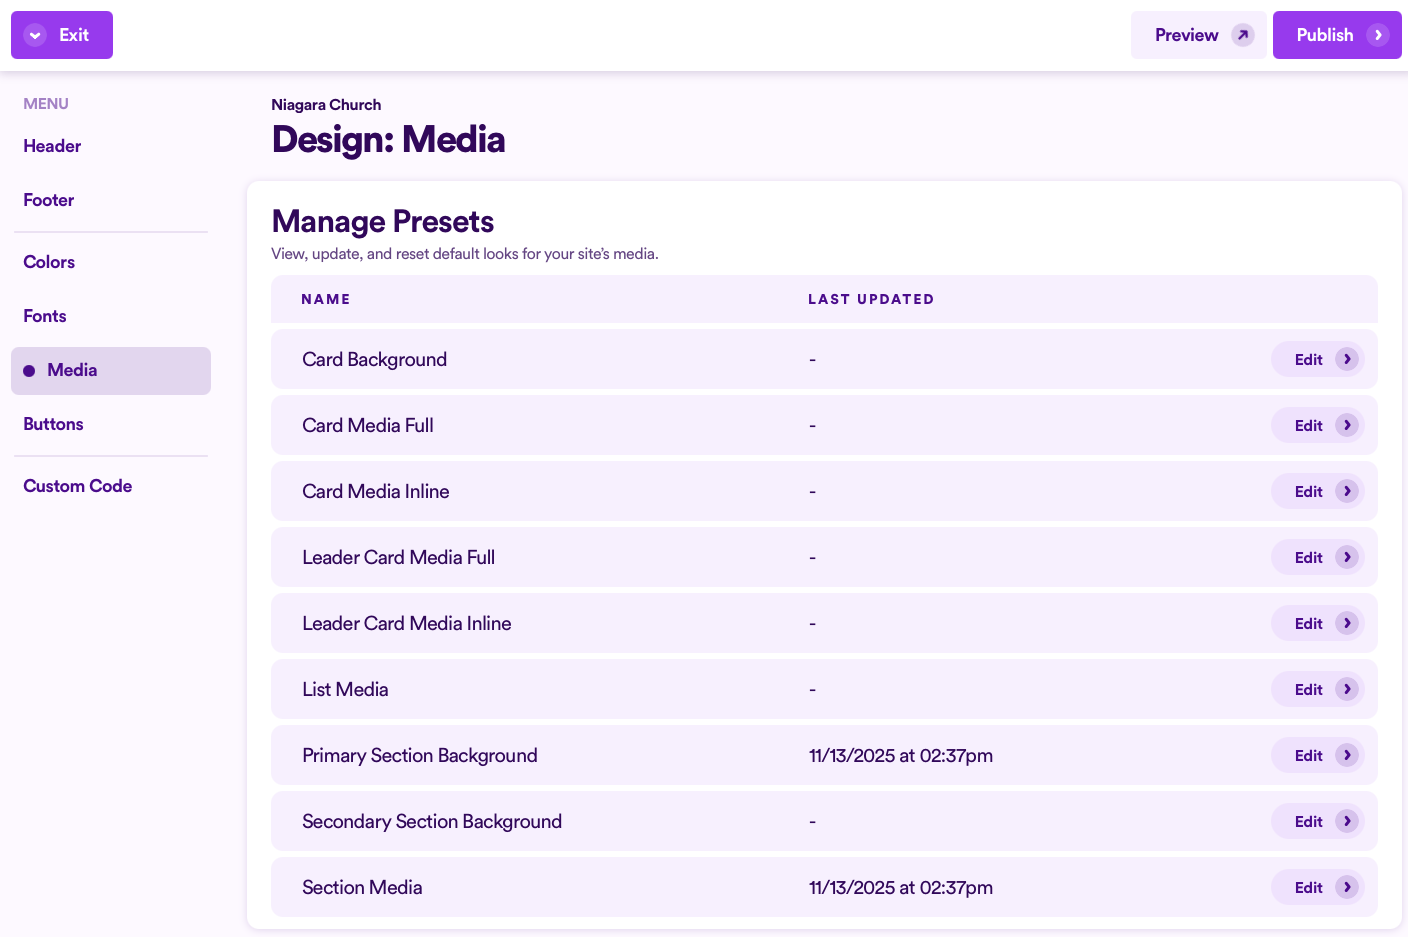
Note: When you first arrive here, you will not see any information under the Last Updated column.
In this guide, we'll cover the following topics. Click on anyone to jump ahead.
- Default Treatment Color
- All The Places Media Can Exist
- Adding Or Changing Your Preview Photo & Video
- Customize Your Media Presets
- Resetting Your Media Presets
Default Treatment Color
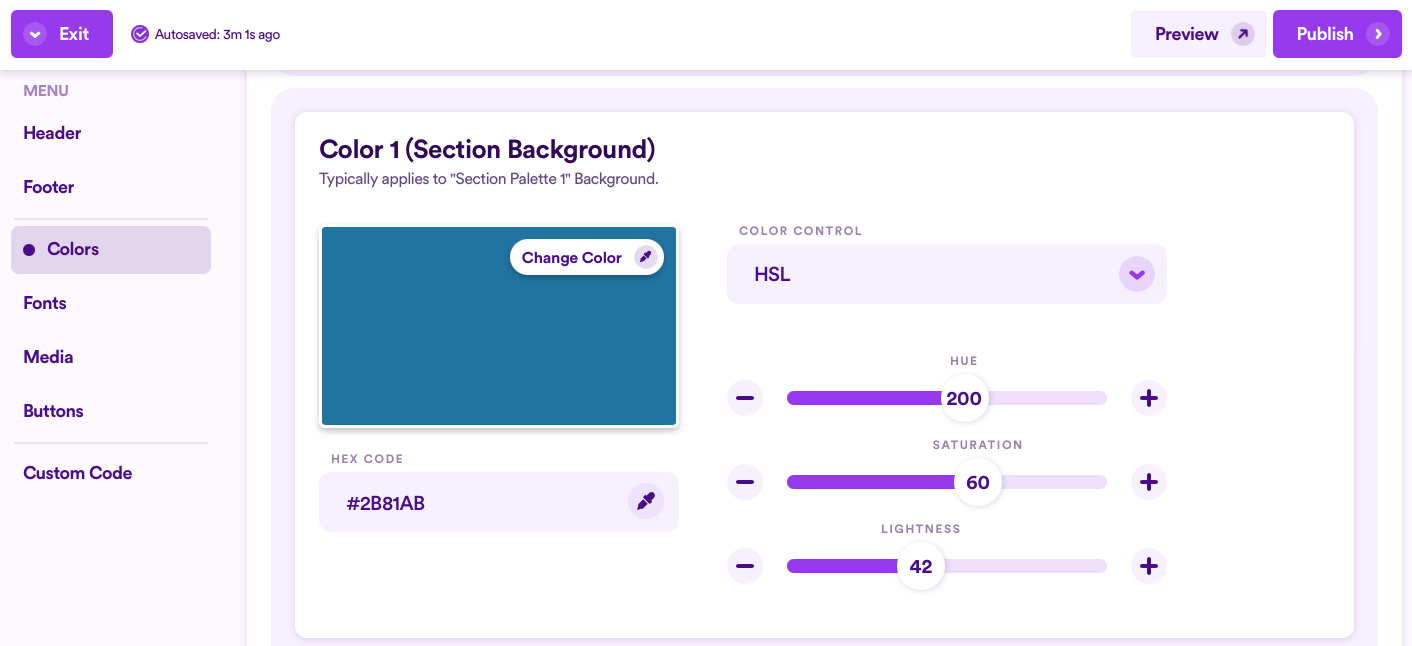
Before learning how to customize your media presets, you'll want to first understand where Nucleus pulls the default color for any of your media treatments: from your overall color palette in your Web Design Settings here.
Specifically, whatever is listed as your Color 1 (Section Background), Nucleus will use that color as the default color for any of your media treatments (think: color overlays on top of your images and videos).
We highly recommend firming up your overall Web Color Palette first before customizing your media presets.
To learn more about how to do that, view our guide on how to Modify Your Website's Colors.
All The Places Media Can Exist
There are several places where media can be used throughout your Nucleus website:
- Cards (Images displayed only in a cards section, not to be confused with images added to Info Cards).
- Card Background (Only displayed when Inline Media is selected)
- Card Media (Full)
- Card Media (Inline)


- Leaders (Images displayed only in a leaders section)
- Leaders Card Media (Full)
- Leaders Card Media (Inline)


- Lists (Images displayed only in a list section where you've selected to display photos)

- Section Backgrounds (Displayed behind an entire section, any type of section, as still images or videos)
- Primary Section Background
- Secondary Section Background (Only displayed when a section is inset)


- Certain Section Layouts (Displayed as complementary images to the information you're displaying in a section, depending on the layout you choose for your section)

Adding Or Changing Your Preview Photo & Video
When adjusting any of your media presets, it's always best to preview your changes before saving your changes (or fully publishing your changes).
To do this, you'll want to add an image and/or add a url to display a video from YouTube or Vimeo to your Preview Media.
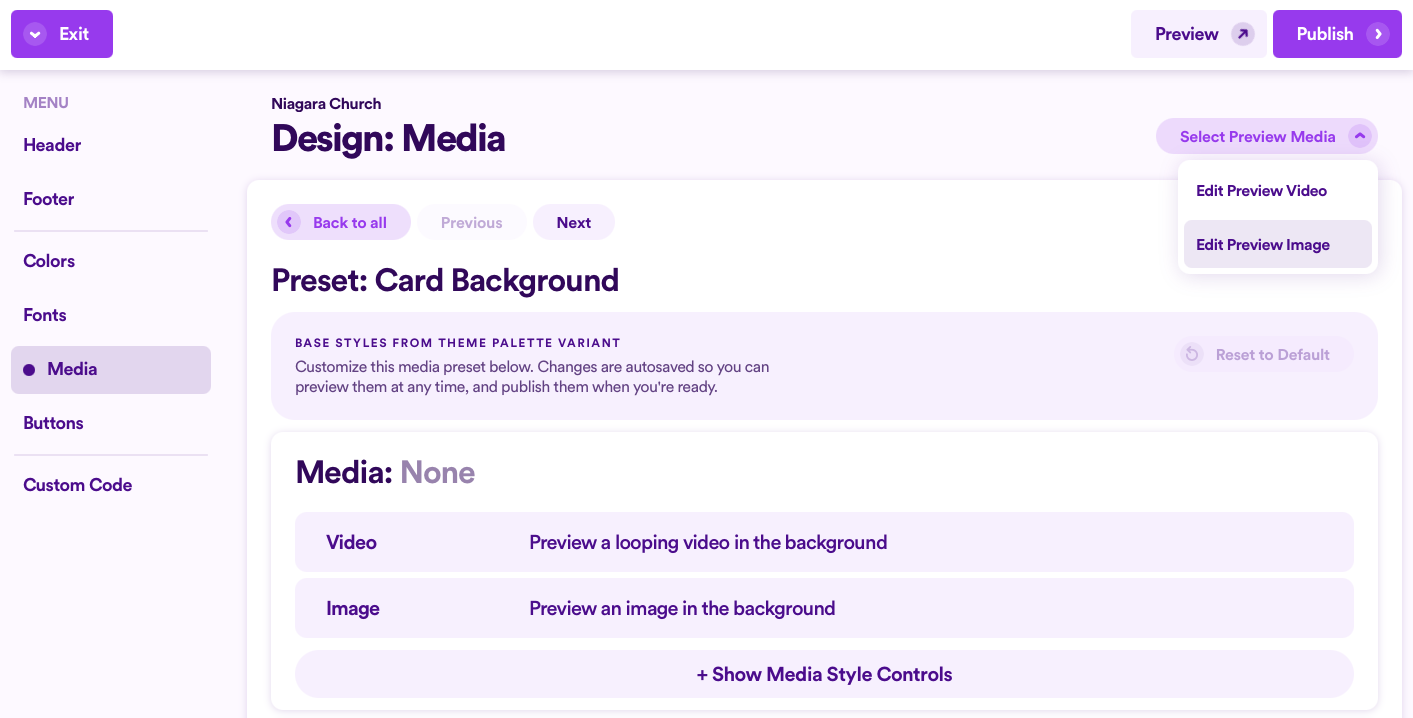
Click on any one of the media options, or click Edit on any one of the items.
Note: It doesn't matter which one you choose because whatever you add as your preview media will transcend across all your various media options here.

Then, click Select Preview Media and choose to edit the preview video or image.
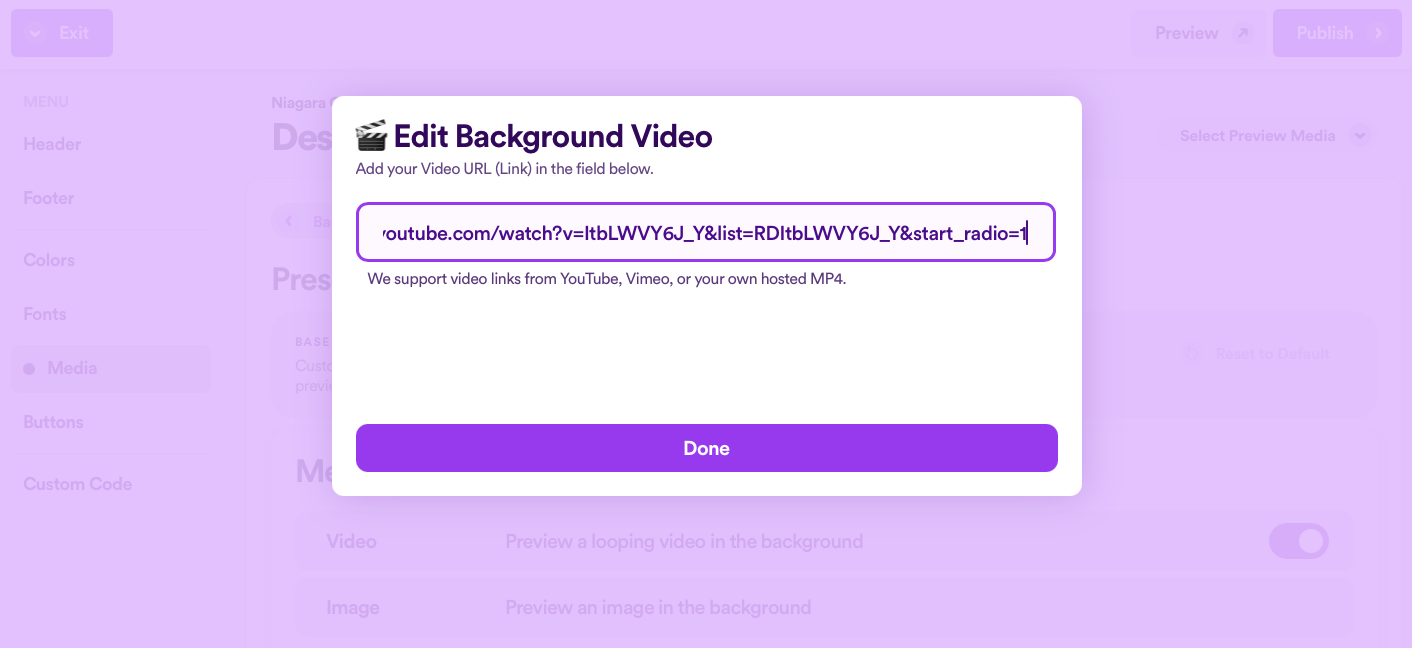
For the preview video, paste a url from YouTube or Vimeo and click Done.
For the preview image, click + Add Image to open your device's file browser and select a photo. (Or you can drag and drop an image from your device into the respective image slot.) Then select Done.

Note: Typically, we always recommend that you adjust and set the photo's focal point, but for the preview image, it doesn't really matter.
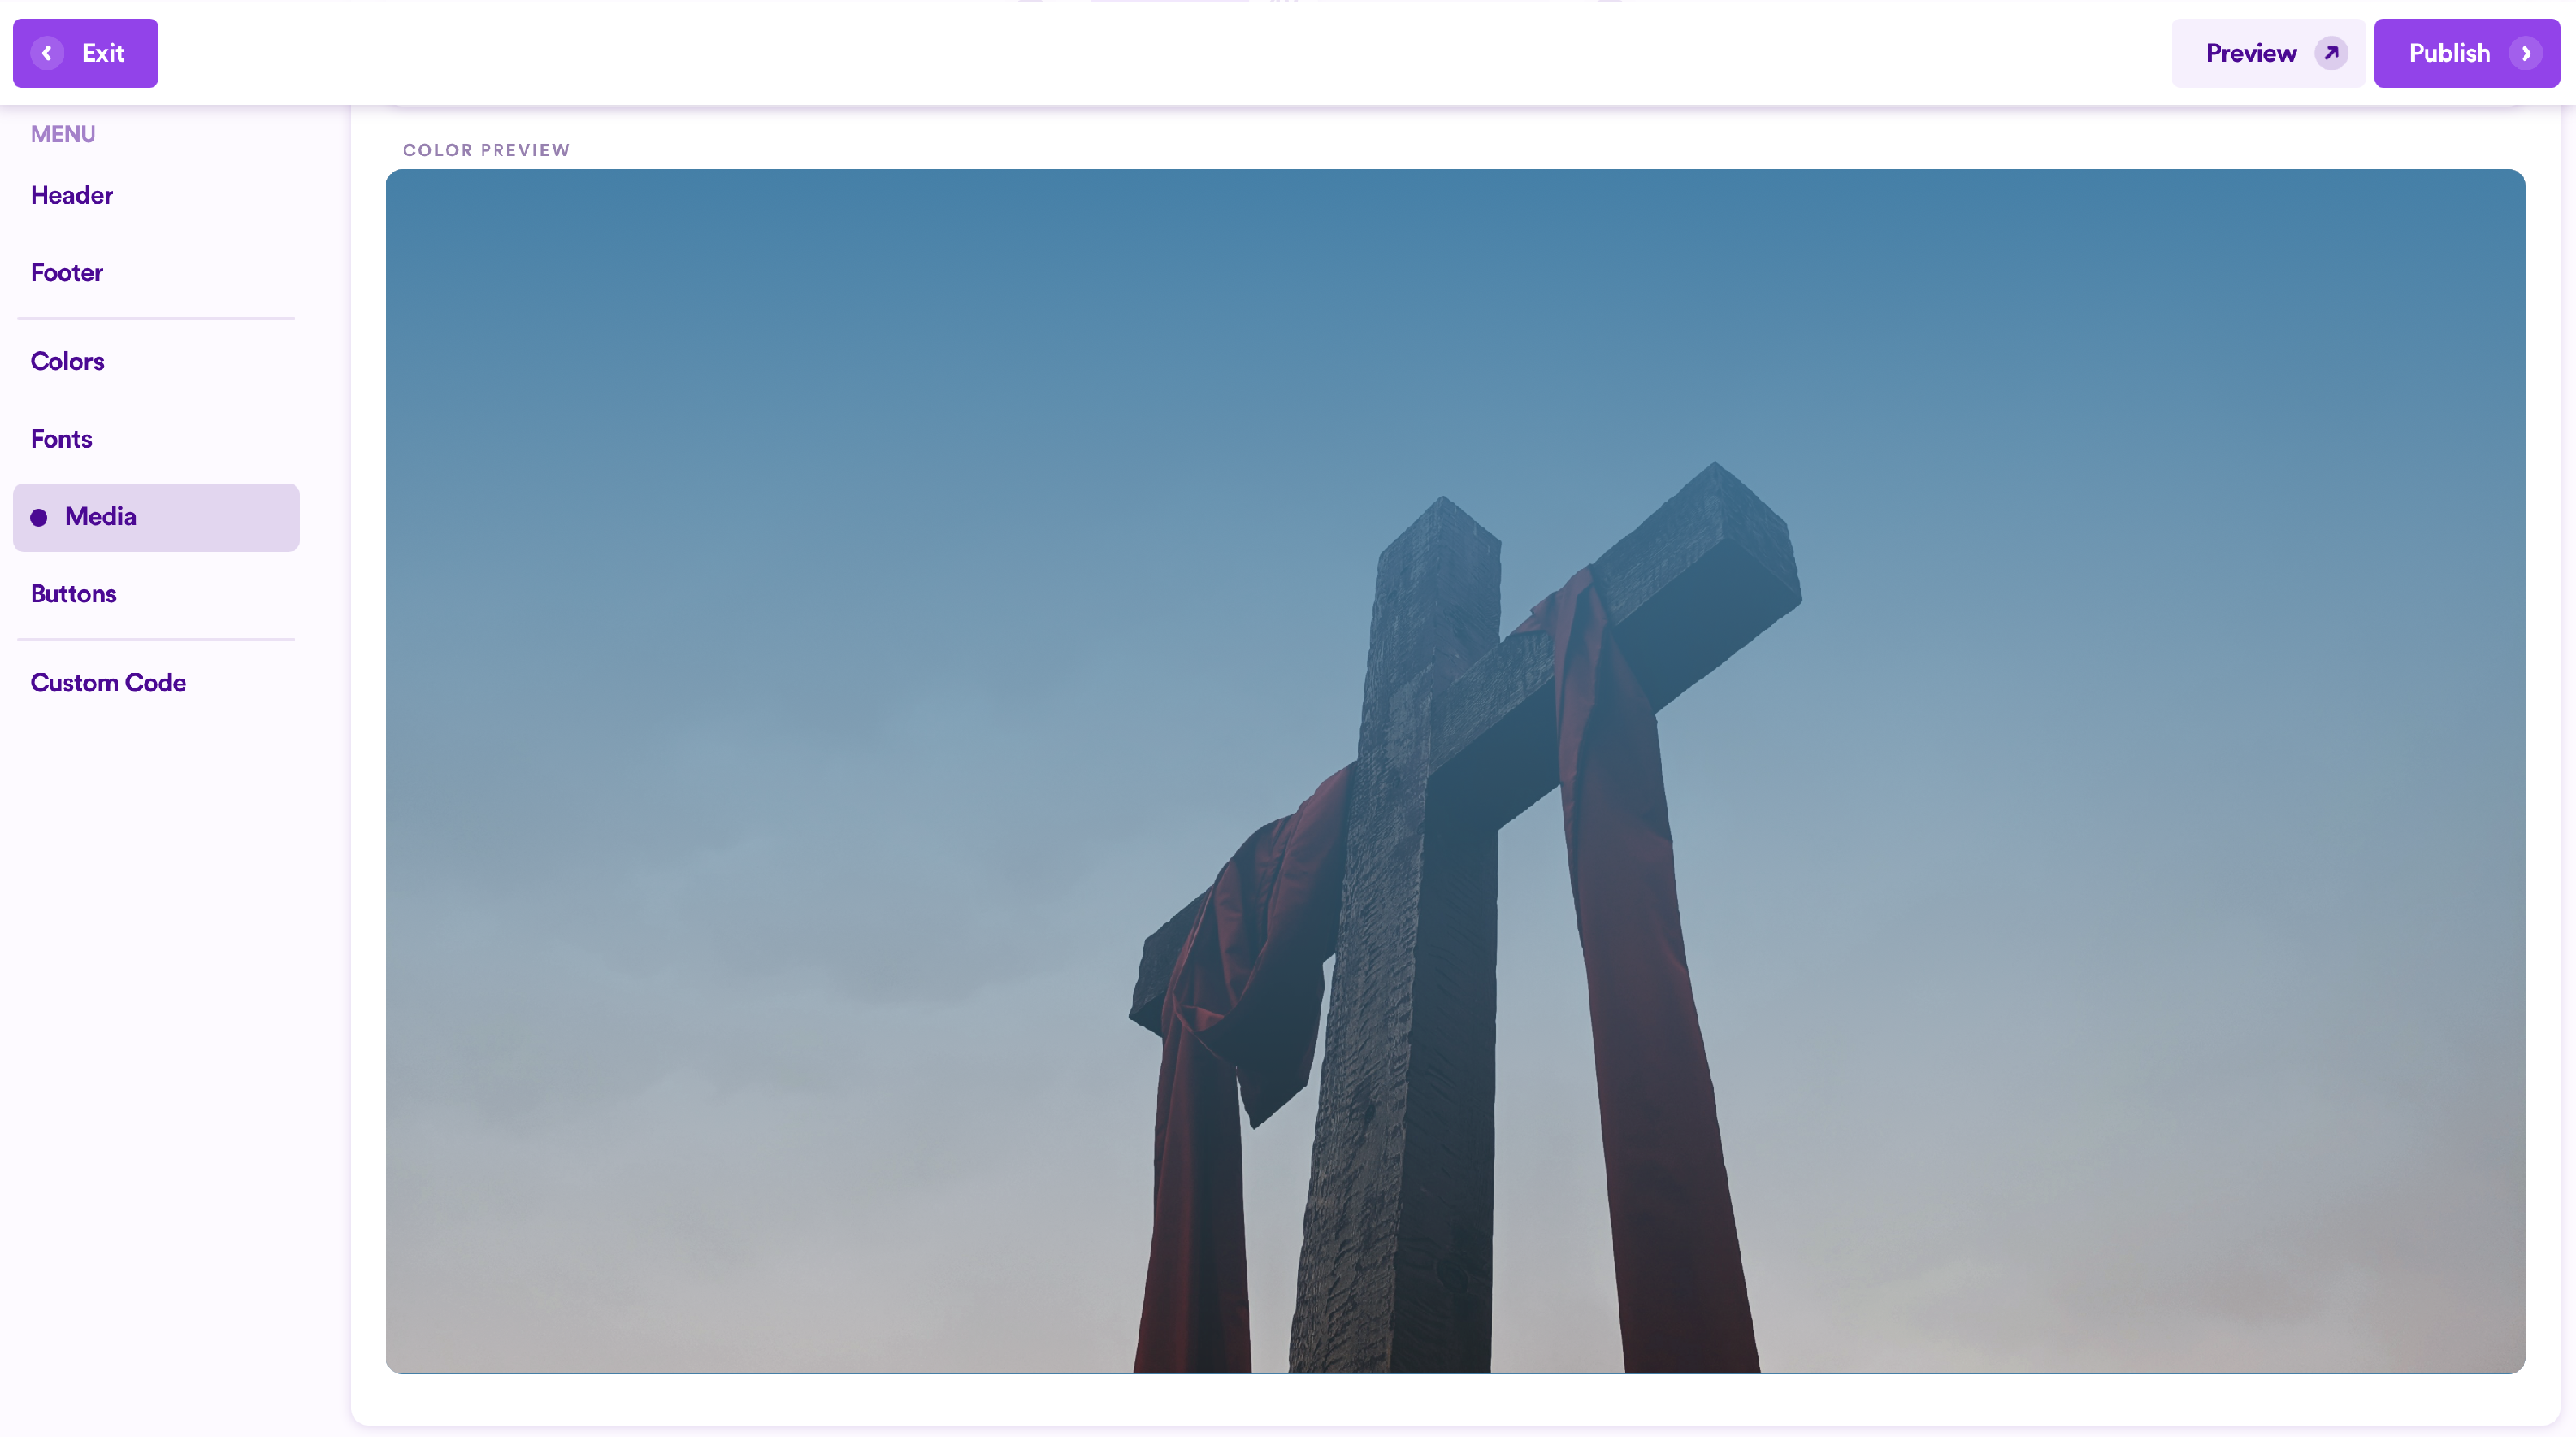
Now, if you scroll all the way to the bottom, you'll be able to preview your media, based on the media styles and treatments added. (We'll discuss how to adjust those in the next section of this guide below.)
Nucleus will always favor a video in the preview when you have both the preview image and video toggled on. If you want to see what your preview image will look like, simply toggle the preview video off.
Customize Your Media Presets
Now that you have preview content added, you can begin adjusting each type of media's presets!
To begin, go to Web. Then select Design in the main menu, and then choose Media in the left sidebar. Click here for direct access.
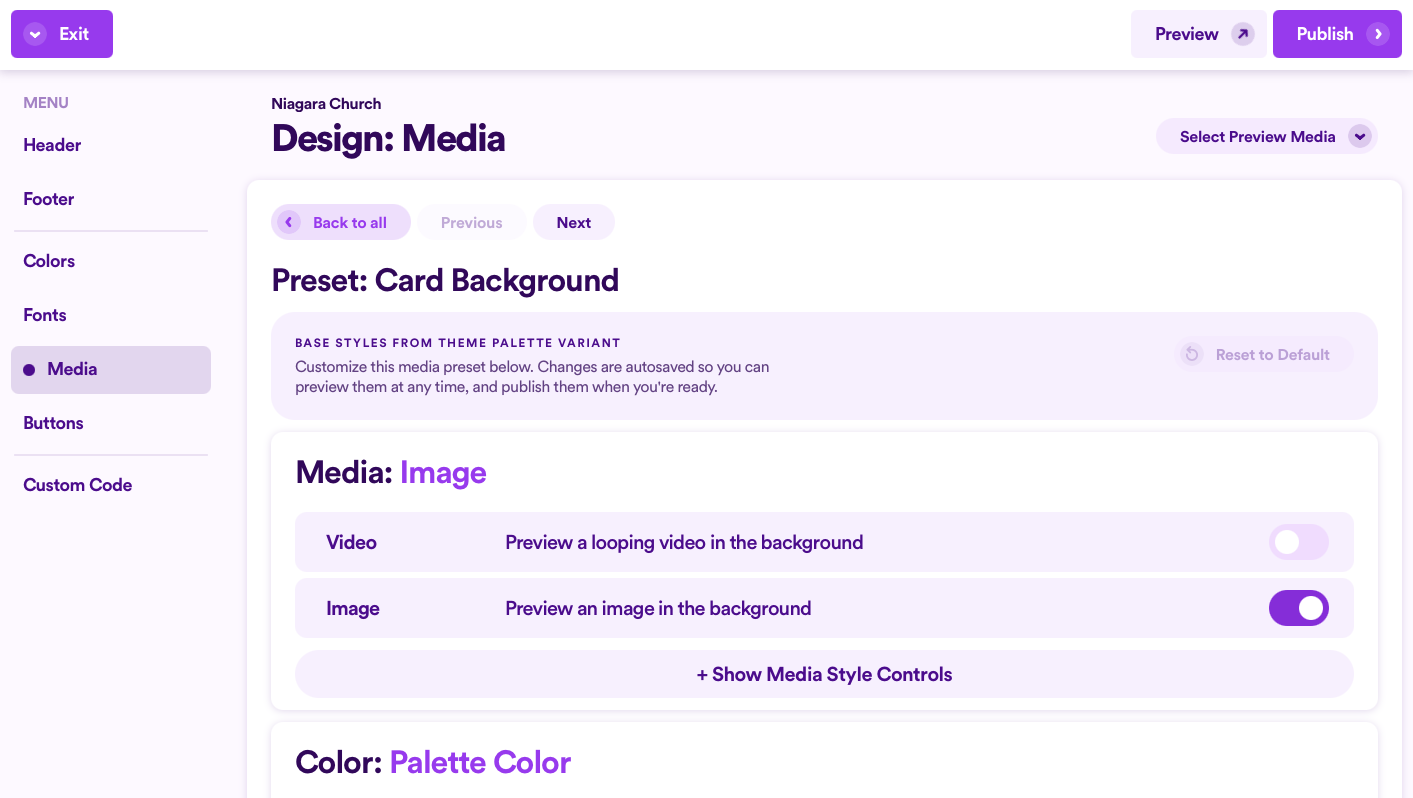
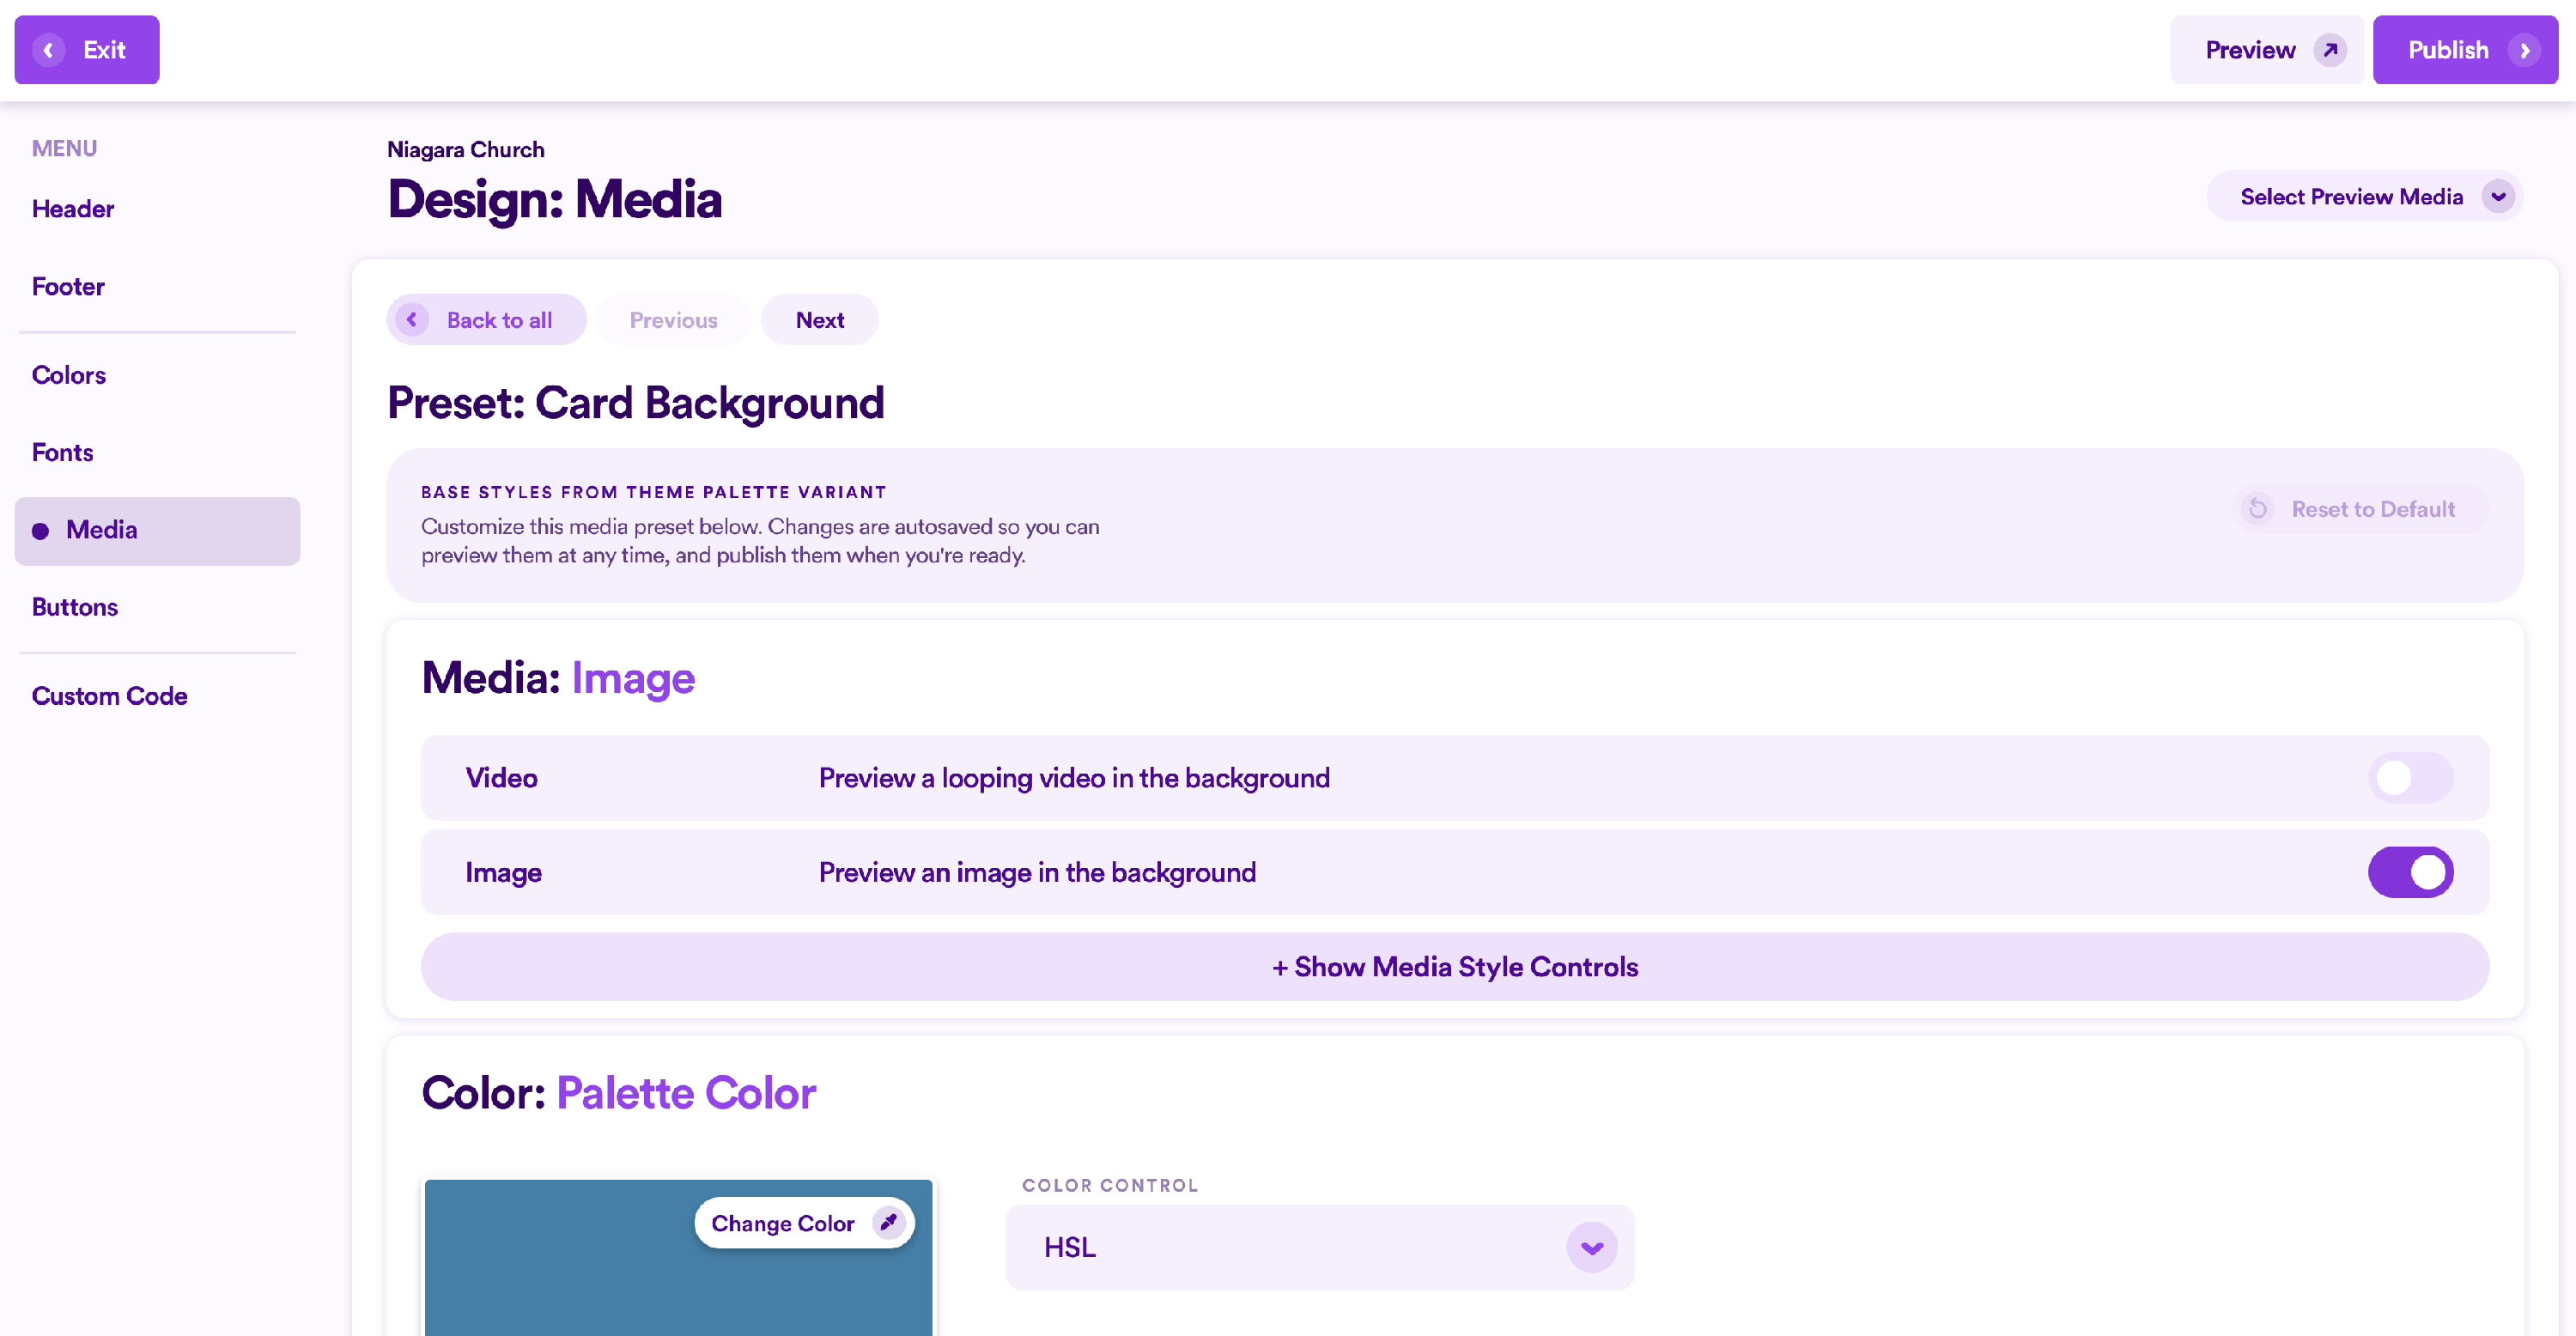
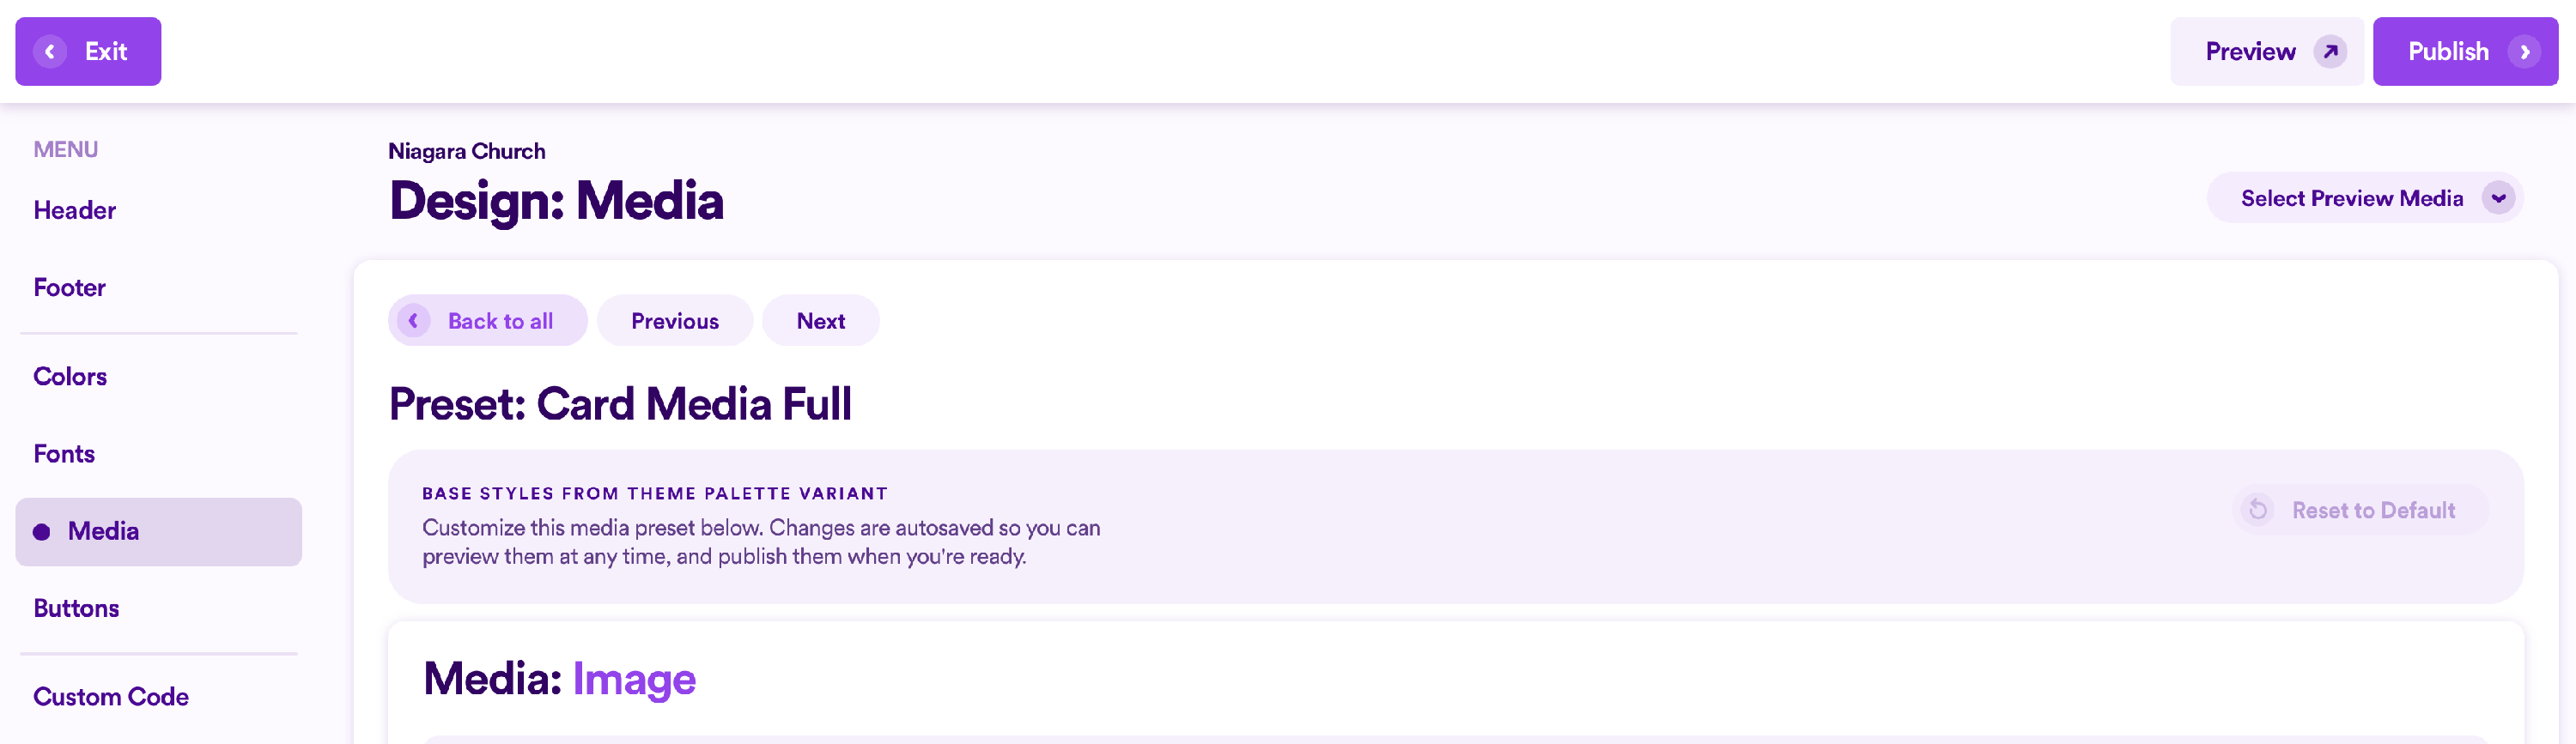
From there, click to edit on any type of media to begin editing that preset.
Note: If you haven't yet added preview media yet, you'll want to make sure you do this before adjusting your presets. Click here to go back to the previous section in this guide.
While editing a media preset, click + Show Media Style Controls.
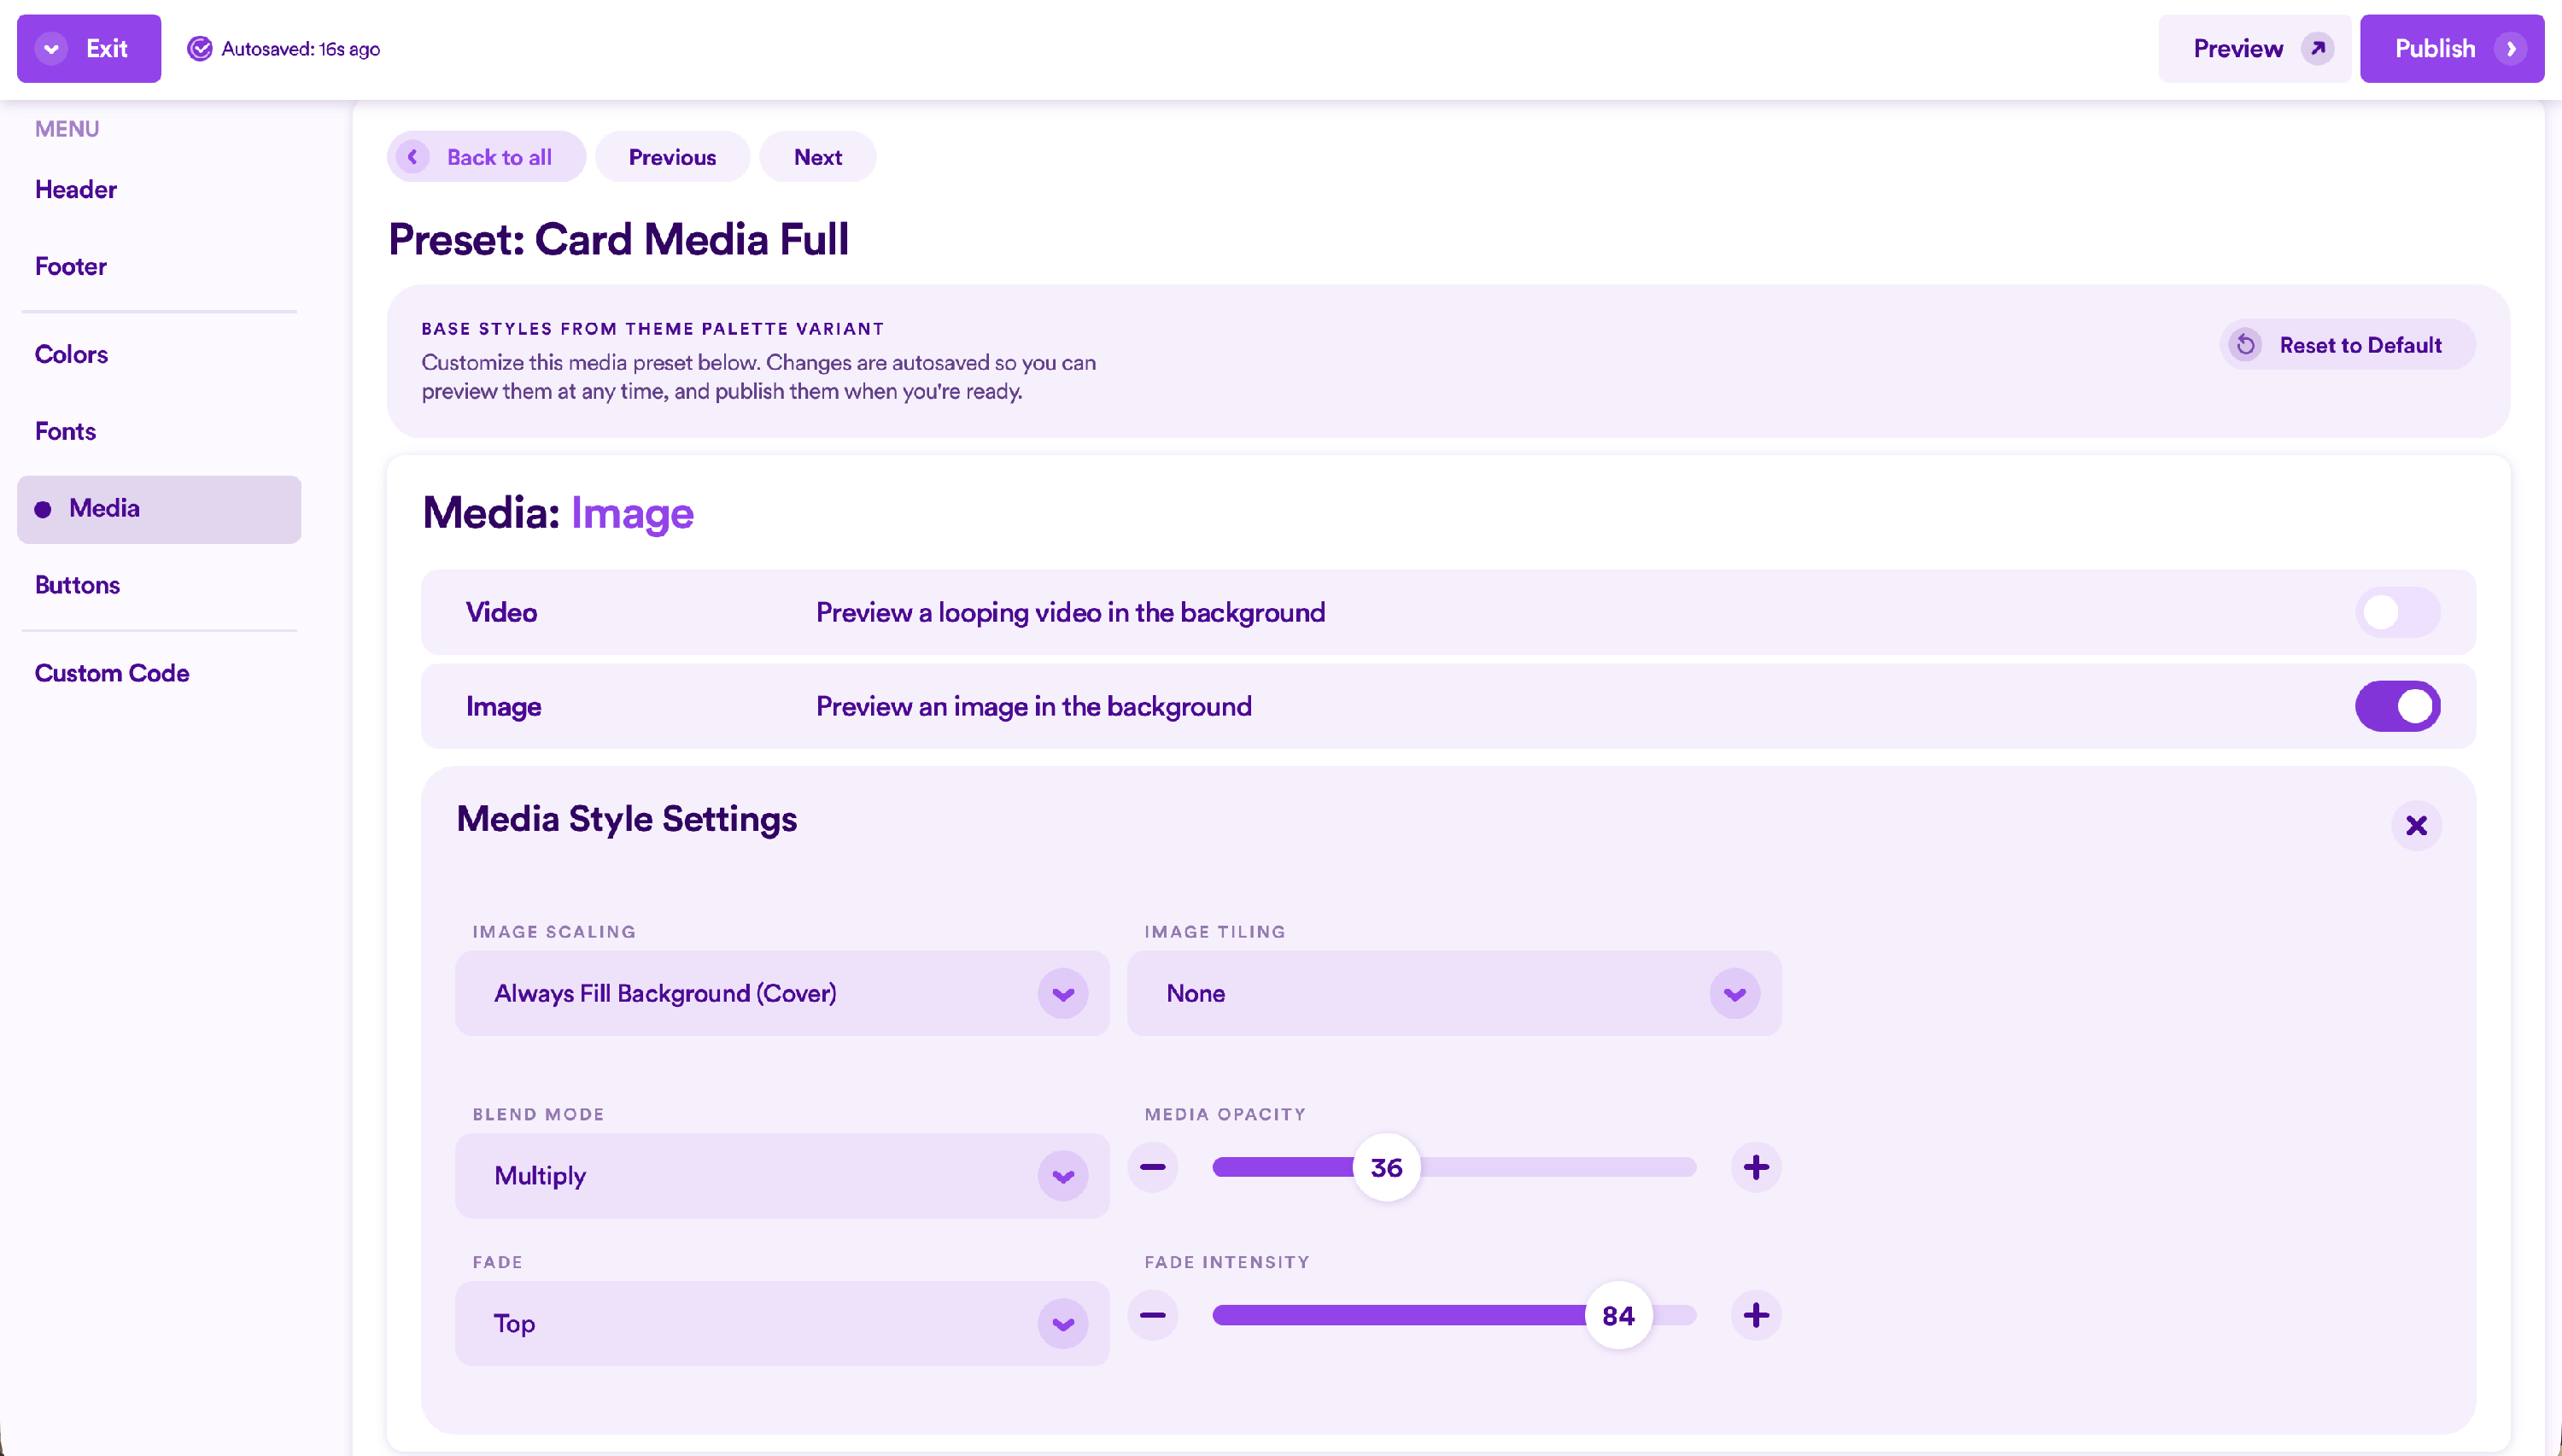
Here you can change the scaling and tiling settings of your images, as well as the blend mode and fade that the color (chosen below) will display. You can also choose how clear or opaque the image appears.

Each type of media will already have a particular set of presets added. For instance, the example above is the default setting for a Card Media (Full) and does not have a blend mode applied. But for other types of media, the default setting might have that option selected. Whatever default settings you see when you first open up these options are the default settings that typically work best for most websites, but you're the captain of your own website! You get to decide what you think looks great (for better or for worse 😁)
Overall, you can change the scaling and tiling settings of your images, as well as the blend mode and fade that the color (shown below these options) will display. You can also choose how clear or opaque the image appears.
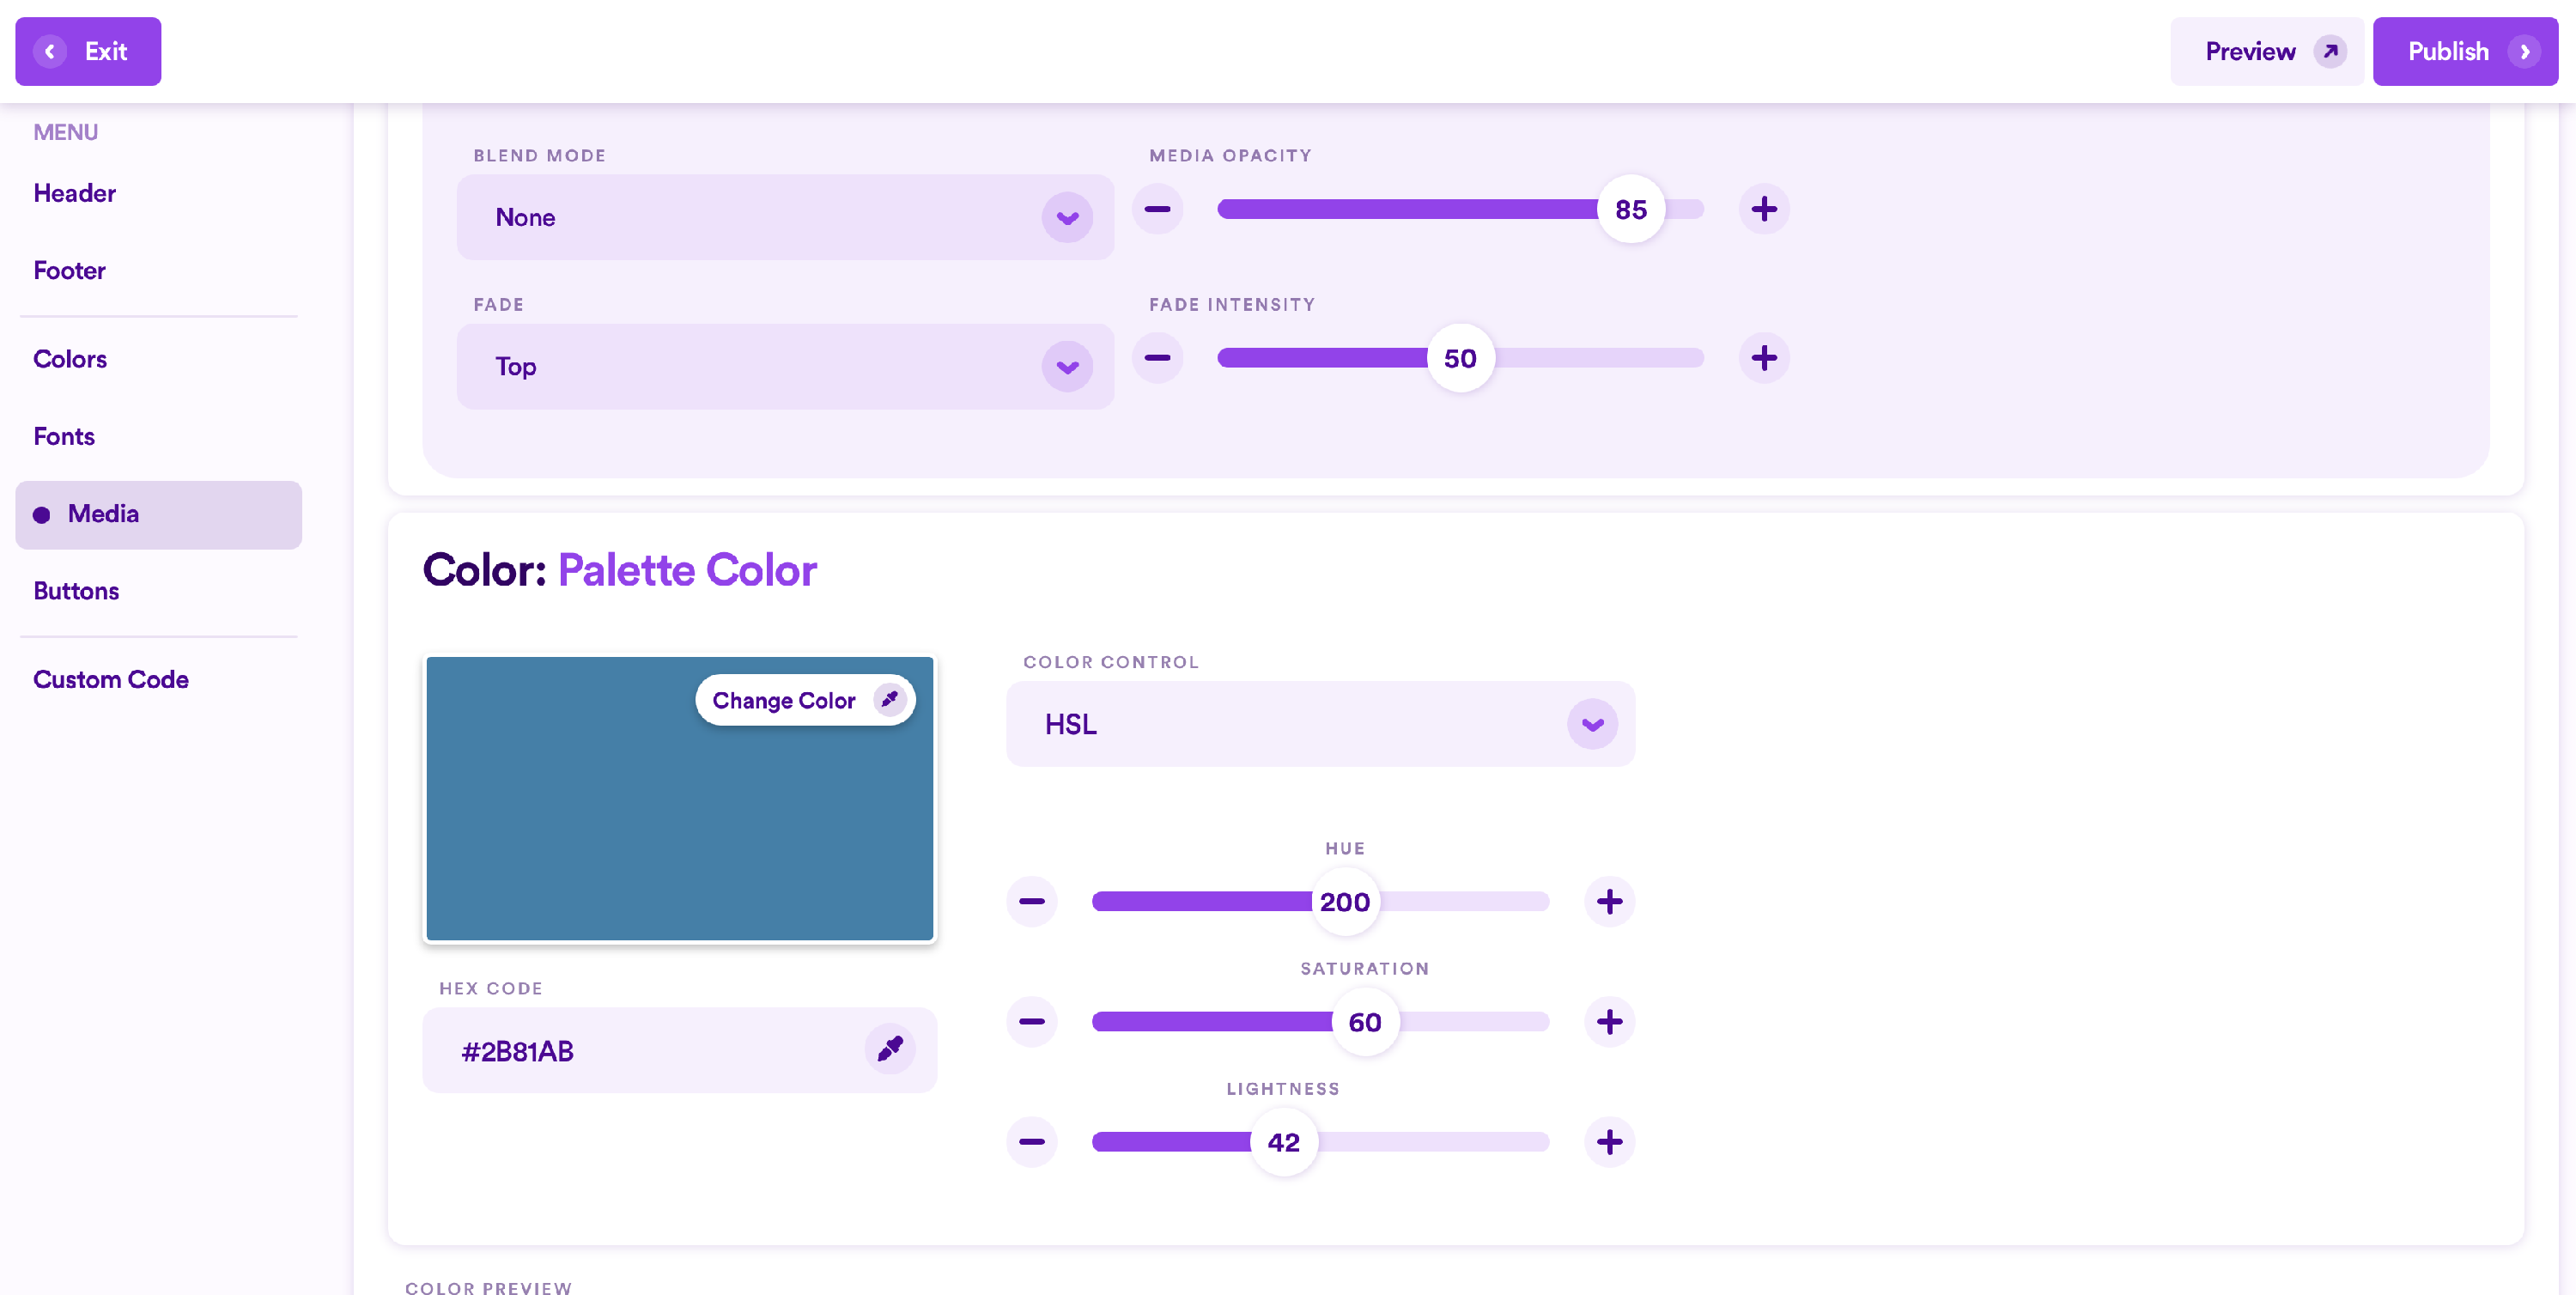
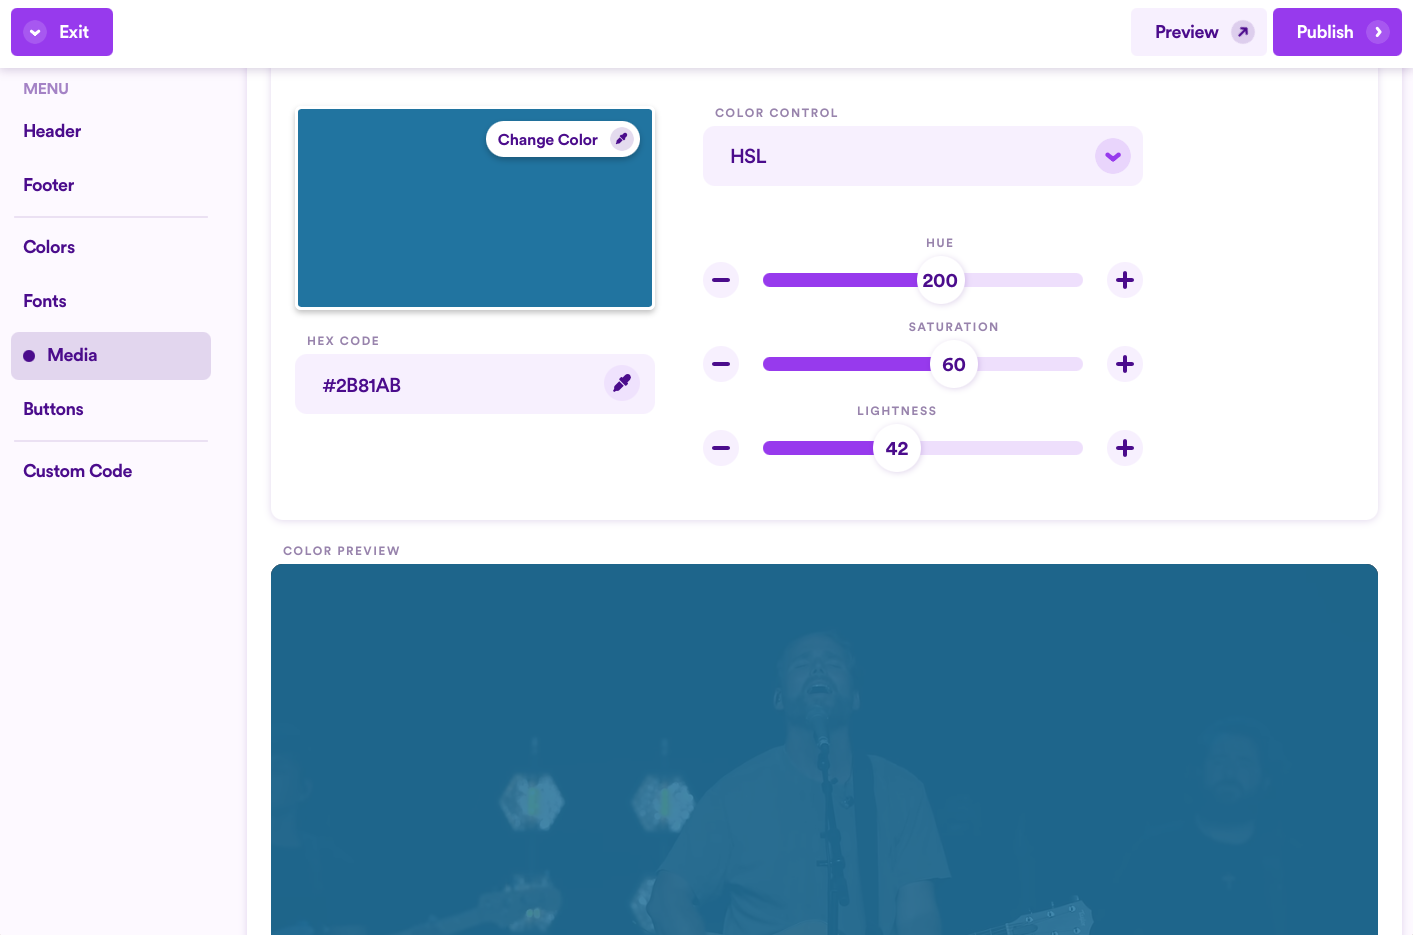
As stated at the beginning of this guide, the default color that will be applied overtop of your image (depending on the settings you've selected above) is determined by what is listed as your Color 1 (Section Background) in your overall Color Palette controlled here. But you are more than able to adjust this color to be whatever you'd like.
As you adjust the color and other settings of your media preset, you can see what your changes would look like on your website by scrolling down to the preview. The changes you make will display in real time, so you don't have to constantly go back and forth to the places on your website where this type of media exists.
Once you're happy with the changes you've made, you can scroll back to the top and click Back to All to go back to the entire list of Media Presets, or click Previous or Next to quickly switch to another preset that you can adjust.
Note: While it might not need stating, adjusting these presets will affect every piece of media on your website that falls under that particular category. The point of adjusting these presets is to help you generate a specific look and feel that is applied across your website, so you don't need to do this individually to every piece of media you upload. However, you can always override the default media presets (either default from Nucleus or that you've adjusted as the new default in your Design Panel). To generally learn how to do this, click here.
To exit without publishing your changes to make them live on your website, click Exit and then choose to leave without saving, or Save & Close.
If you're happy with your changes and want them to go live right away, click the Publish button and follow the instructions on the screen.
Resetting Your Media Presets
If, at any point, you decide you want to reset any changes you've made to your Media Presets, you can always start over by resetting your changes back to what Nucleus' default options were.
Simply click Reset to Default while editing any Media Preset and confirm your selection. This will change all options and sliders back to their default positions.
What Next?
There are several elements of Design for your website to explore that will set you up for success while building your pages and sections. Click any of the guides below to learn more.