Install Your Launcher On Other Websites
So - you’ve added all your church’s Next Steps to The Launcher (or at least a good amount to start with); you’ve designed and customized it to your desire (or maybe you love all the default settings and didn’t change a thing!).
Now it’s time for one of the most exciting moments: installing The Launcher on your church’s website!
We understand that when copying and pasting code, it can seem a little daunting. We’re confident this guide will ease any anxious feelings you may have. But if you’re not the person who manages your church’s website, it might be best to work alongside them to complete this exciting step in your Next Steps journey.
See your website platform? Jump ahead to your install guide using the links below:
- Wordpress
- Squarespace
- Wix
- Weebly
- Subsplash
- Church Co.
- Clover Sites
- Tithe.ly
- ChurchSpring
- Ekklesia360
- SimpleUpdates
- GoDaddy
Did You Know You’re Installing More Than Just The Launcher?
It’s true.
While The Launcher is powerful on its own, it’s even more effective when combined with Banners and Info Cards.
And rather than requiring multiple installation codes for each of these features, you only need to install one single code to give you access to all three. (You’re welcome 😉)
Now, installing the code by default will enable The Launcher to load on your website. Banners and Info cards are features that you can use whenever you’d like. They can both be managed within your Next Steps area of your Nucleus Dashboard.
To learn more about each of these features, click below. But be careful not to get sidetracked. You still need to install The Launcher on your website 😁
Preview & Test The Launcher First
Installing The Launcher on your website is incredibly exciting, because that means you’re one step away from finally seeing it live and in action on your website!
But rein in that excitement for one moment. Before you install The Launcher on your church’s website, it's always a good idea to check things out before you go live to make sure everything looks good and you've linked up things properly. If you have time, look at the list below for a quick list of things to try.
Making sure The Launcher looks and functions the way you want is an important step to take before installing it on your website. You can preview The Launcher by clicking the preview button in the top right hand corner. If you don't see it, try scrolling up and it should appear.

What To Test
- Look at any text from the Discovery Message, The Launcher title, and the “see more” button if applicable (meaning you have more than 4-5 action items in The Launcher). Does it all look good to you? If not, you can make adjustments here.
- Look at your logo, The Launcher color, and button to see if any adjustments need to be done. Need to make some edits? Click here.
- Review your featured action item (if enabled) to make sure it looks correct. If you need to change something about that, click here.
- Review the order of your action items and rearrange them here if needed.
- If you’re using Nucleus Prayer, submit a test prayer and view the Prayer Wall.
- If you’re using Nucleus Giving and your giving account is fully active, consider submitting a donation to try it out. (Note: this will be a real donation.)
- If you’re using Nucleus Flows, click on each one to make sure they open and are linked to the correct Flow.
- If you have any external links added to action items, click on each one to make sure the links work as intended.
- Try signing in and out of The Launcher itself.
Add & Manage Your Website URL(s)
Once you’ve tested out your Launcher and are happy with how everything looks and works, it’s time to add your website URLs.
There are two parts to installing The Launcher. This first part, adding a website URL, tells Nucleus that this is a safe website to load on. The second part is the actual installation code that needs to be added to your website. Having both steps adds a layer of security to make sure The Launcher doesn’t load on sites it shouldn’t.
Under the Install Section of your Next Steps Launcher, click the "Add URL Now" button to add your URL to The Launcher. Remember to not just add the naked/root domain, you must include the appropriate http:// or https://. To avoid any mistake, it’s best to just go to your church’s website homepage and copy and paste exactly what appears in the address bar of your browser.

You can add as many URLs as you’d like. This is helpful in instances where you might have more than one church website or perhaps if you have a landing page for an event, but want your entire Launcher to show up there. In this example, a landing page for an event, if you’re using Nucleus Flows to receive sign-ups, it might be helpful to install only that Flow on the landing page, rather than your entire Launcher.

If you ever want to delete a URL from your install section, simply click "delete" beside the URL you wish to remove in the status section.
Select The Preferred Default Size Of The Launcher
While anyone accessing The Launcher can adjust the size of it from opening in just the corner of your website to covering the entire screen, you have the ability to set the preferred default size that it opens up upon someone’s first interaction with The Launcher.
Select “prefer smaller” to have The Launcher open in just the corner of your website.
Select “prefer larger” to have The Launcher open over your entire website to better capture attention and focus.

Paste The Install Code Into Your Website
Now comes the fun part: actually installing The Launcher on your website. (We promise it’s not as scary as it sounds! 😄) Feel free to pass these instructions along to whomever manages your church’s website.
Below, we have several different sets of instructions specific to unique website builders. While we’ve tried our best to include all the major website builders out there, it’s possible you might not see your particular website builder on this list.
If that’s the case, don’t worry! The principles are basically the same, so you can always read a couple sets of instructions below and you should have a pretty good idea of how to install The Launcher code in your specific website.
Alternatively, you can always reach out to us at hello@nucleus.church and we’d be more than happy to guide you through the process.
To start off, no matter what website builder you’re using, you’ll need to copy the installation code from your Nucleus Dashboard which can be found under the installation code tab in the install section of your Launcher.

Now comes the part where you’ll want to find your specific website builder. Click on yours from the list below:
- Wordpress
- Squarespace
- Wix
- Weebly
- Subsplash
- Church Co.
- Clover Sites
- Tithe.ly
- ChurchSpring
- Ekklesia360
- SimpleUpdates
- GoDaddy
Wordpress
1. Login to your Wordpress account here.

Note: If you have a plugin already installed where you can paste code to your header, you can find that plugin and skip to Step 6. Ensure you're pasting the code to affect the head of every page on your website, not just your homepage. If you don't have a plugin for this or are unsure if you do, continue to Step 2.
2. Once logged into your Dashboard/Admin Area, click on Plugins in the sidebar.

3. In the search bar, type in "header and footer".
4. Find the plugin made by Stefano Lissa and click Install Now.
5. In the sidebar, now click on Settings and find the plugin you just installed.
6. Paste the code you copied from your Nucleus 2 Dashboard into the head section of every page.

Note: Most of these instructions were taken from this help article from Pagley.com. Feel free to check it out yourself!
Squarespace
Note: Squarespace does not enable the ability to add custom code to your site if you are paying for a Personal Plan. To add custom code to a Squarespace site, you need to be on the Business Plan, Commerce Basic Plan, or Commerce Advanced Plan.
1. Login to your Squarespace account here.
2. In the Home menu, click Settings, click Advanced, then click Code Injection.

3. Paste the code you copied into the Header code injection field.

4. Save your changes.
Note: Some of these instructions were taken from this help article directly from Squarespace. Feel free to check it out yourself!
Wix
1. Login to your Wix account here.
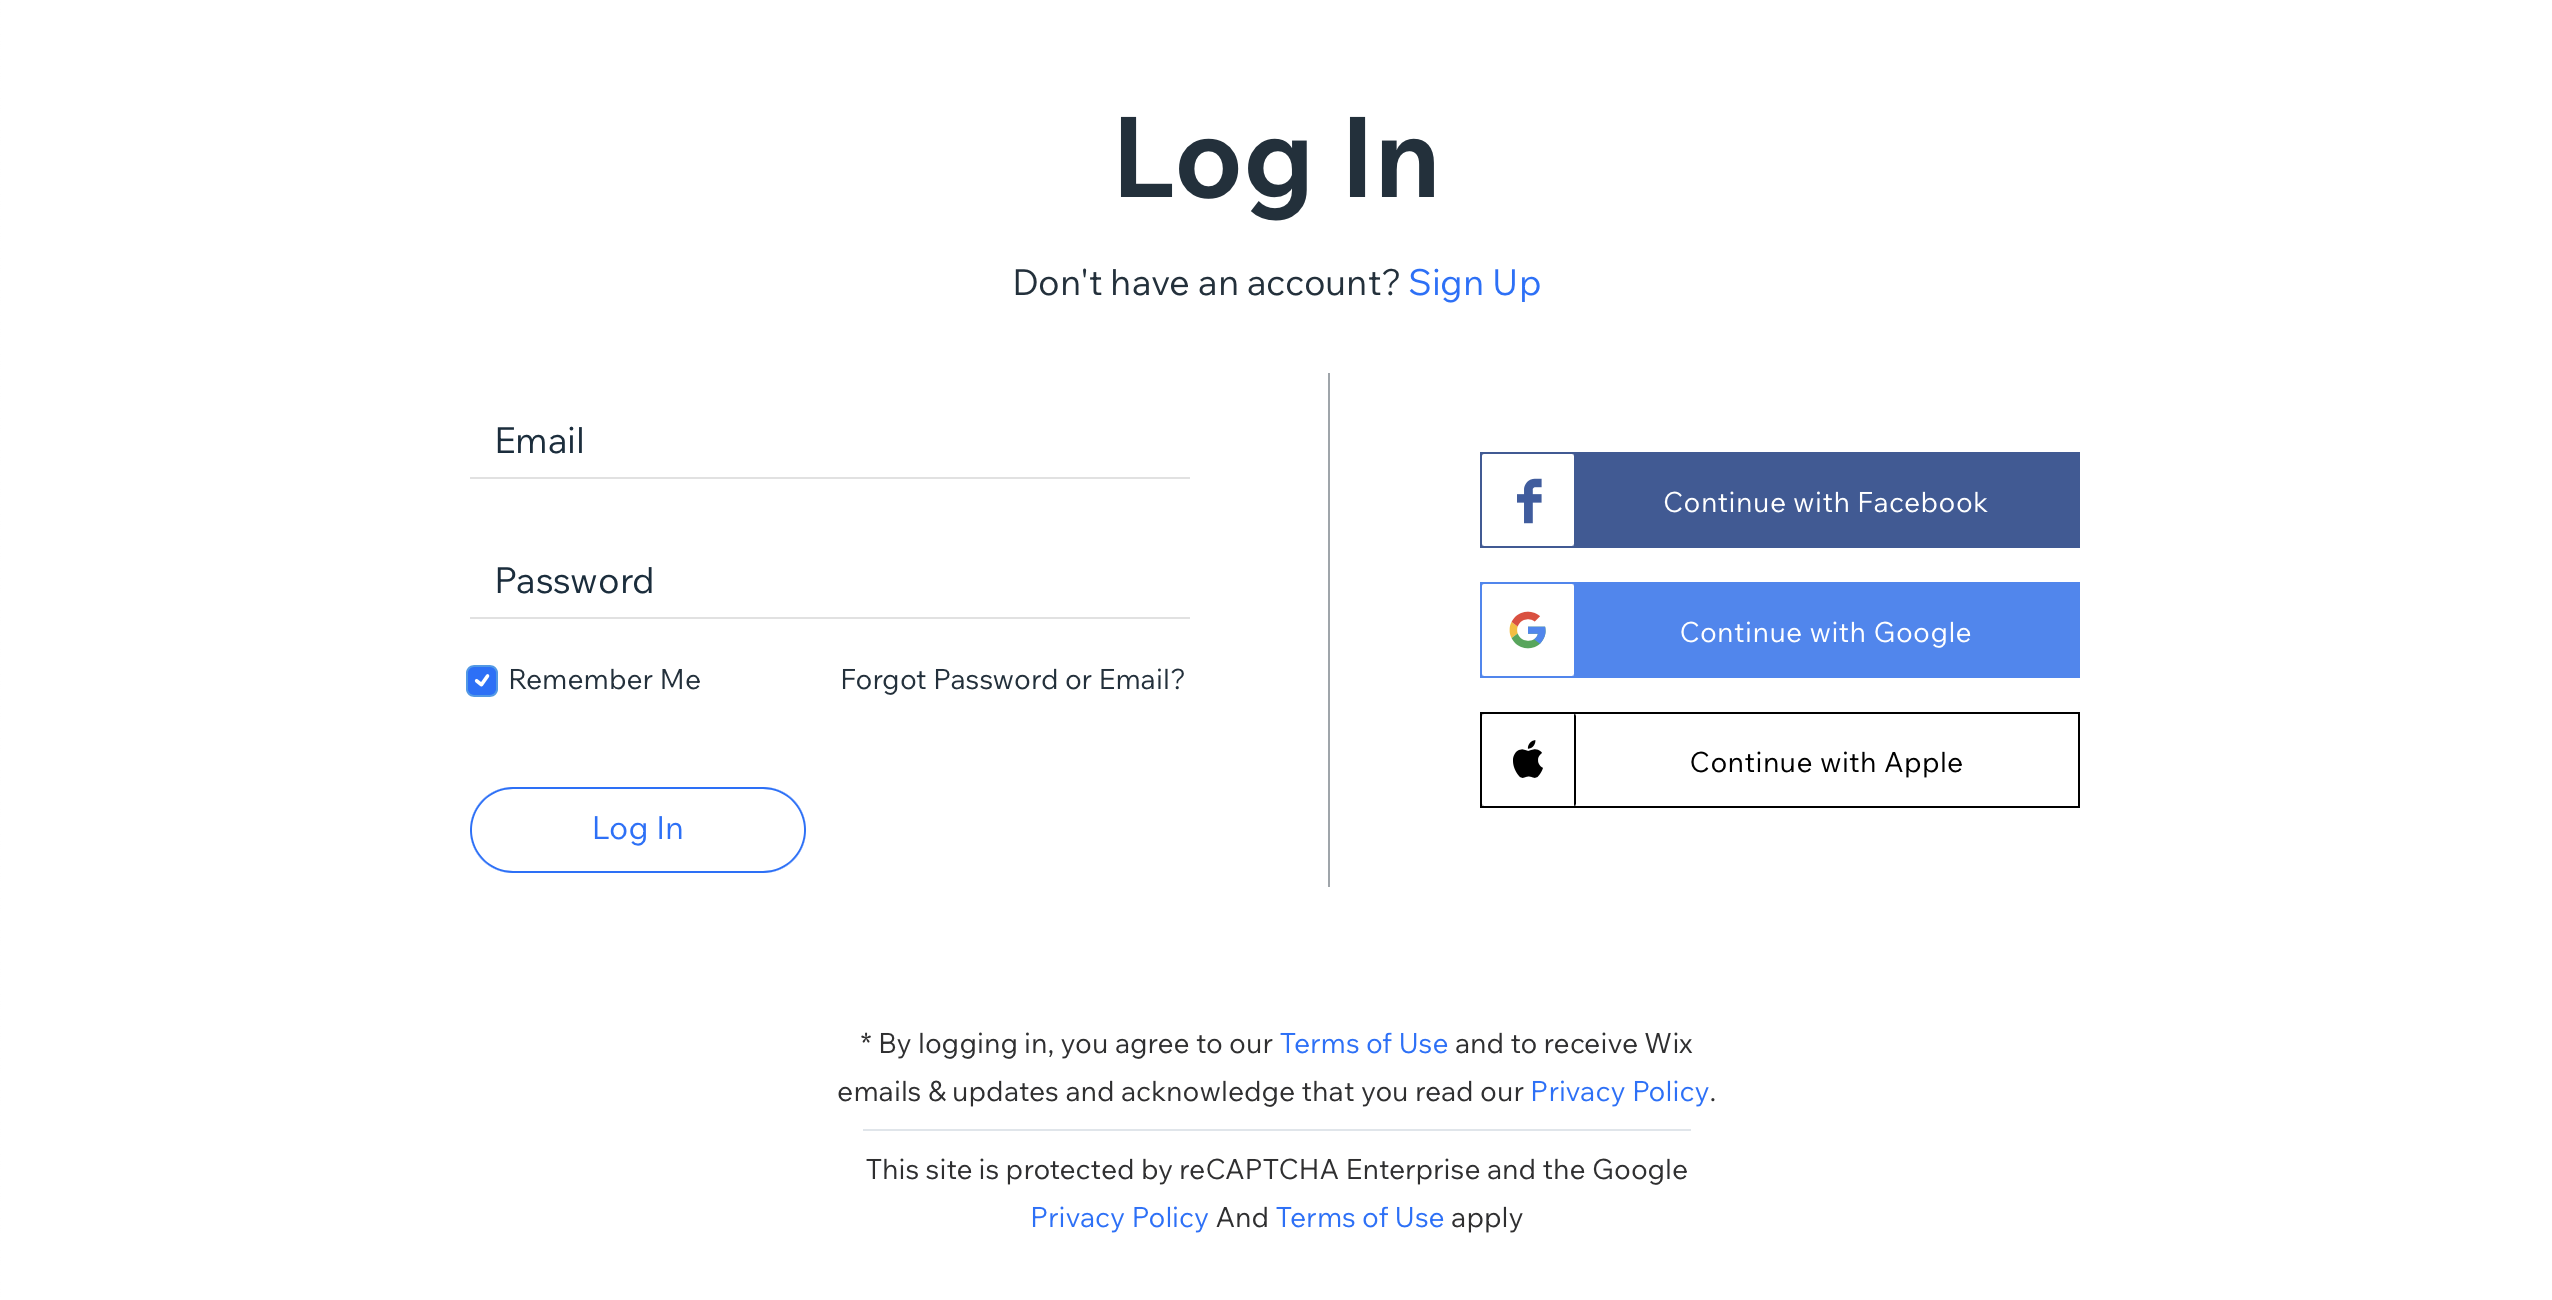
2. In your Wix Dashboard, go to your Settings.
3. In the Advanced section, click the Custom Code tab.
4. Next, click + Add Custom Code.
5. Paste the code you copied from your Nucleus 2 Dashboard.
6. Name your code "Nucleus".
7. Under Add Code to Pages, select the option to add to All Pages.
8. Next, select to place the code in the Head of your pages.
9. Lastly, click the Apply button.
Note: Most of these instructions were taken from this help article directly from Wix. Feel free to check it out yourself
Weebly
1. Login to your Weebly account here.

2. Once logged into your Weebly account, go to your Settings.

3. In the sidebar, click on SEO.
4. Under Header Code, paste the code you copied from your Nucleus 2 Dashboard.
Note: Most of these instructions were taken from this help article from WebNots. Feel free to check it out yourself!
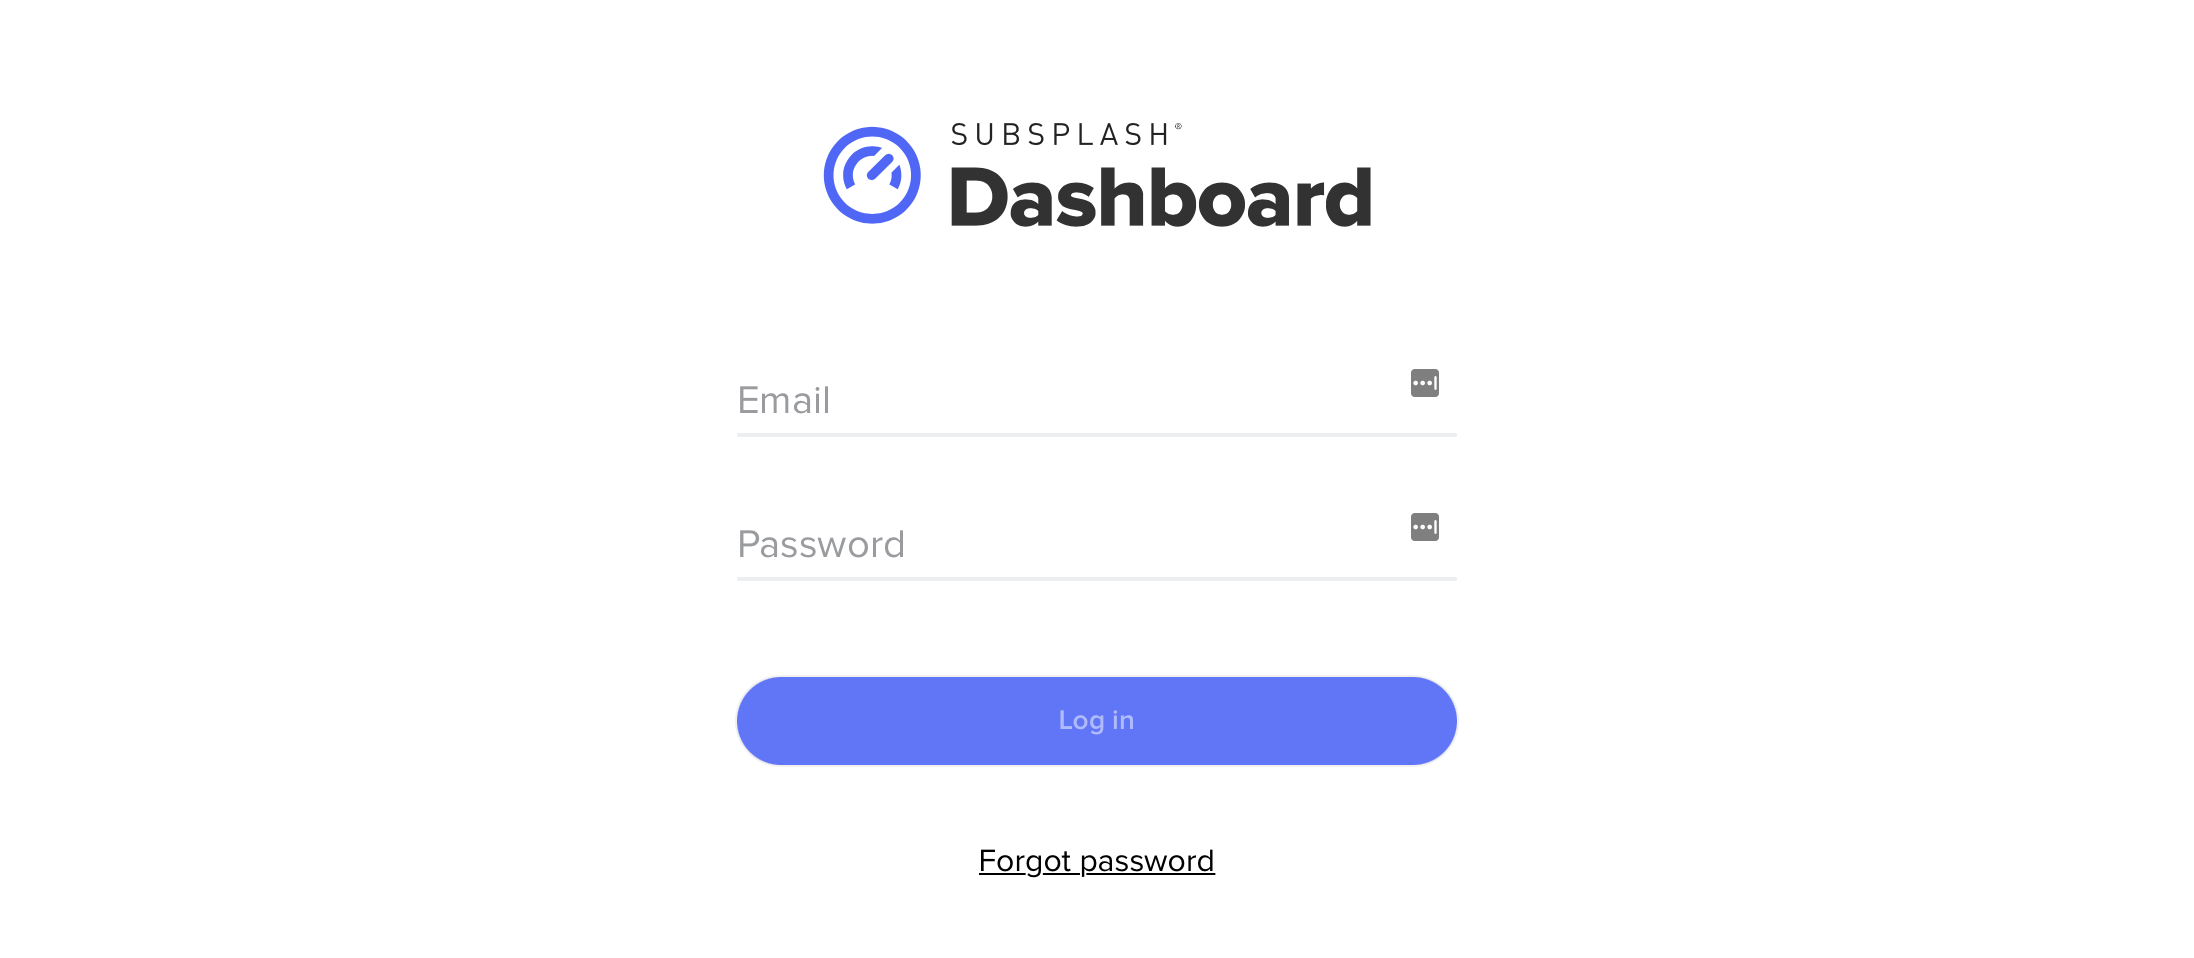
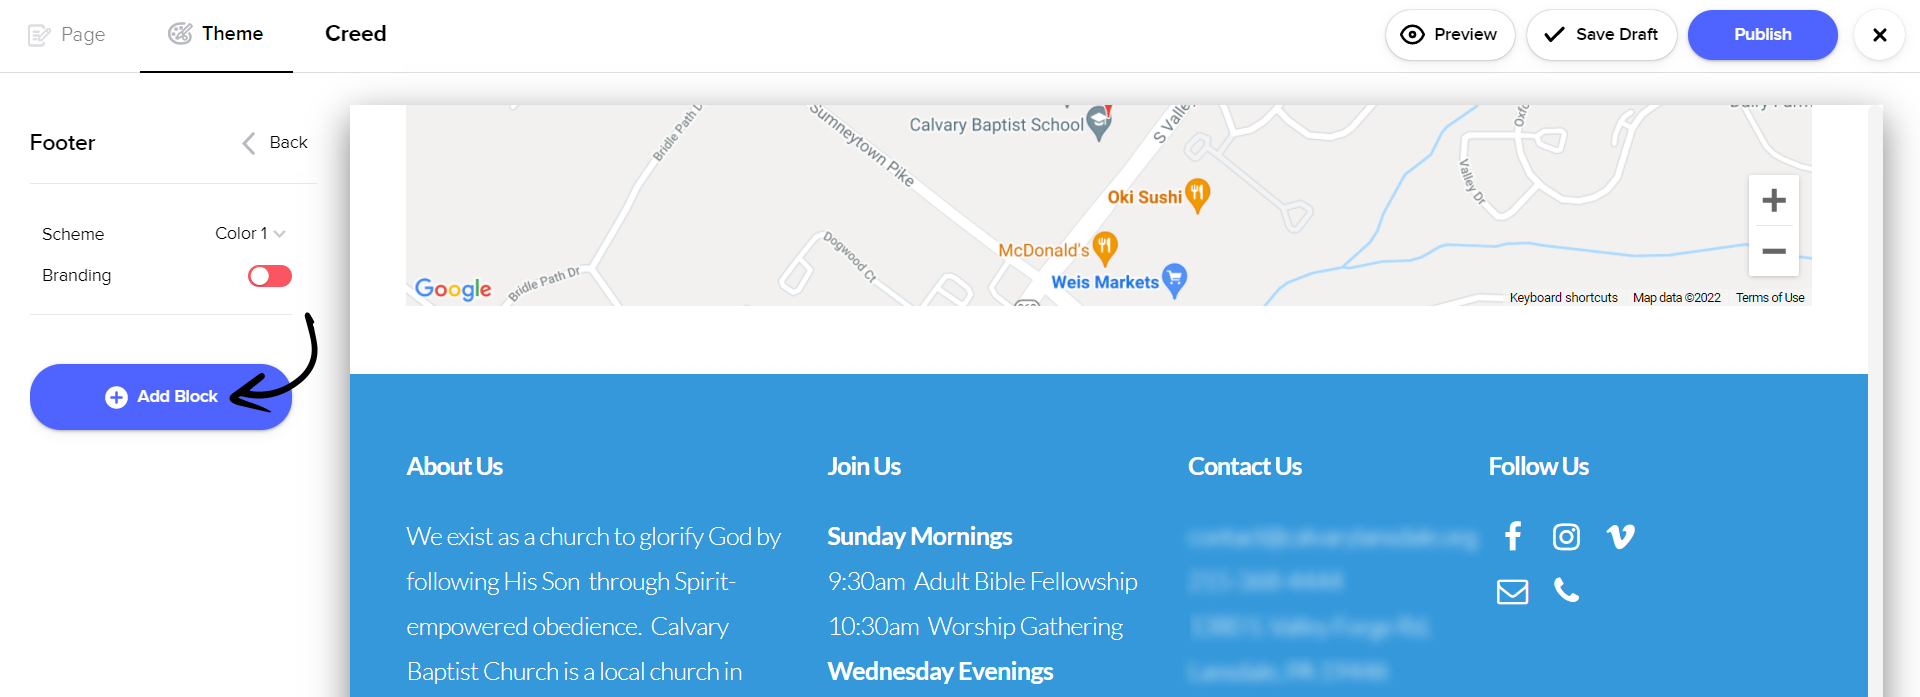
Subsplash
1. Login to your Subsplash account here.
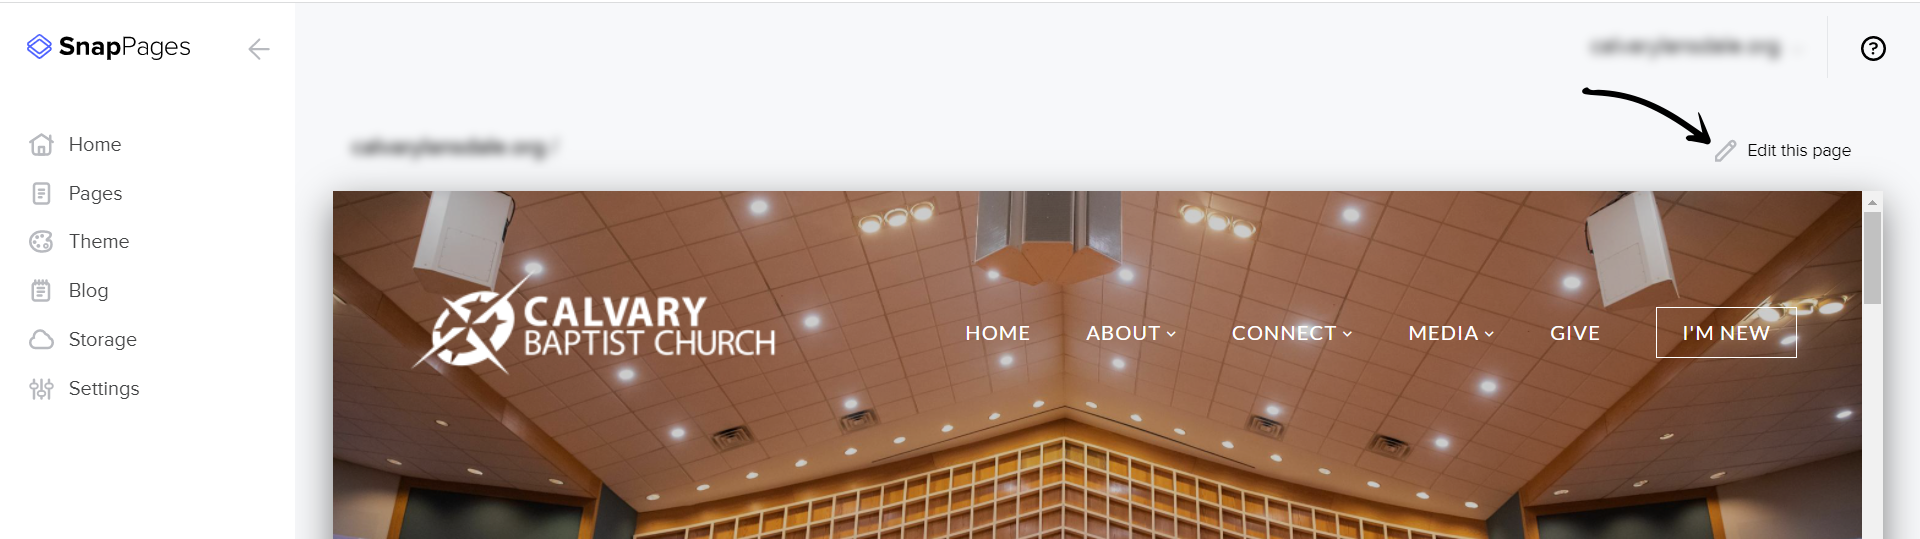
2. Once logged in and you can see your church's website, click Edit this page.
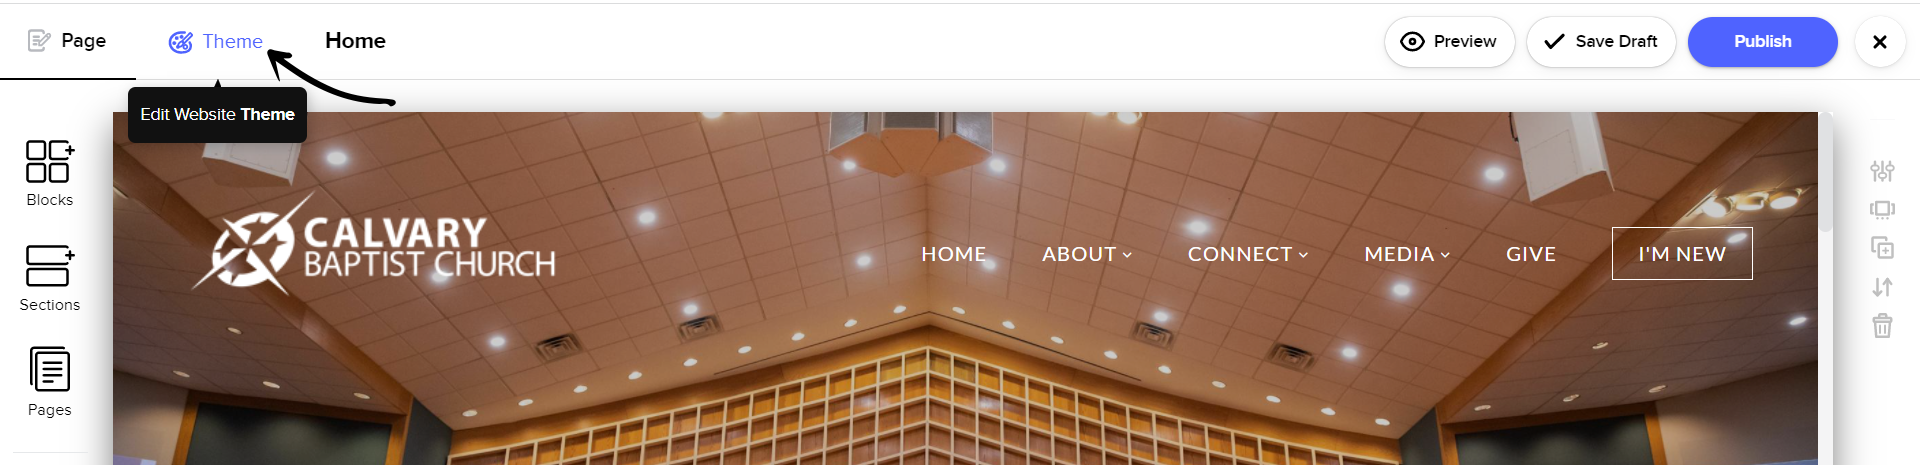
3. Next, click Theme to edit your website's theme settings.
4. In the left sidebar, click on Footer. This should take you all the way down to your website's footer.
5. Once down there, click the + Add Block button.
6. Then, drag the Code block over and place it in your footer. Feel free to make the block as small/thin as you'd like.
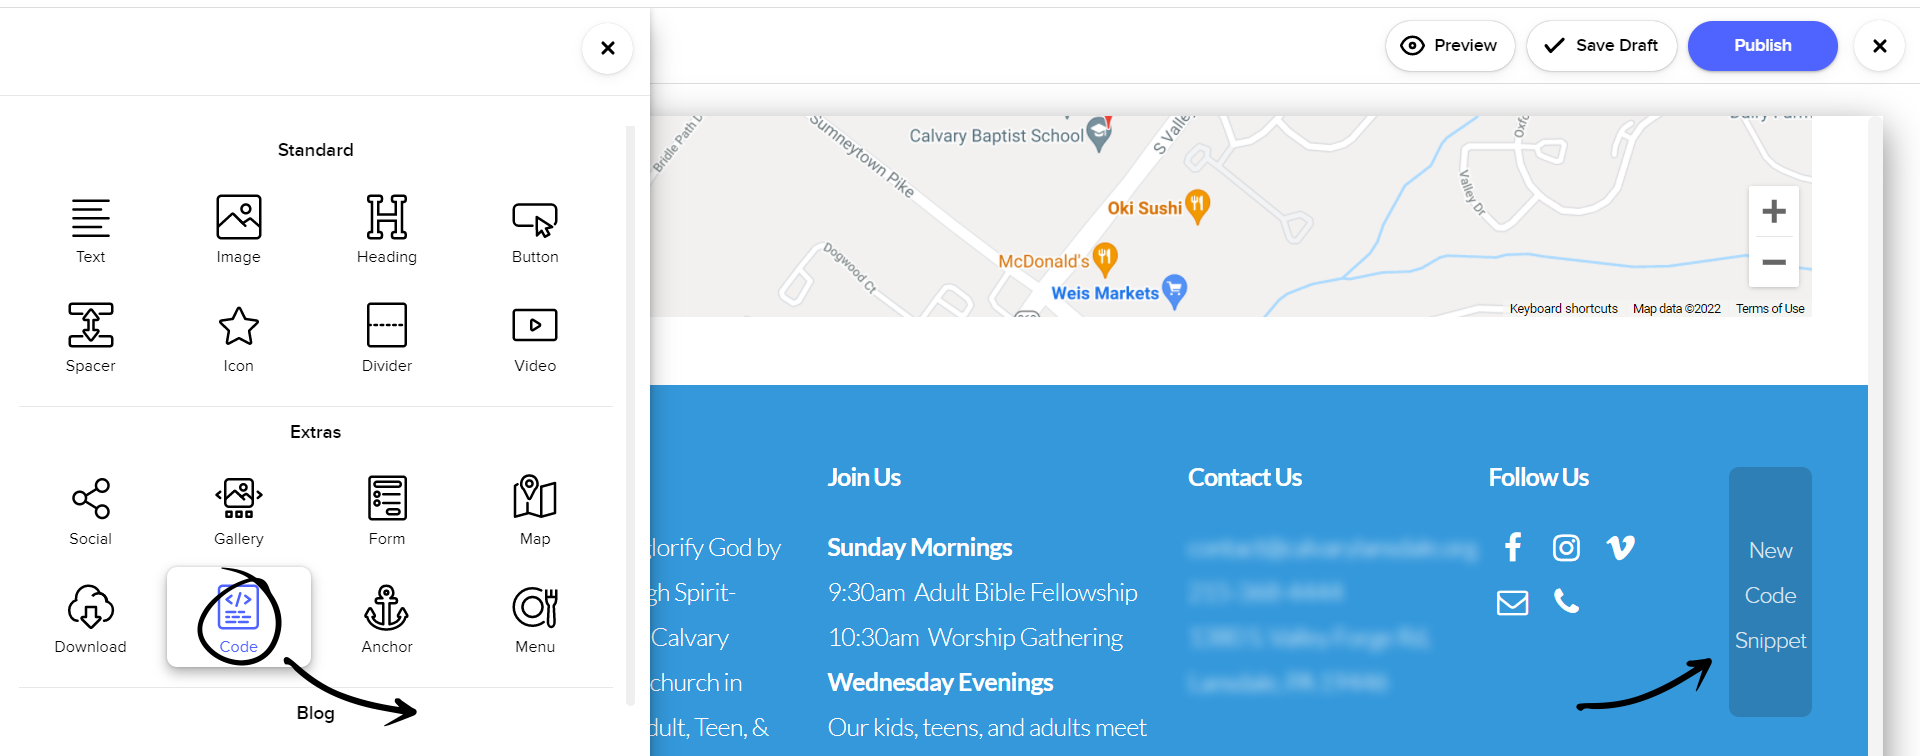
Note: You might need to readjust the other sections in your footer to accommodate the addition of the code content block you added.
7. Finally, paste the code you copied from your Nucleus 2 account.
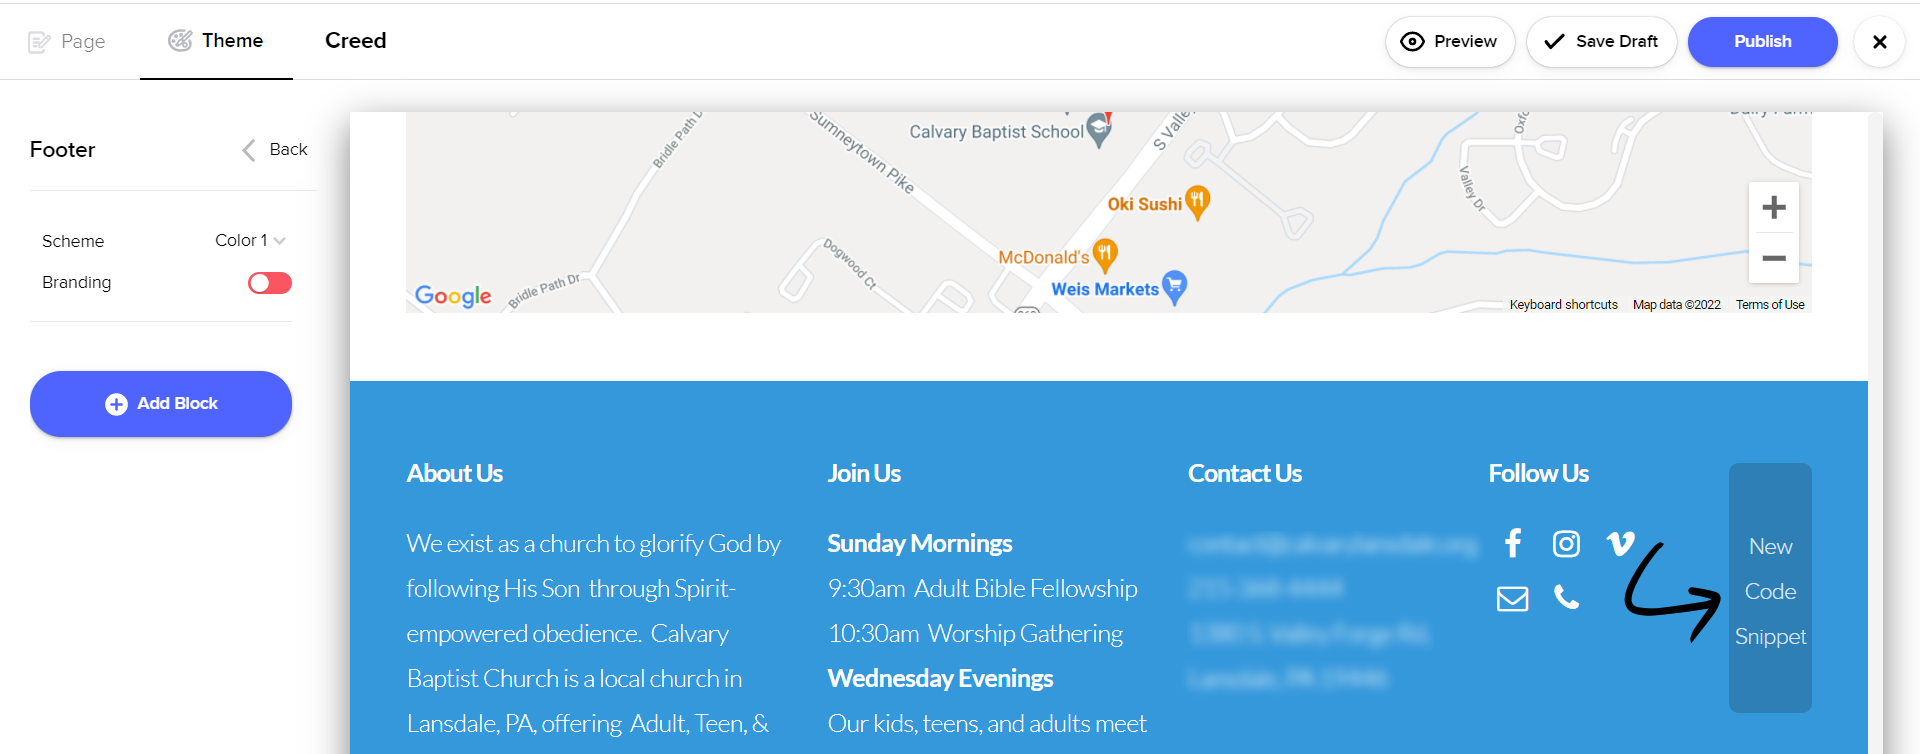
8. Then, click the Publish button.

Church Co.
1. Login to your Church Co. account here.
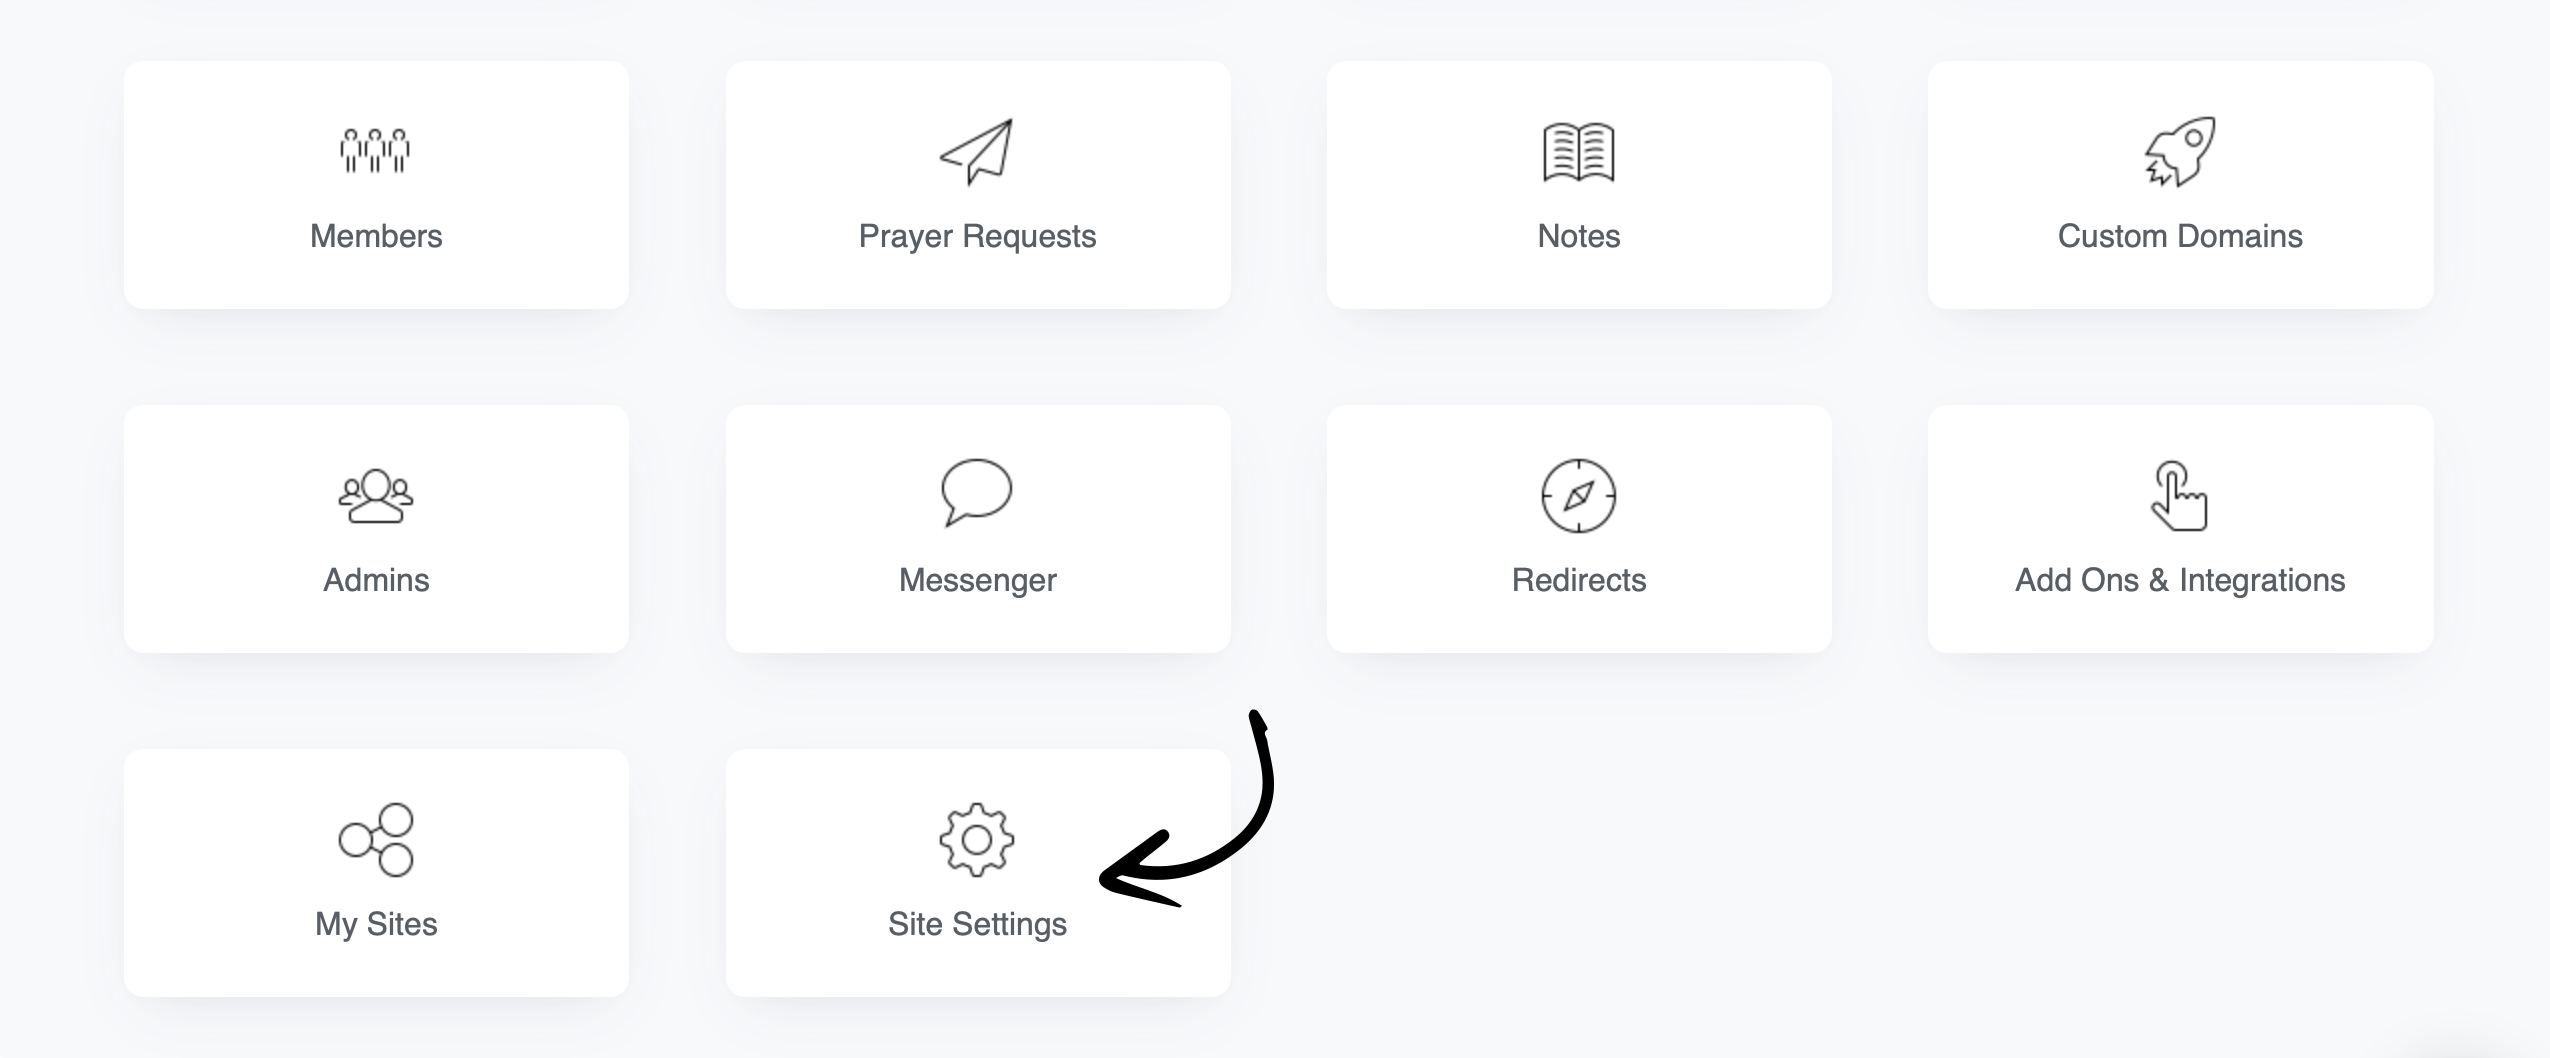
2. Once logged into your Dashboard, scroll down and click on Site Settings.
3. In Copyright field, paste the code you copied from your Nucleus 2 Dashboard.
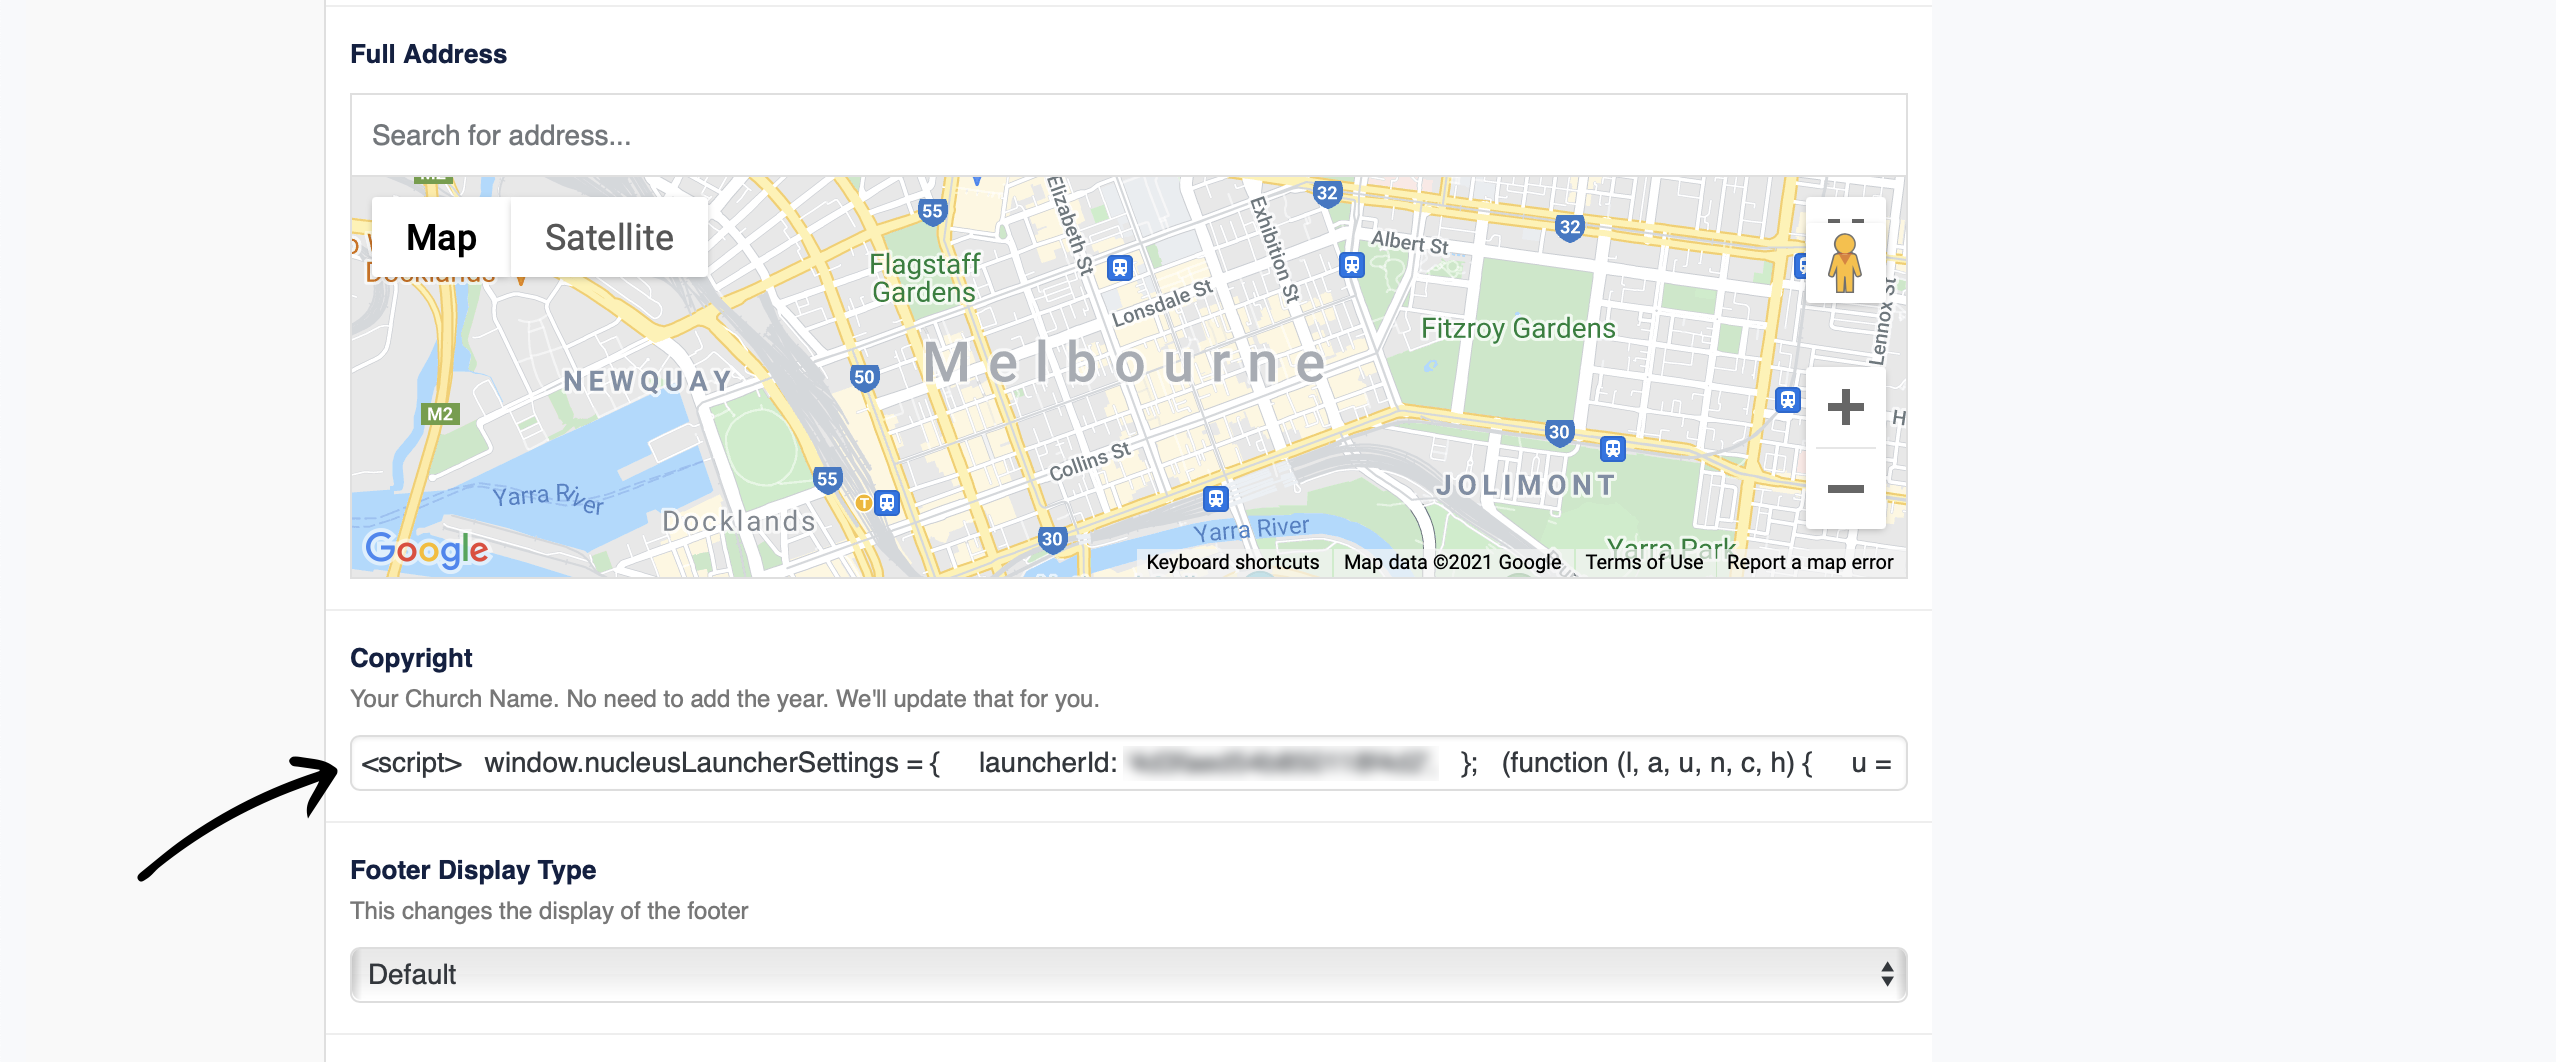
Note: The code won't paste as shown in your Nucleus 2 Dashboard, but as long as you don't hit the Delete/Backspace button on your keyboard, everything should have pasted over.
4. Click the blue Update button.

Clover Sites
1. Login to your Clover account here.
2. Once logged into your Clover Greenhouse, click into your site footer to edit the content.
Note: Typically, you'd need to paste the installation code in your website's header. But because Clover uses Turbolinks (a piece of technology that changes the way pages are downloaded in a pretty fundamental way), it breaks a lot of third party widgets from being embedded the normal, more modern way (including your GivingFlow). Until they update the way they are doing things with page loading, it won't work to install it in the typical way; however, in the meantime, we've discovered a way to make it work great anyways!
3. Then, either be in Advanced Mode, or click the More button on the text editor, and click the Custom Code icon.
4. Scroll down to the last line of what is shown.
5. Hit enter/return on your keyboard. Then paste the code you copied from your Nucleus 2 Dashboard, and click Save in the dialog.
6. Lastly, click Close on the footer, and Save & Publish your changes.
Tithe.ly
If you use the Tithe.ly Sites, you will need to contact their customer support directly to request that they embed the code in your website for you.
Once you get in touch with their customer support, request that they paste your Nucleus Launcher code to the header of your website.
ChurchSpring
1. Go to your church's website and click on the Login button to sign in.


2. Once logged into your Dashboard, move your cursor to the left side and click on Settings.
3. Next, click on Website, and then Analytics.
4. In the Google Analytics Code field, paste the code you copied from your Nucleus 2 Dashboard. Then click Save.
Ekklesia360
1. Login to your Ekklesia360 account here.

2. In the left sidebar, click on Admin.
3. Then, click on Site.
4. In the top right corner, click on the More Menu button and select Tracking Code from the dropdown menu.
5. Paste the code you copied from your Nucleus 2 account and click the Save button.
Note: While the Nucleus Launcher code isn't actually a tracking code, this is the place to add custom code to the header of your website.

SimpleUpdates
1. Go to your church's website. Scroll down to the footer and select Login / Customize.


3. In your Dashboard, click on Settings in the sidebar.


GoDaddy
While the Launcher can be installed on virtually any website, there are a few platforms that don't allow for custom code to be injected into the header of your website. GoDaddy is one of those platforms. While we recommend GoDaddy for their domain services, we recommend other platforms for church website builders. (Insert shameless advertisement for Nucleus Web here 🙈)
If your church's website is built using GoDaddy, you can still use the Launcher! You just can't install it directly to your website. Instead, you can use a sharing link as a hyperlink or button on your site. Click here to learn more about that.
See The Launcher In Action
If you’ve followed this guide, then The Launcher should now be live on your church’s website. Go ahead and check it out! 😎
What If My Launcher Isn't Loading?
If, after you’ve followed this guide, you’ve reloaded your site and The Launcher is not loading after a few seconds, it’s time to double check the following:
- Are your website URLs entered correctly? Do they have the correct http:// or https://?
- Review your installation code. Try copying it again from your Nucleus 2 Dashboard, then go back to your code injection site, delete the code you just added, and then paste the code back into your Code Injection field.
Is The Launcher still not loading correctly - or at all? Send us a message! hello@nucleus.church 💻
What Next?
Now that The Launcher is live on your website, it’s time to learn the various ways to share it with others:
If haven’t done this yet, but are looking to customize The Launcher, you might be interested in the following guides: