Section Types: Staff & Leaders
One of the most visited pages on any church website is Staff & Leaders. This means it's a crucial piece of information to include when building your new website on Nucleus. (Make sure to smile for the camera 😉)
To begin, click on Pages in Nucleus Web. Click here for a quick link. Then click Edit on any page, or click + Create Page to start afresh and follow the instructions on the screen.
Note: Editing a section involves much more than focusing on the specific type of section. For instance, there are a slew of design and layout options you can choose for every single section you add to a page. This guide focuses specifically on the uniqueness of the Staff & Leaders Section.
Important: Have you already created staff & leader profiles yet? If not, you will need to do so before being able to populate your staff & leaders section. You can create Staff & Leader profiles by visiting the People application. Click here for a guide on how to quickly accomplish this.
In this guide, we'll cover the following topics. Click on any one to jump ahead.
- Similar To The Cards Section
- Add A Staff & Leaders Section To A Page
- Add Staff & Leaders From A List
- Add Staff & Leaders Individually
- Customize How Staff & Leaders Are Displayed
- Preview Your Page
Similar To The Cards Section
The Staff & Leaders section behaves and functions very similarly to the Cards section - both in how it displays on the front end and how you set it up in the Dashboard.
If you haven't yet explored the Cards Section, it would be beneficial to do so first. Click here to view an entire visual guide on that.
Add A Staff & Leaders Section To A Page
As explained in this guide, Nucleus pages are built using sections. There are several types of sections to use, but we’ll focus on adding a Staff & Leaders Section to a page.
To add a Staff & Leaders Section to a page, go to your Pages Panel here and click on any page to edit it. (If you don’t have any pages to edit, you can always edit your Homepage. Alternatively, you can create a new page. In fact, we even have a Staff & Leaders page template that you can start with! Click here to learn more about how to do that.)
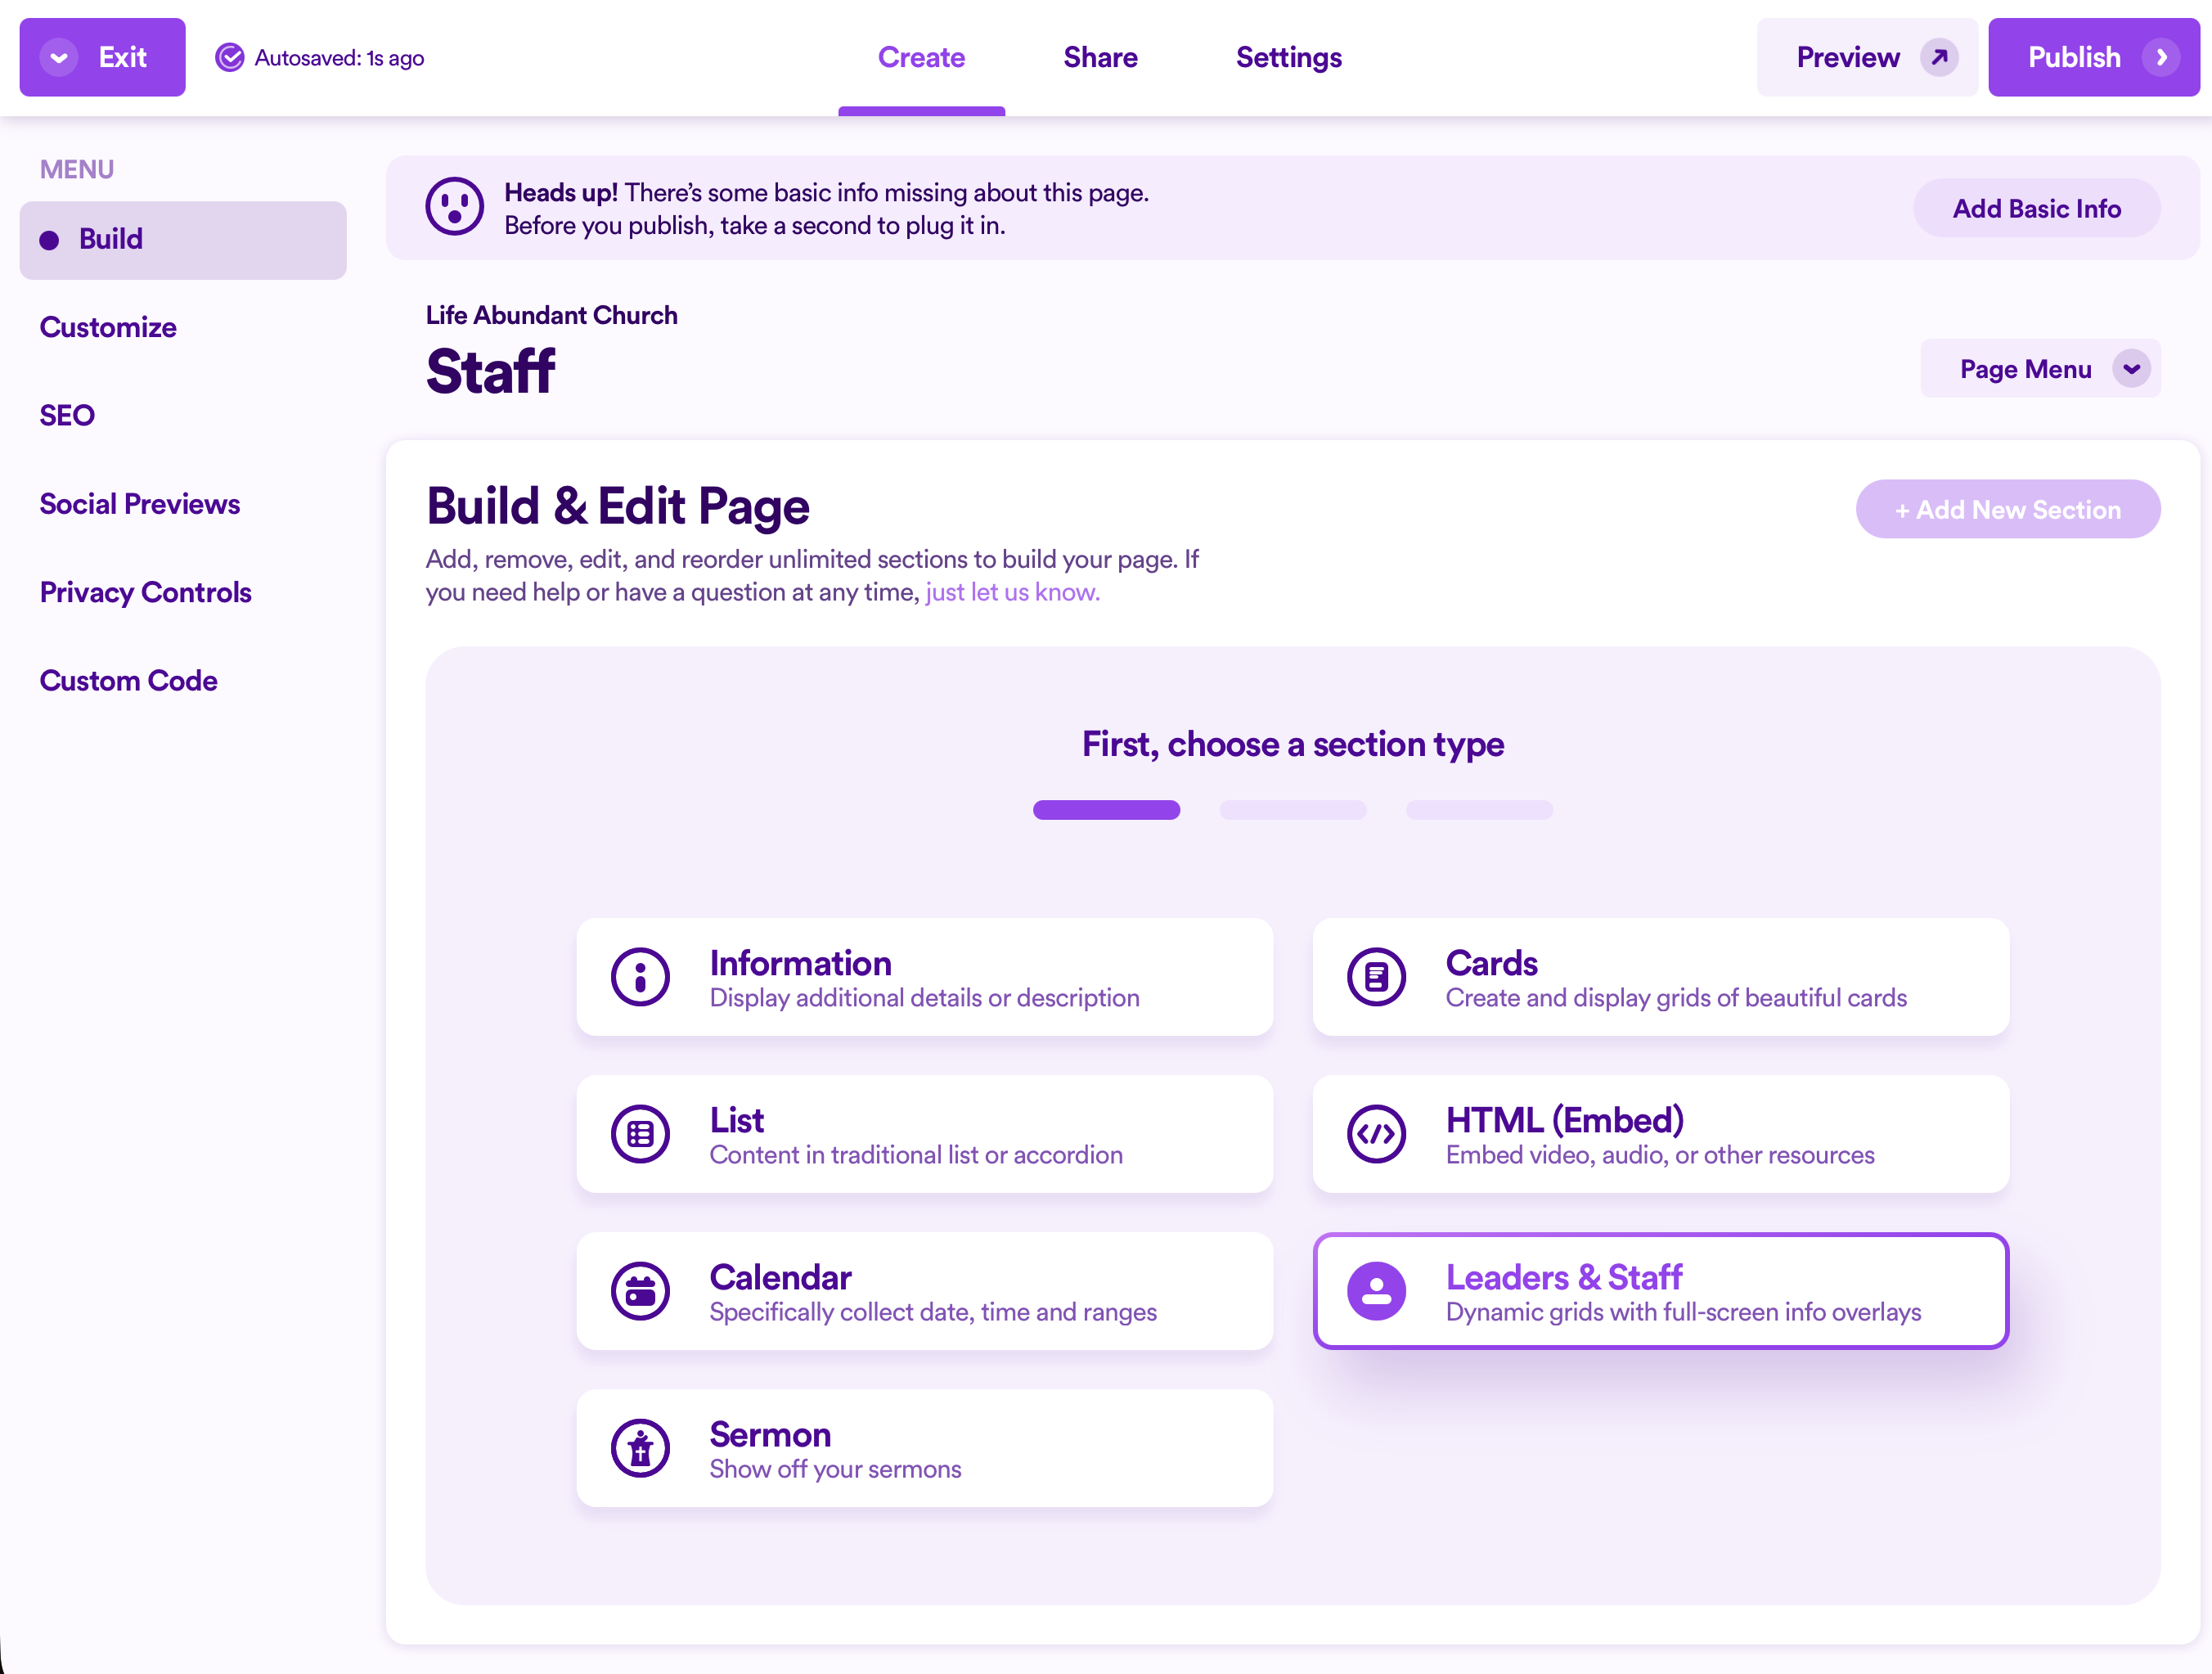
While in the Page Editor, click on + Add New Section.

Then, click to add the Staff & Leaders Section.
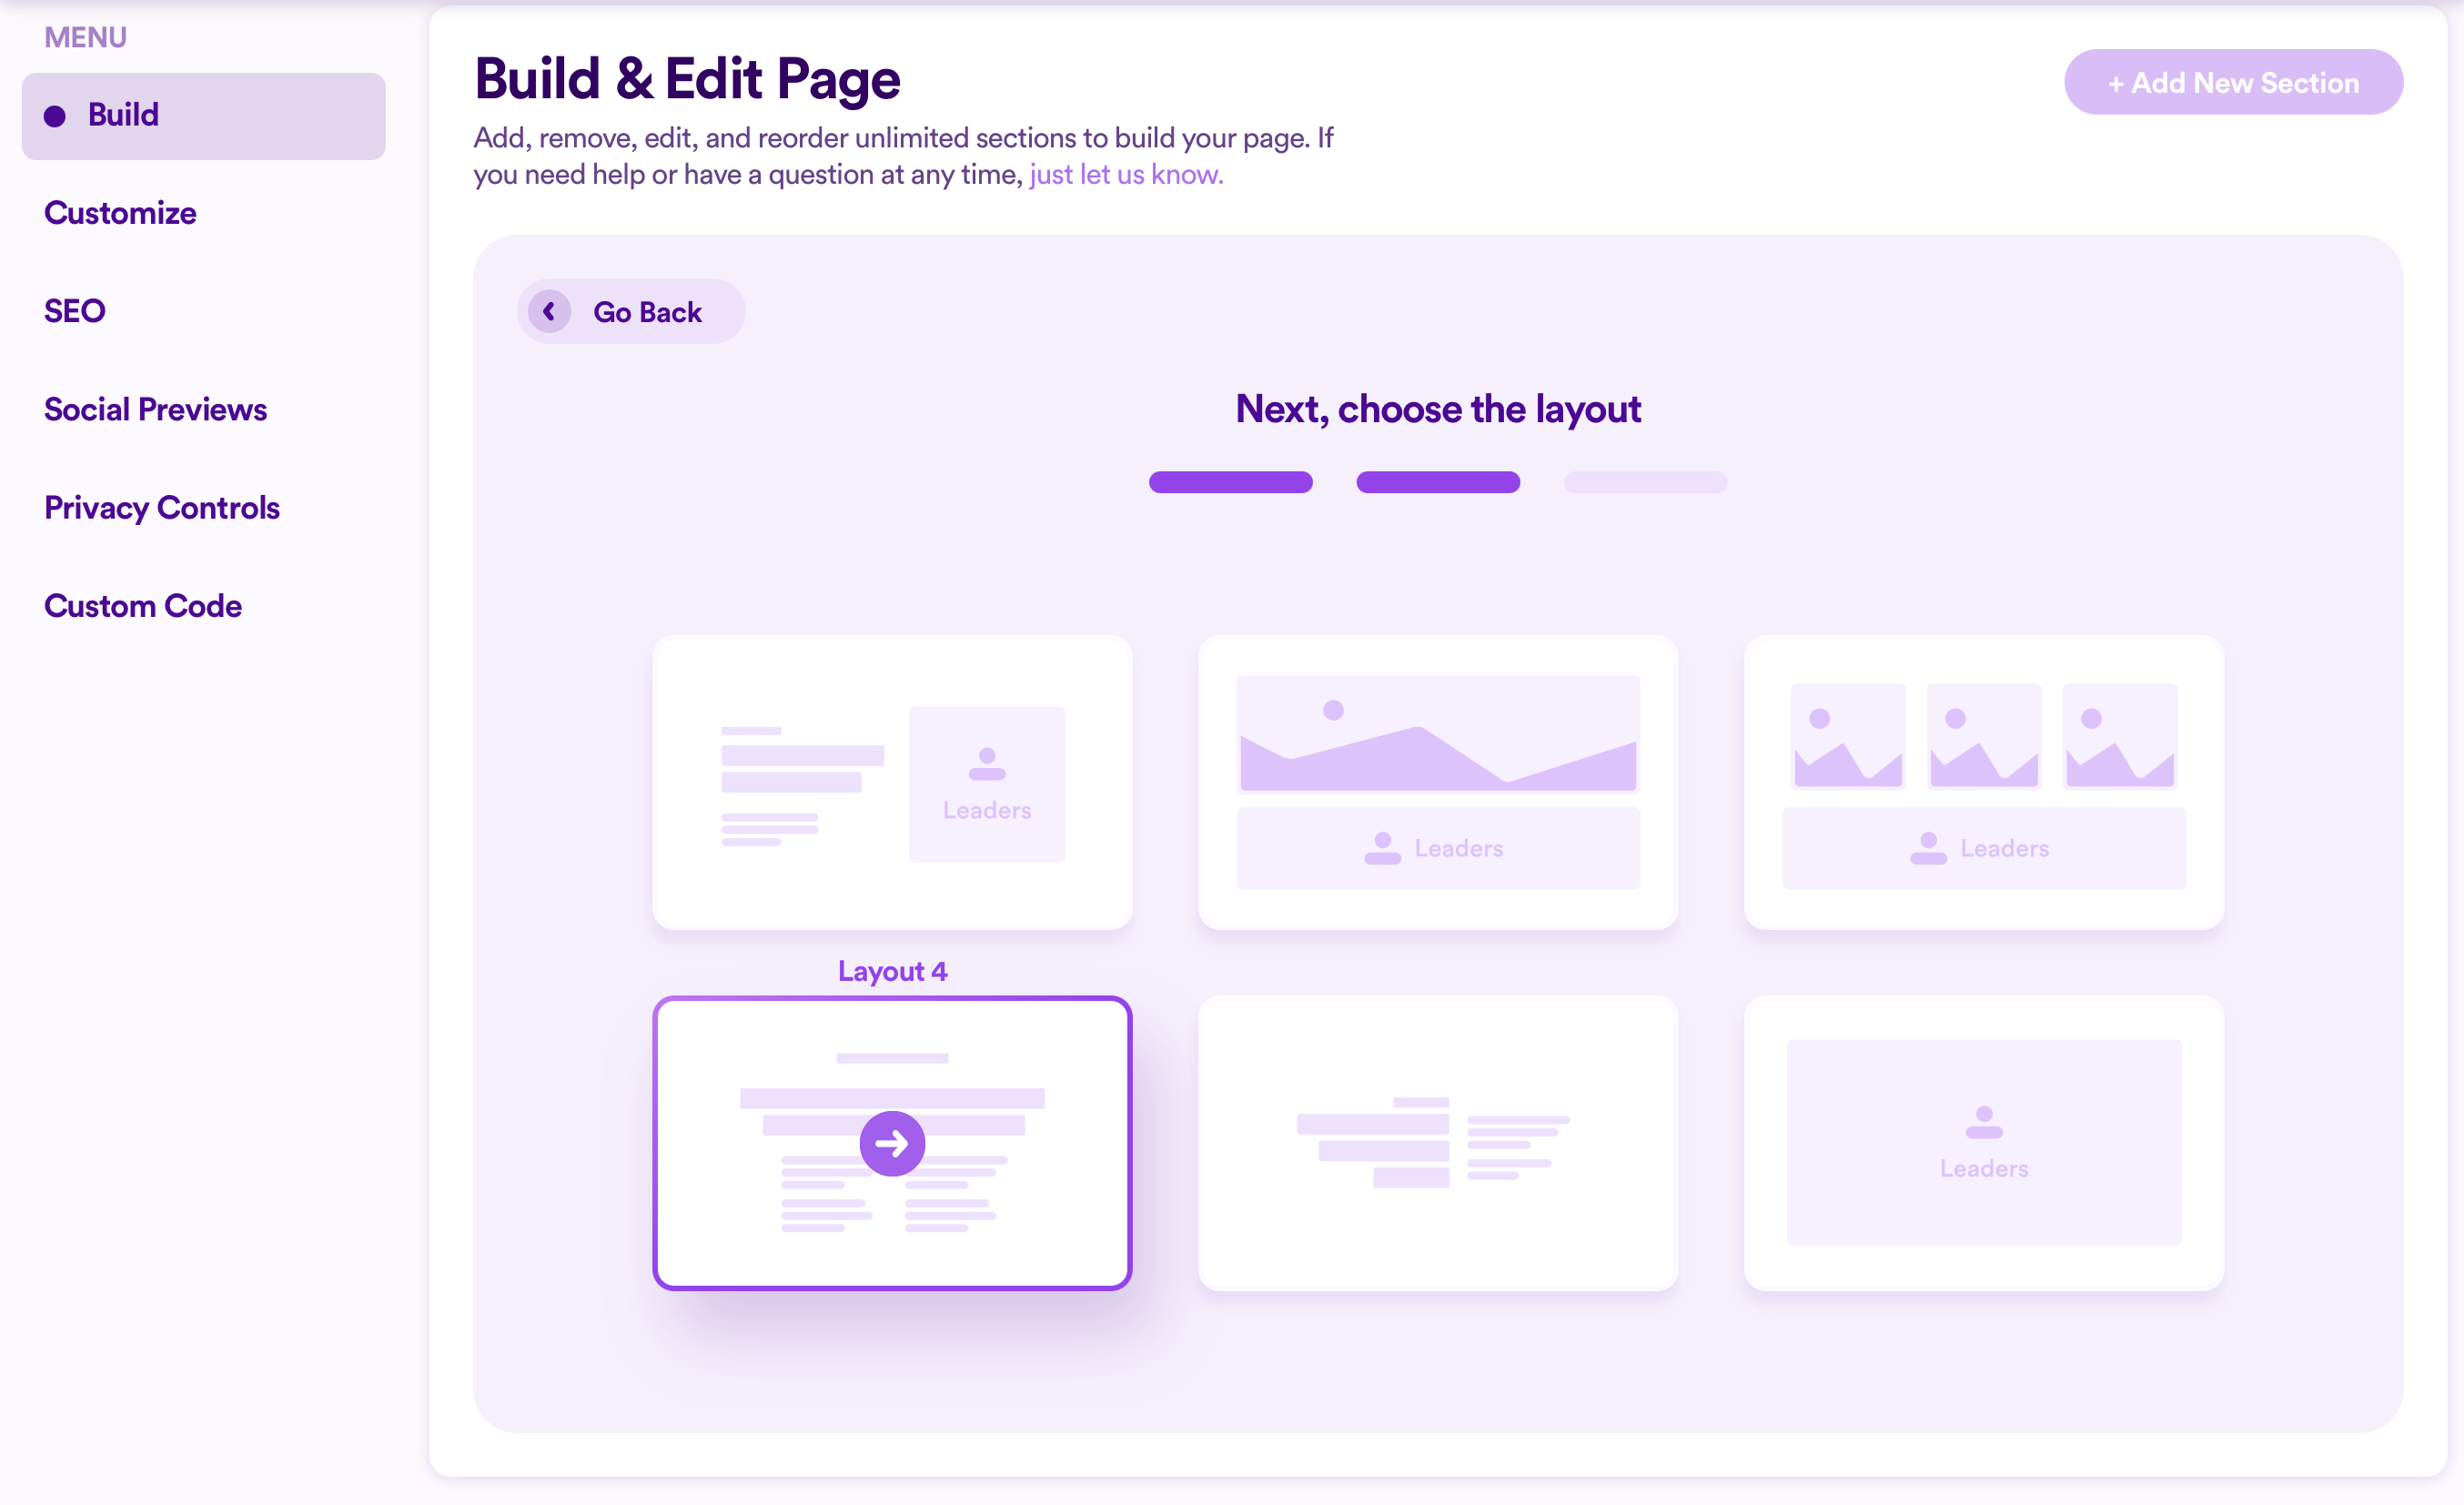
Next, select a layout for how the information in your section will be displayed.
Note: Many section layouts allow you to showcase text along with whatever type of specific media/content you want to add (like cards). This guide will only explore the specifics of adding cards. The text features rely on how the Information Section functions. To learn more about adding text to a section (and subsequently learn more about the Information Section), click here.
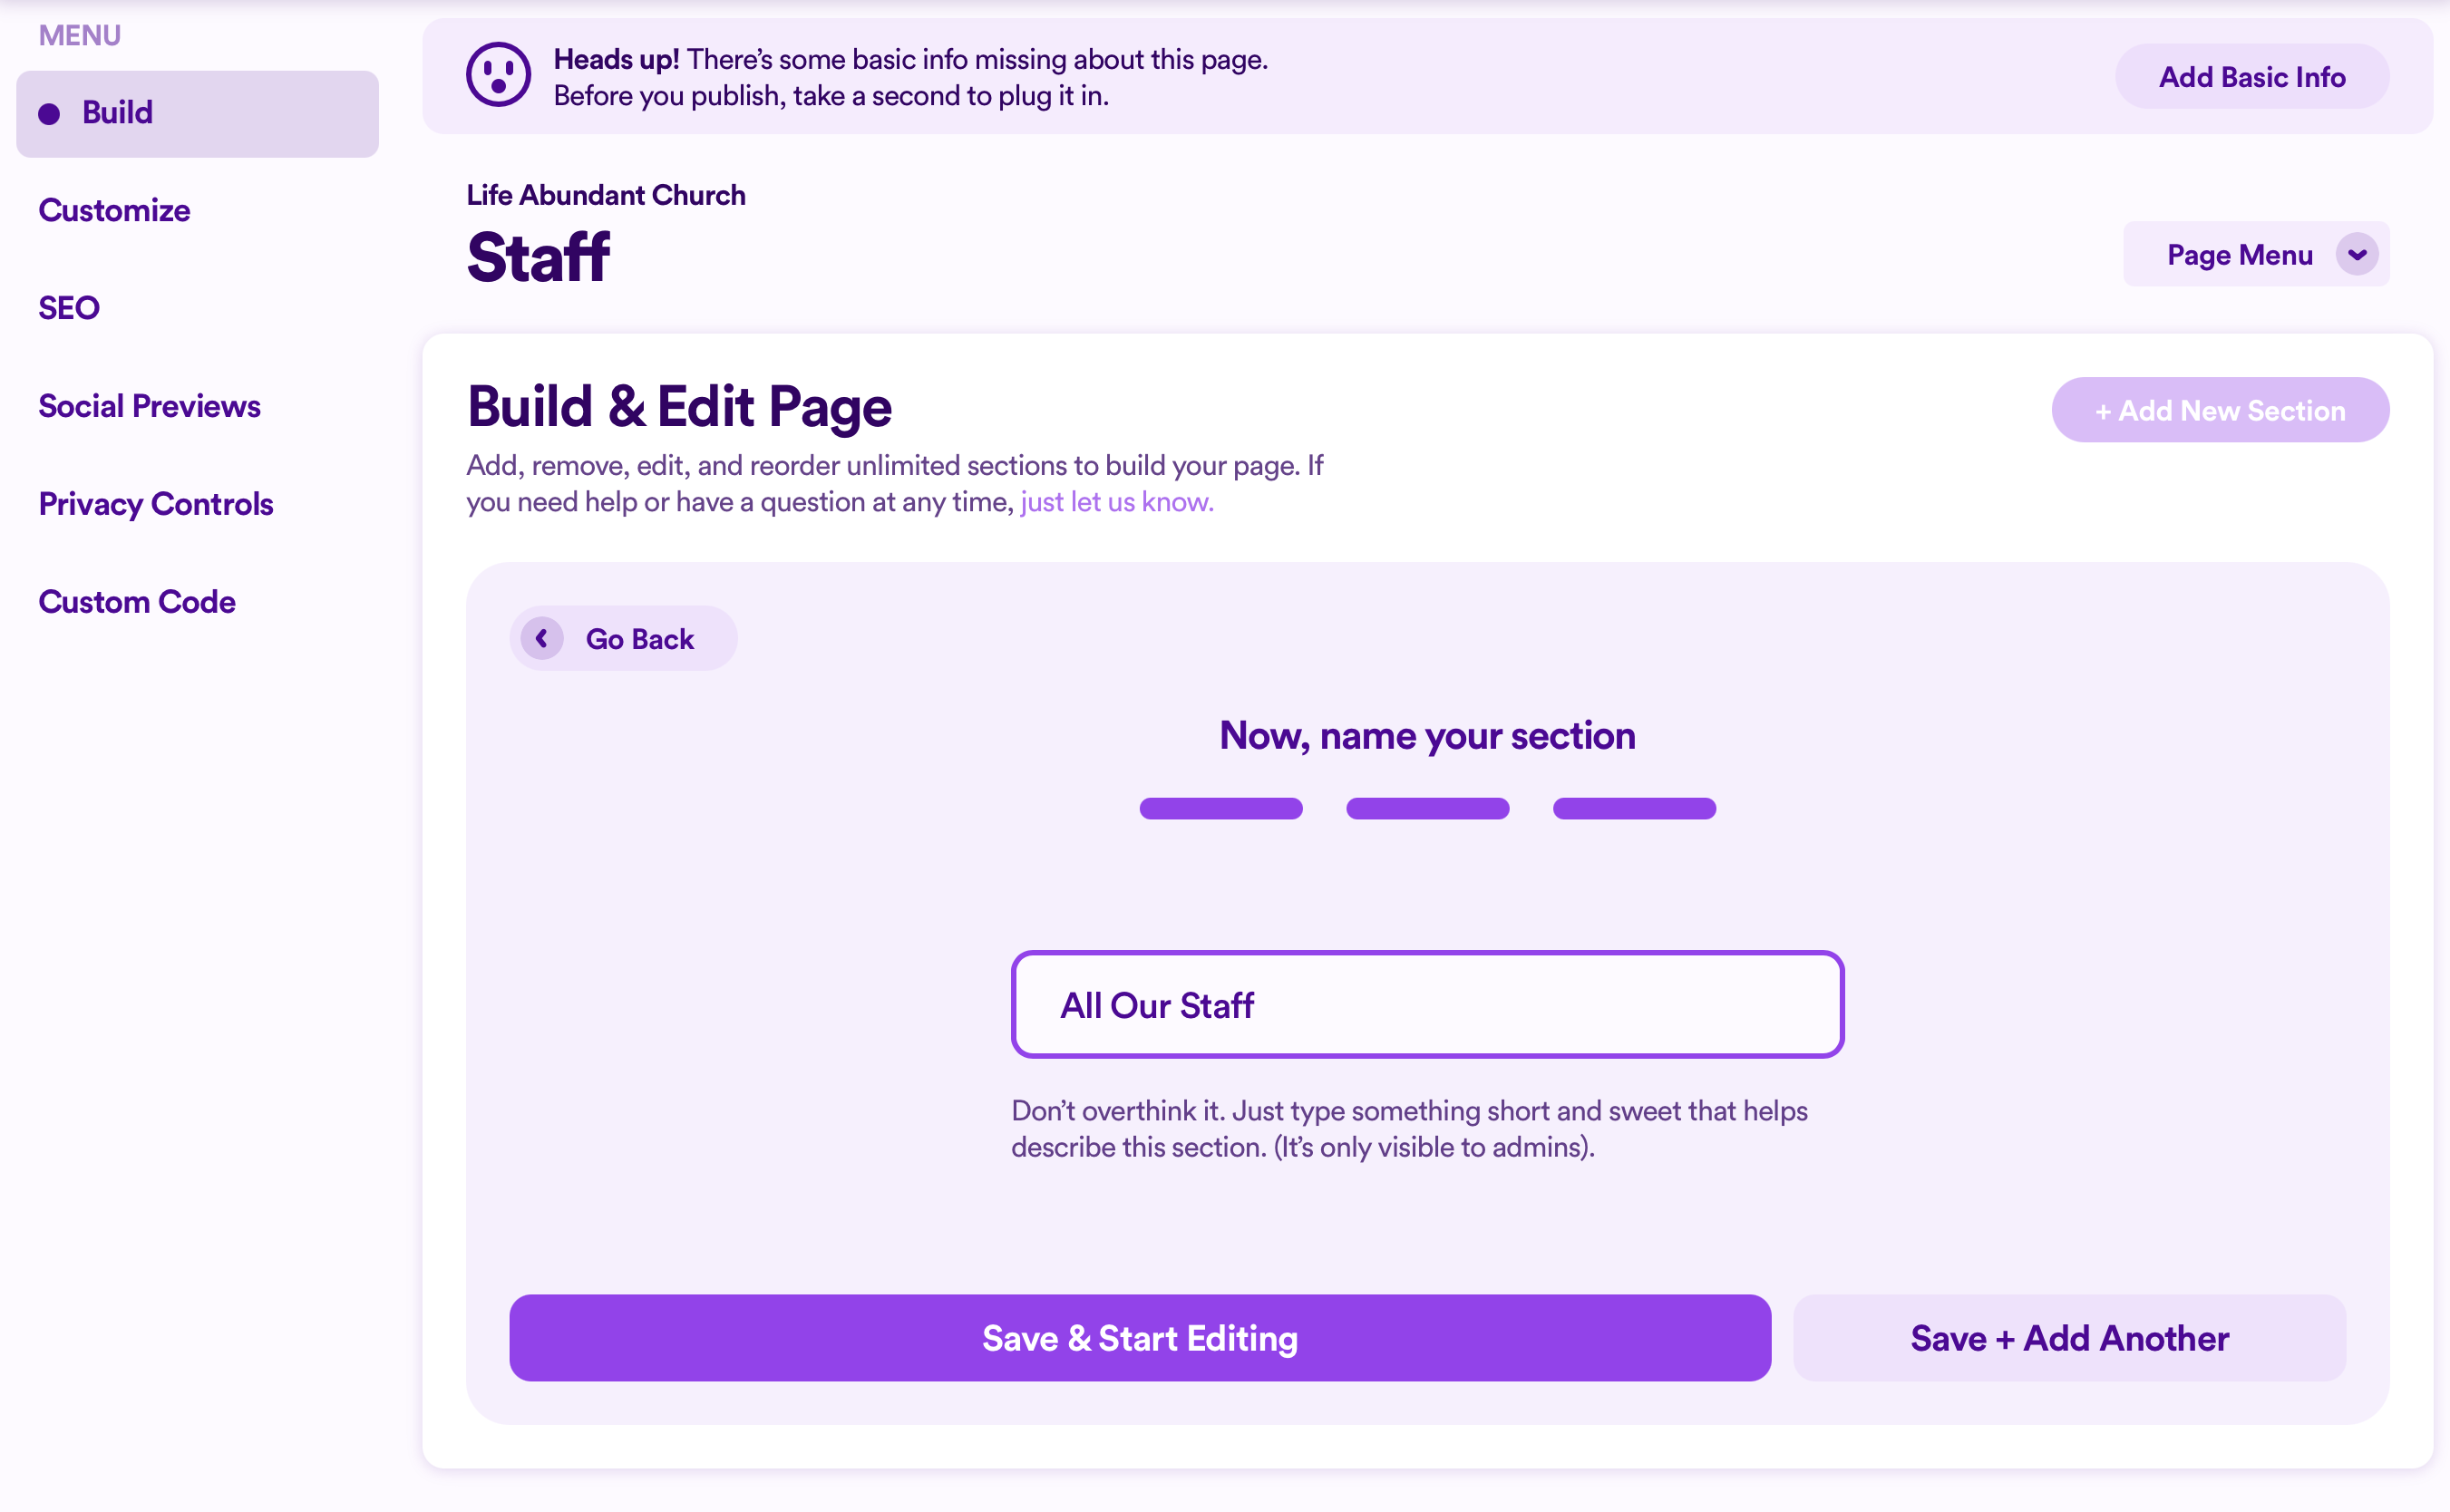
Finally, give your section a name. (This is purely for admin organization purposes, so it doesn’t have to be anything fancy.)
Then click Save & Start Editing.
Note: This article will only focus on the unique functionality for the Staff & Leaders Section. To learn more about how to edit the layout and design of a section, click here.
Add Staff & Leaders From A List
When creating staff & leader profiles, you can add those profiles to various lists. This can be especially helpful if you have a large staff or leader roster with several departments, where each list can represent an individual department (like a children's ministry, office staff, etc.)
When you do this, you can automatically pull an entire list of staff and leaders into your section.
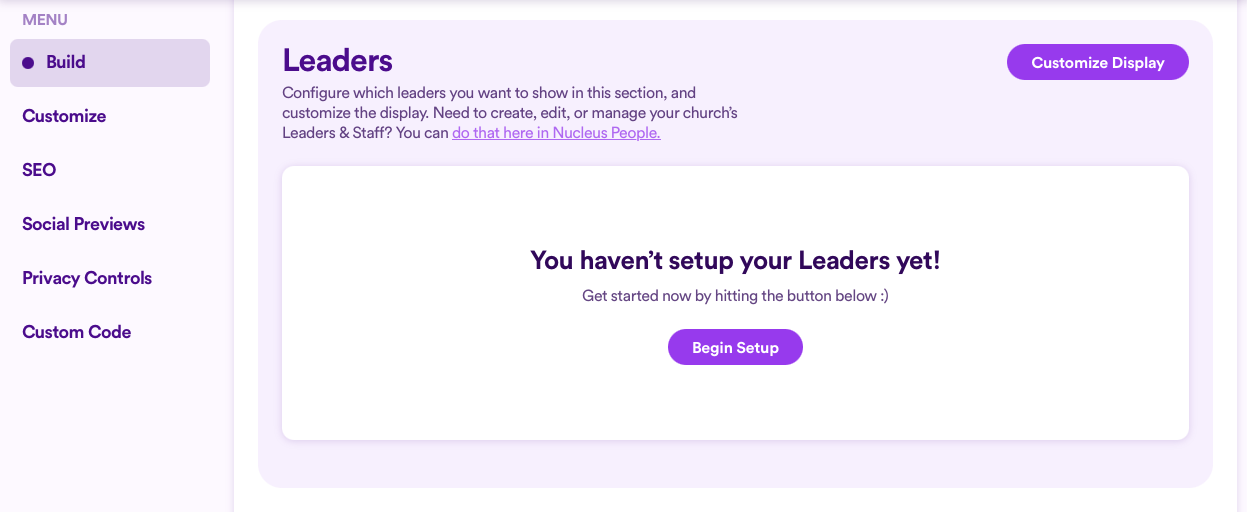
After having added a Staff & Leaders section, scroll down to Leaders, and click Begin Setup.
From there, choose from a List of Leaders. Then select which list you wish to pull profiles from and click Save Changes.
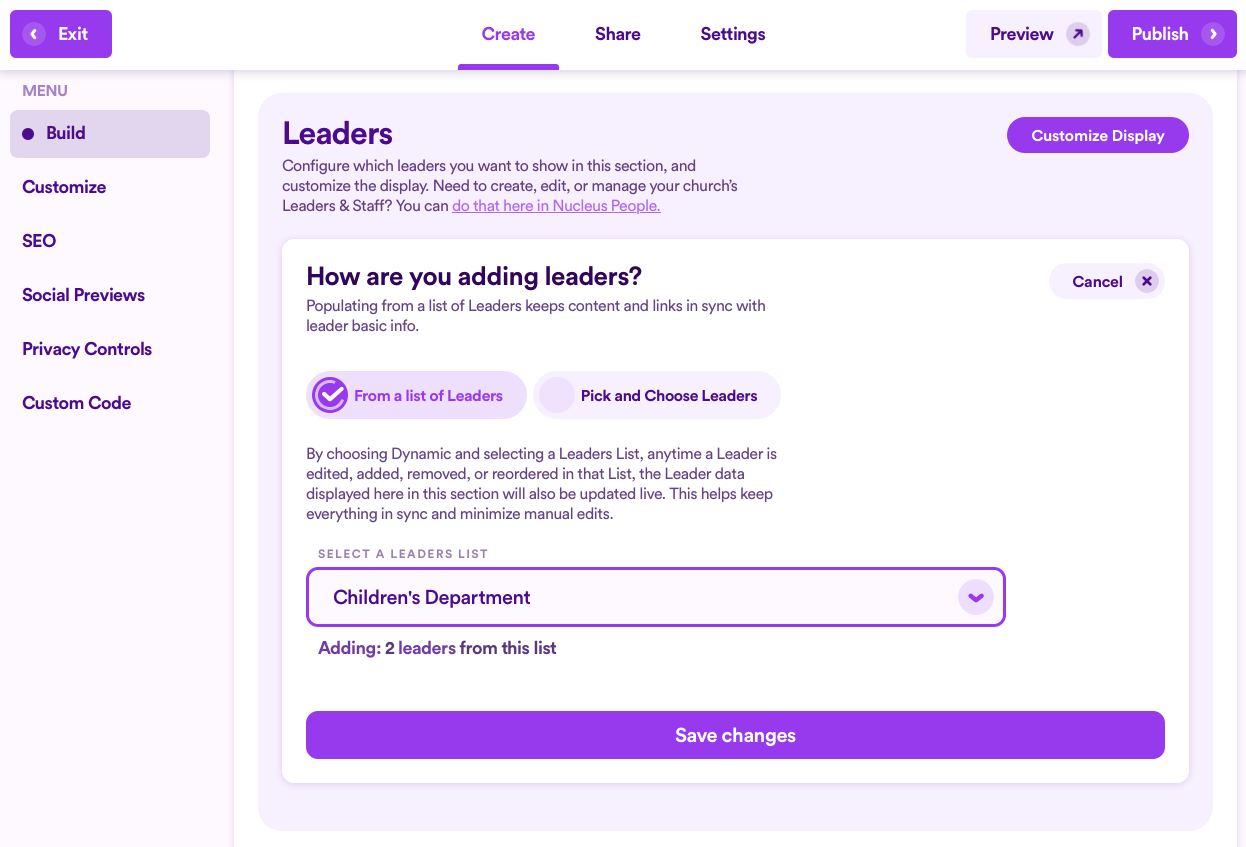
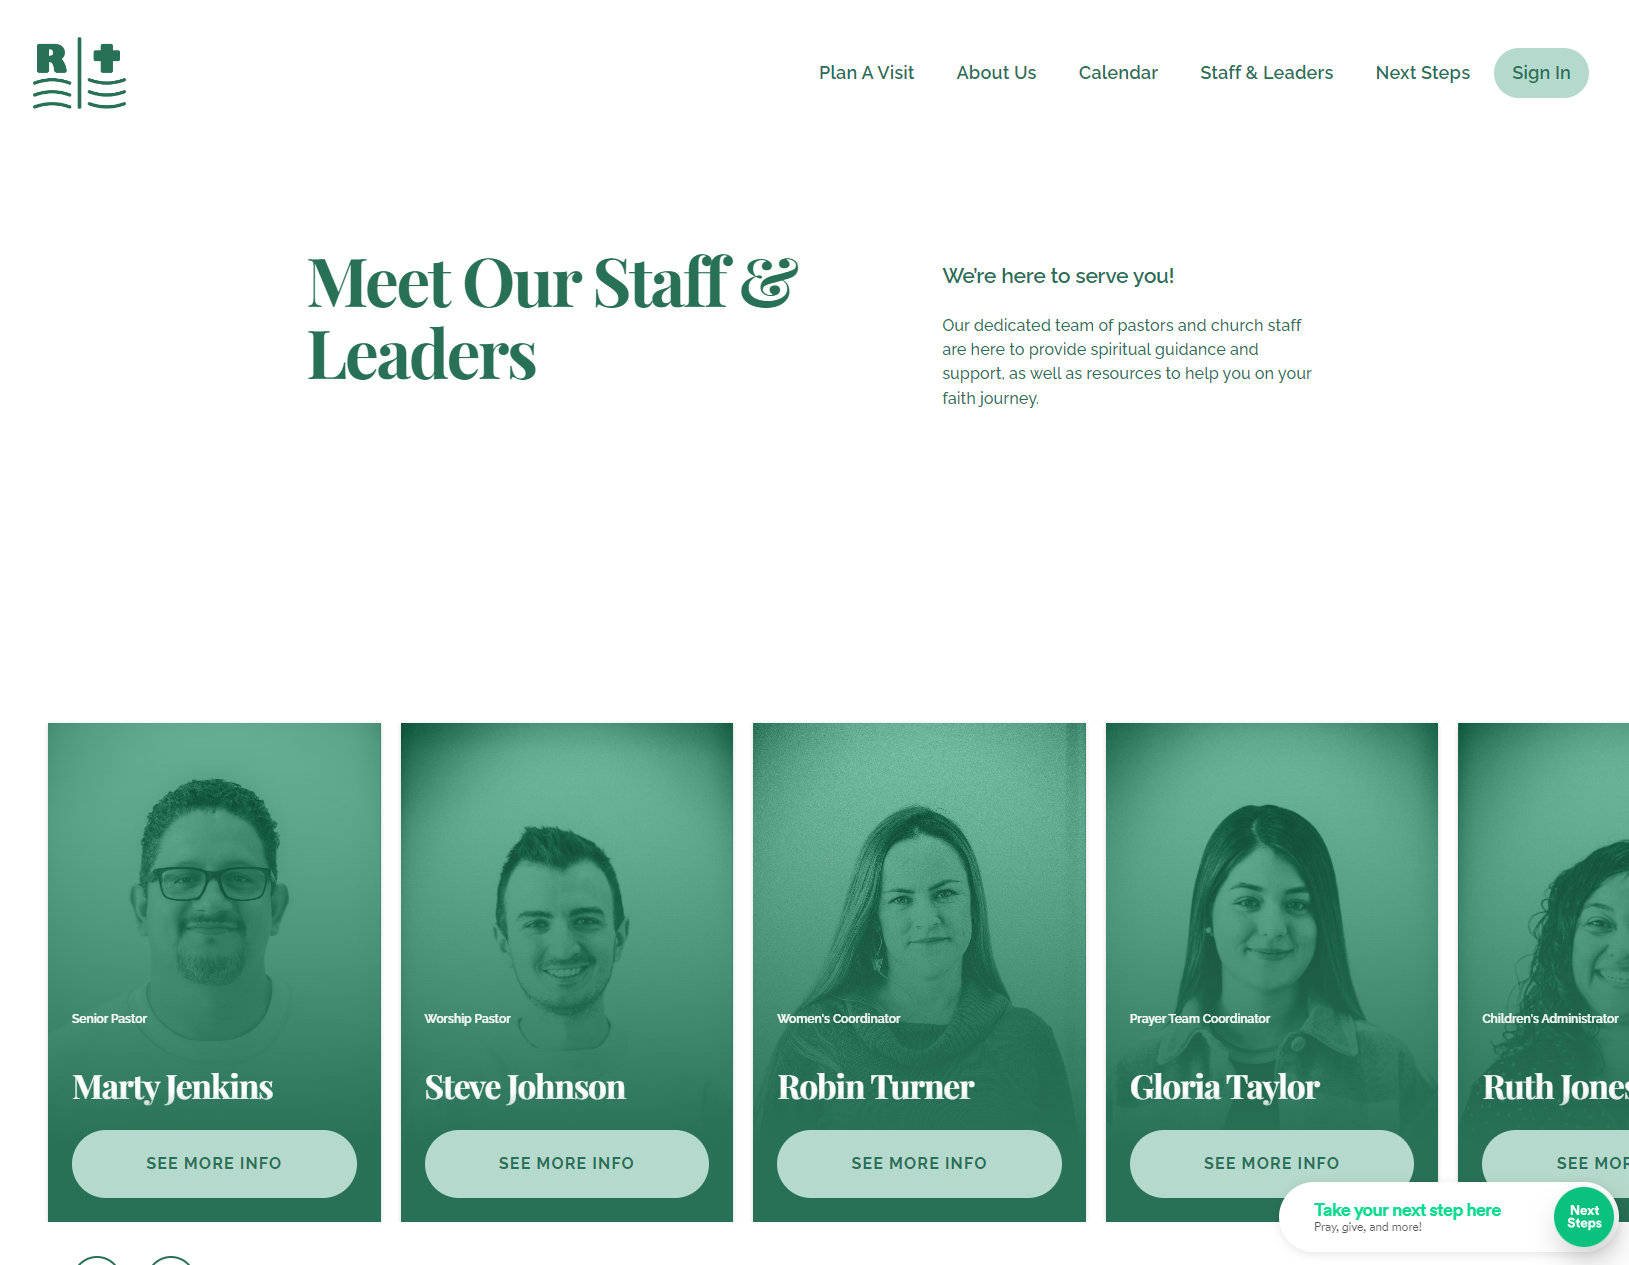
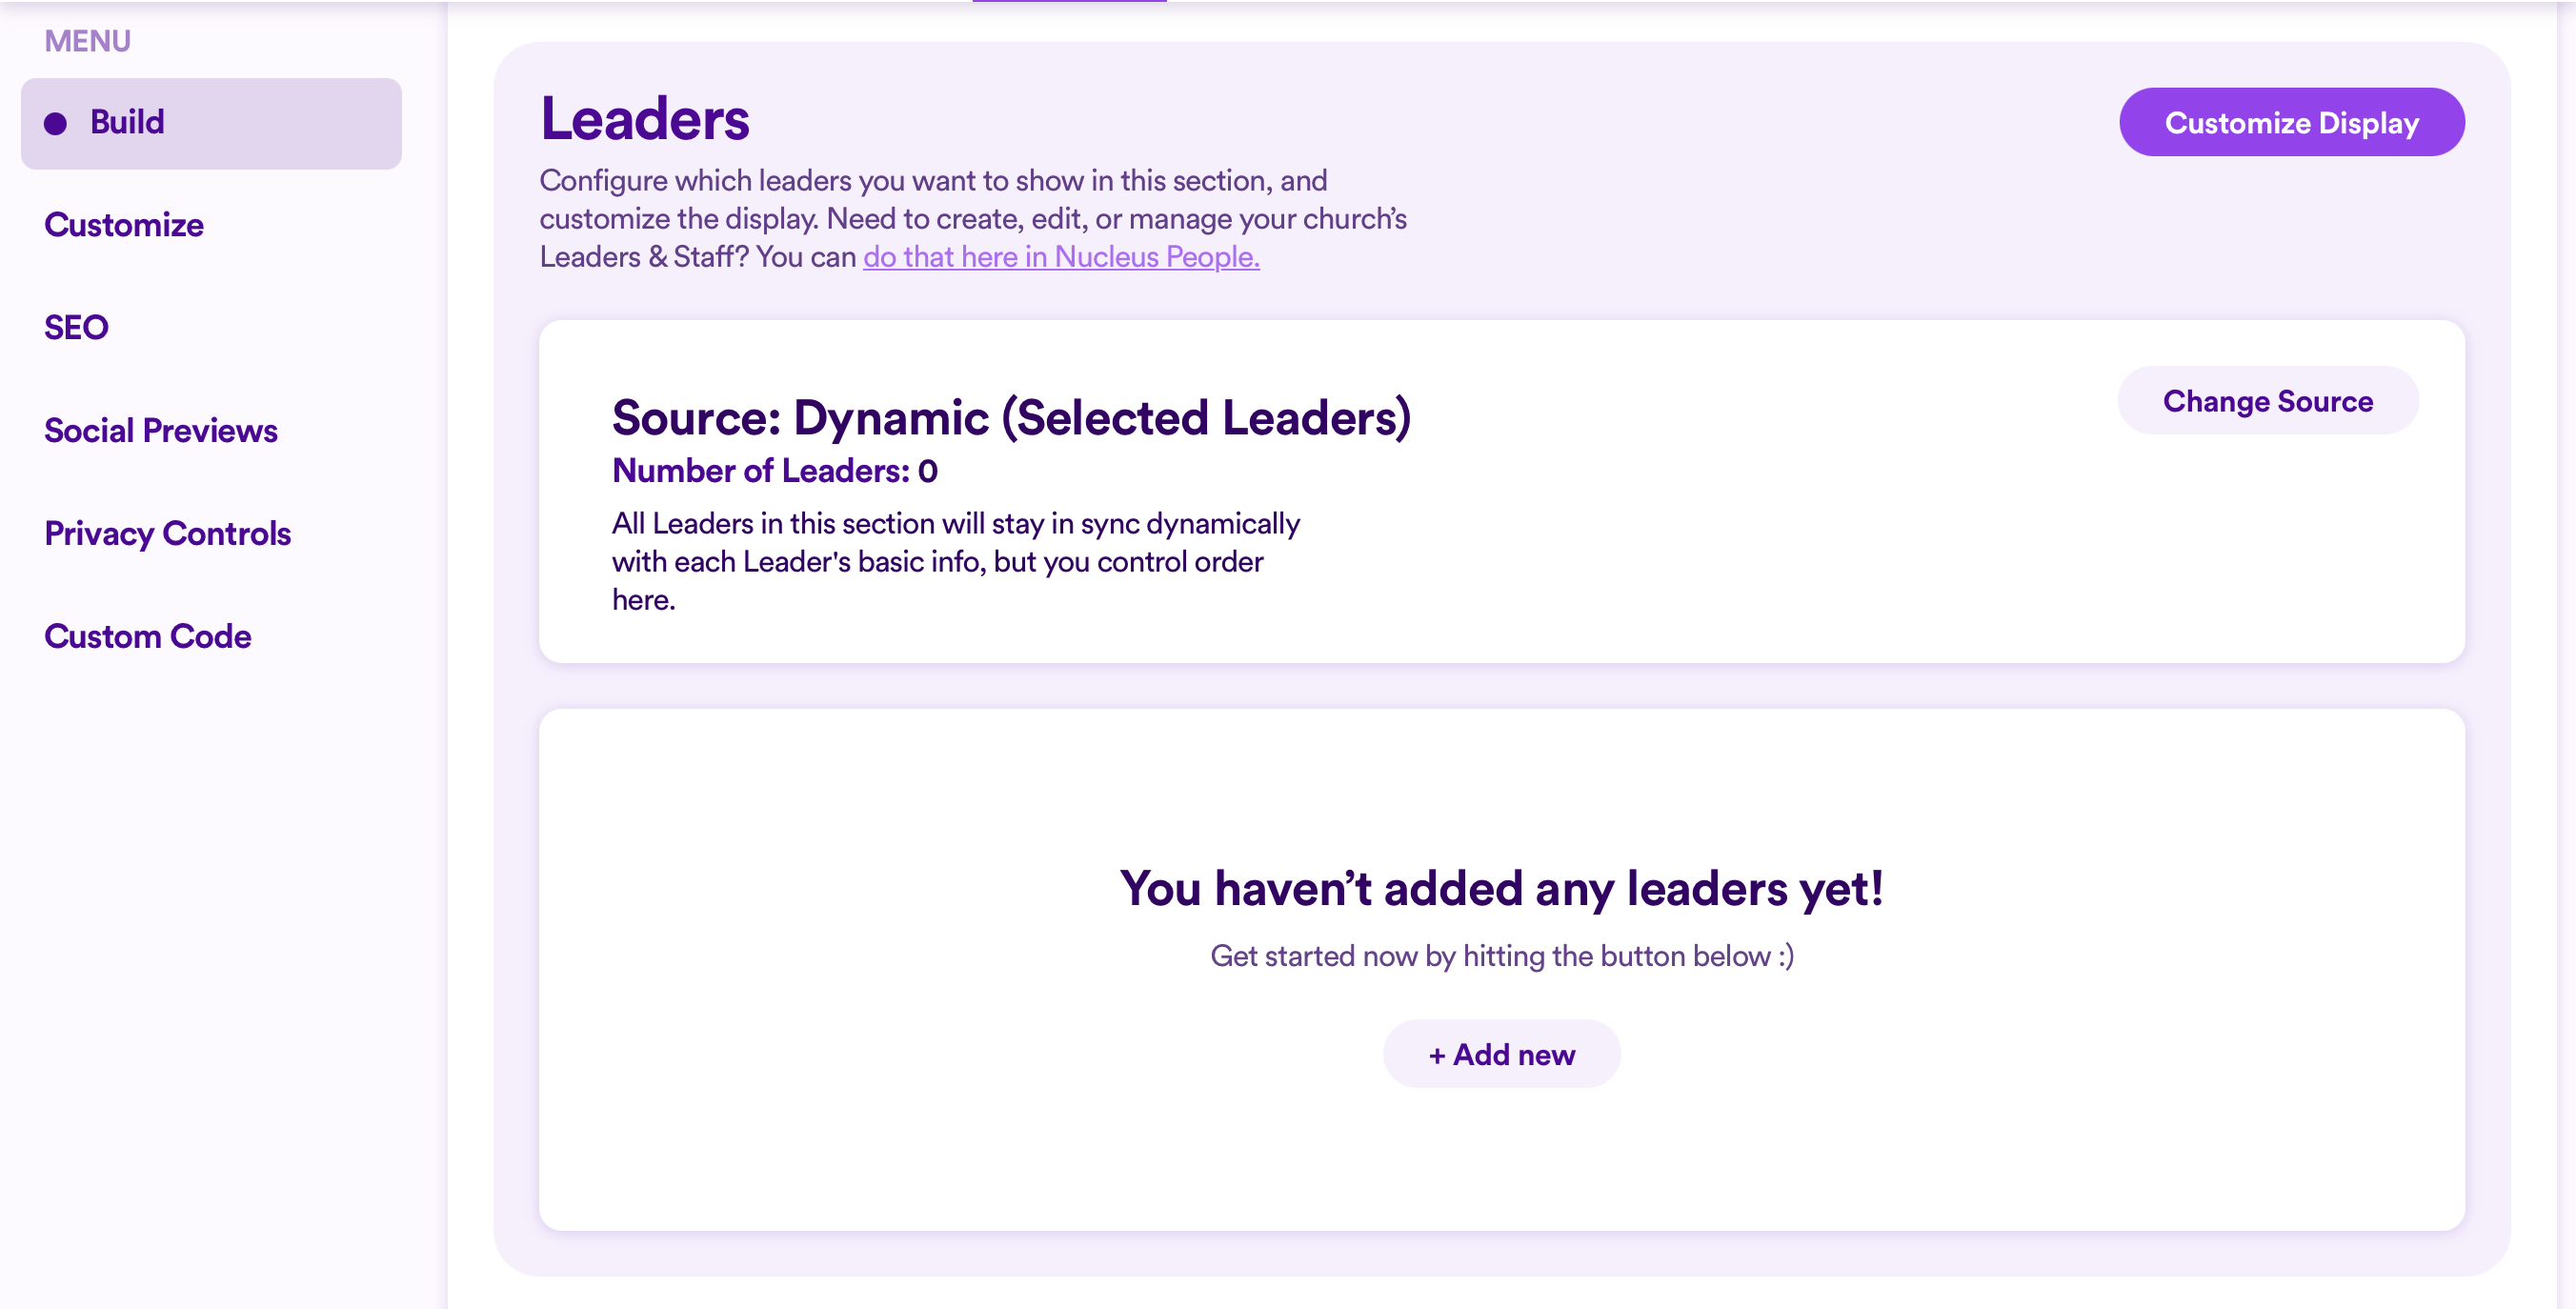
Immediately, you'll see all the profiles in that list populate below. Each person there will be displayed as a card in the section on the front end. (See example below.)

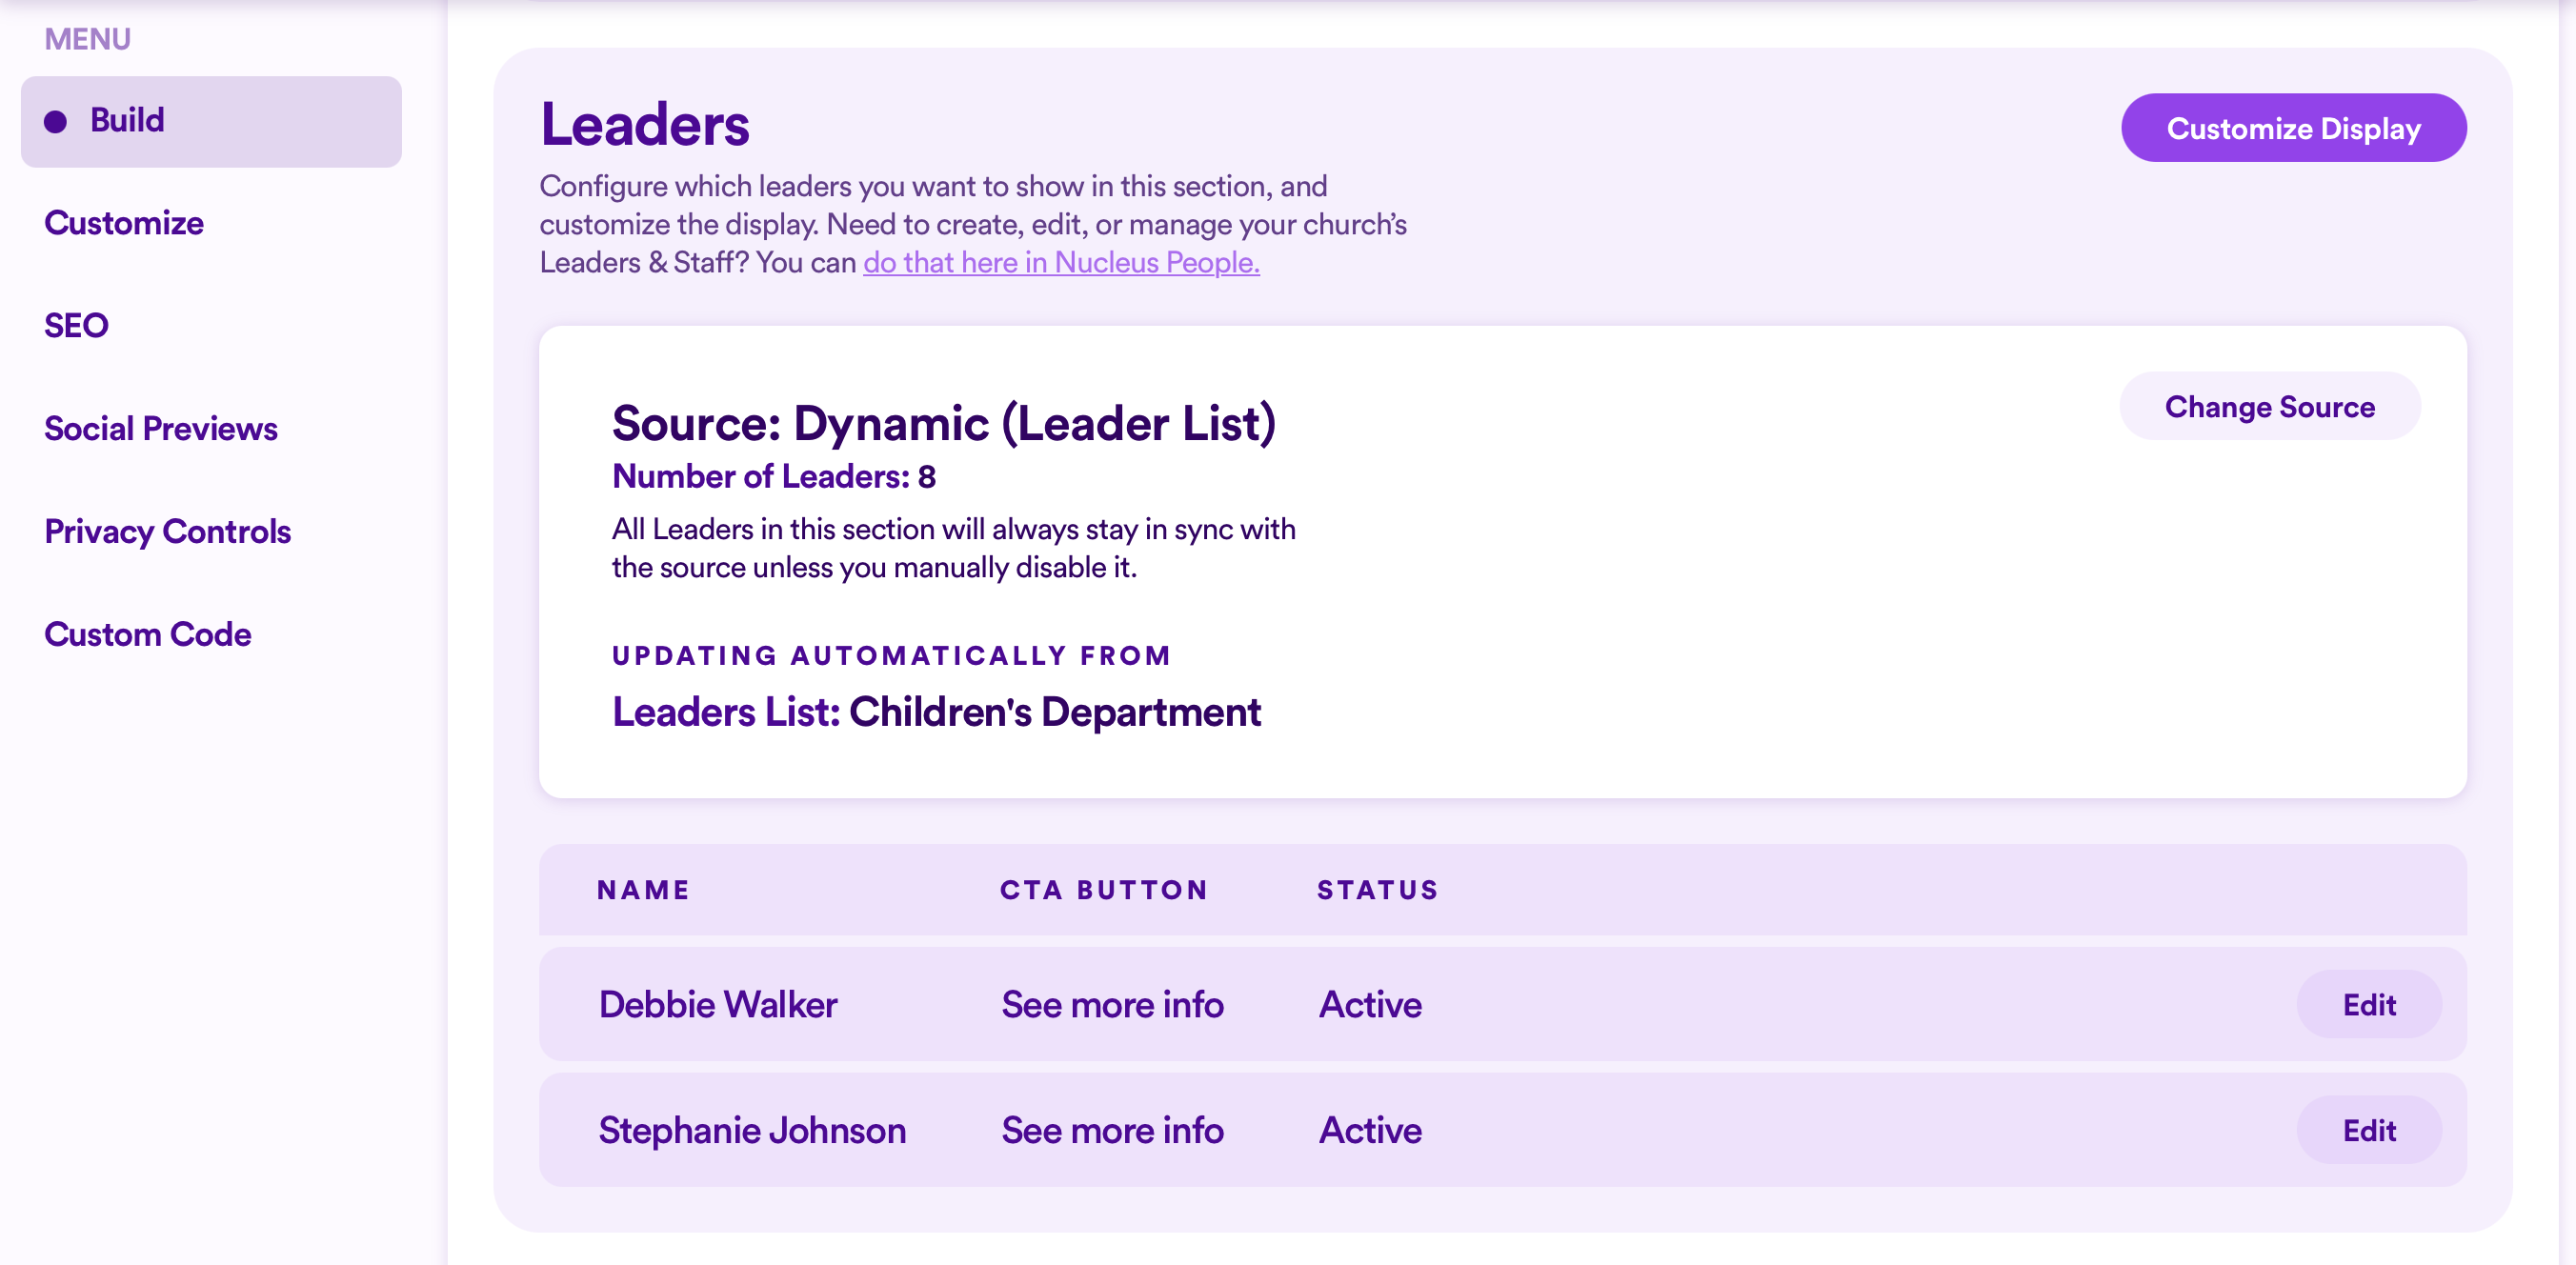
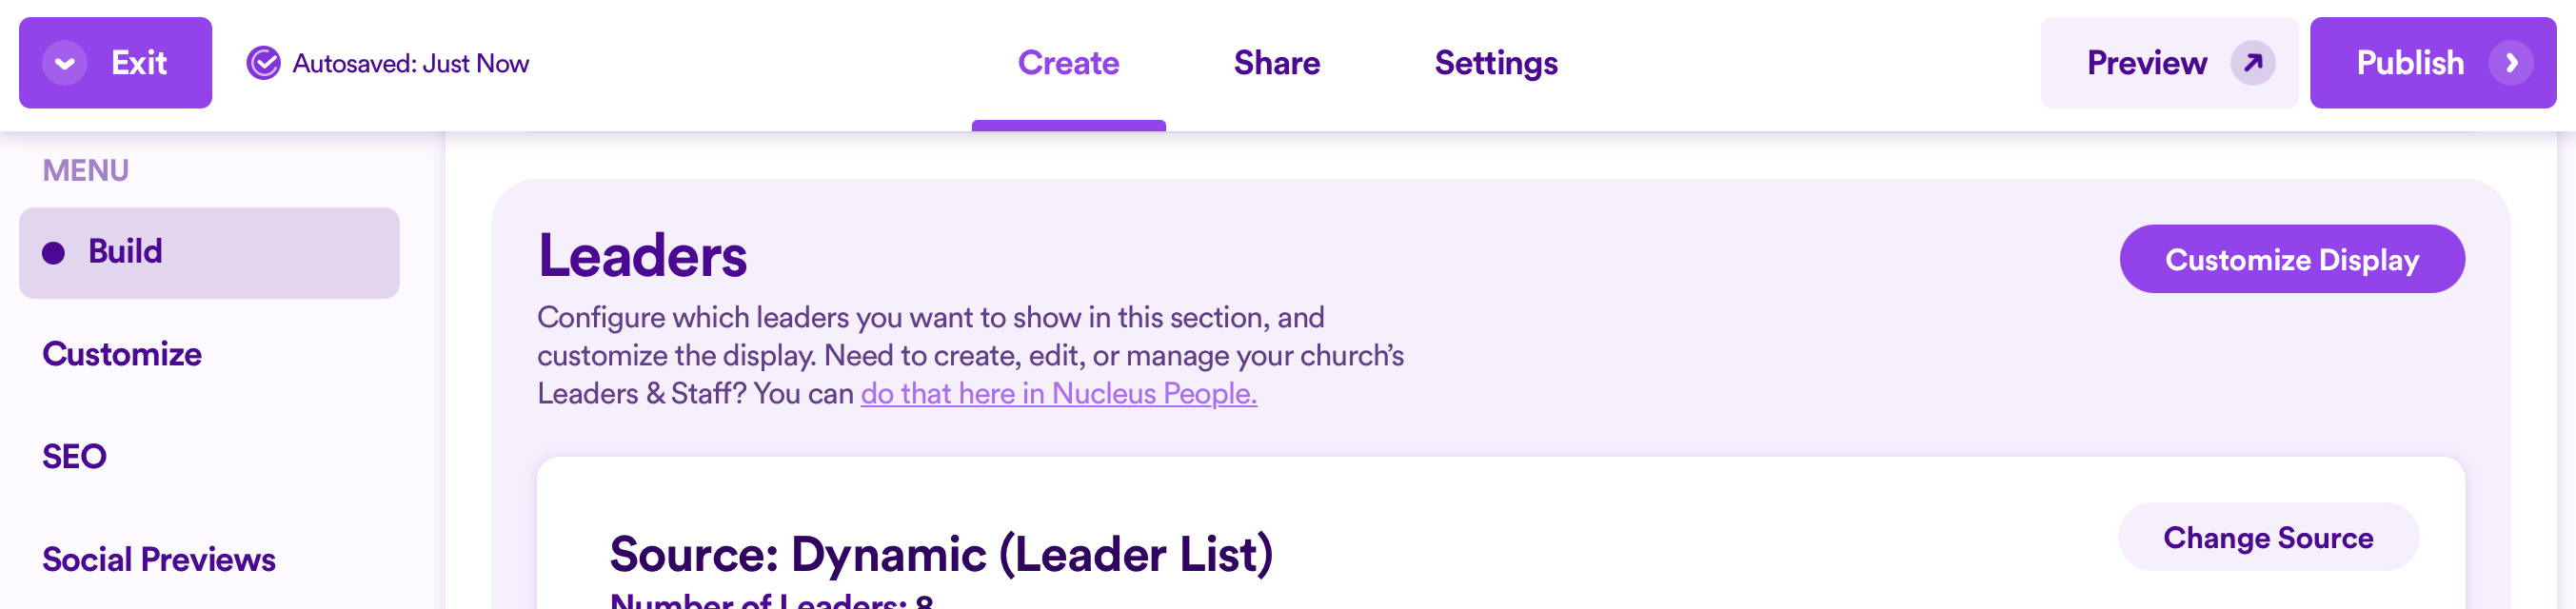
You can always change who is displaying in your Staff & Leaders section by clicking Change Source. From there, you can choose to pull profiles from a different list, you can manually select profiles one-by-one to add.
To change the text on each "See More Info" button as well as select the style each button appears as, click Edit on each person's profile.
Next, add the call-to-action (CTA) text, and select one of four button styles.
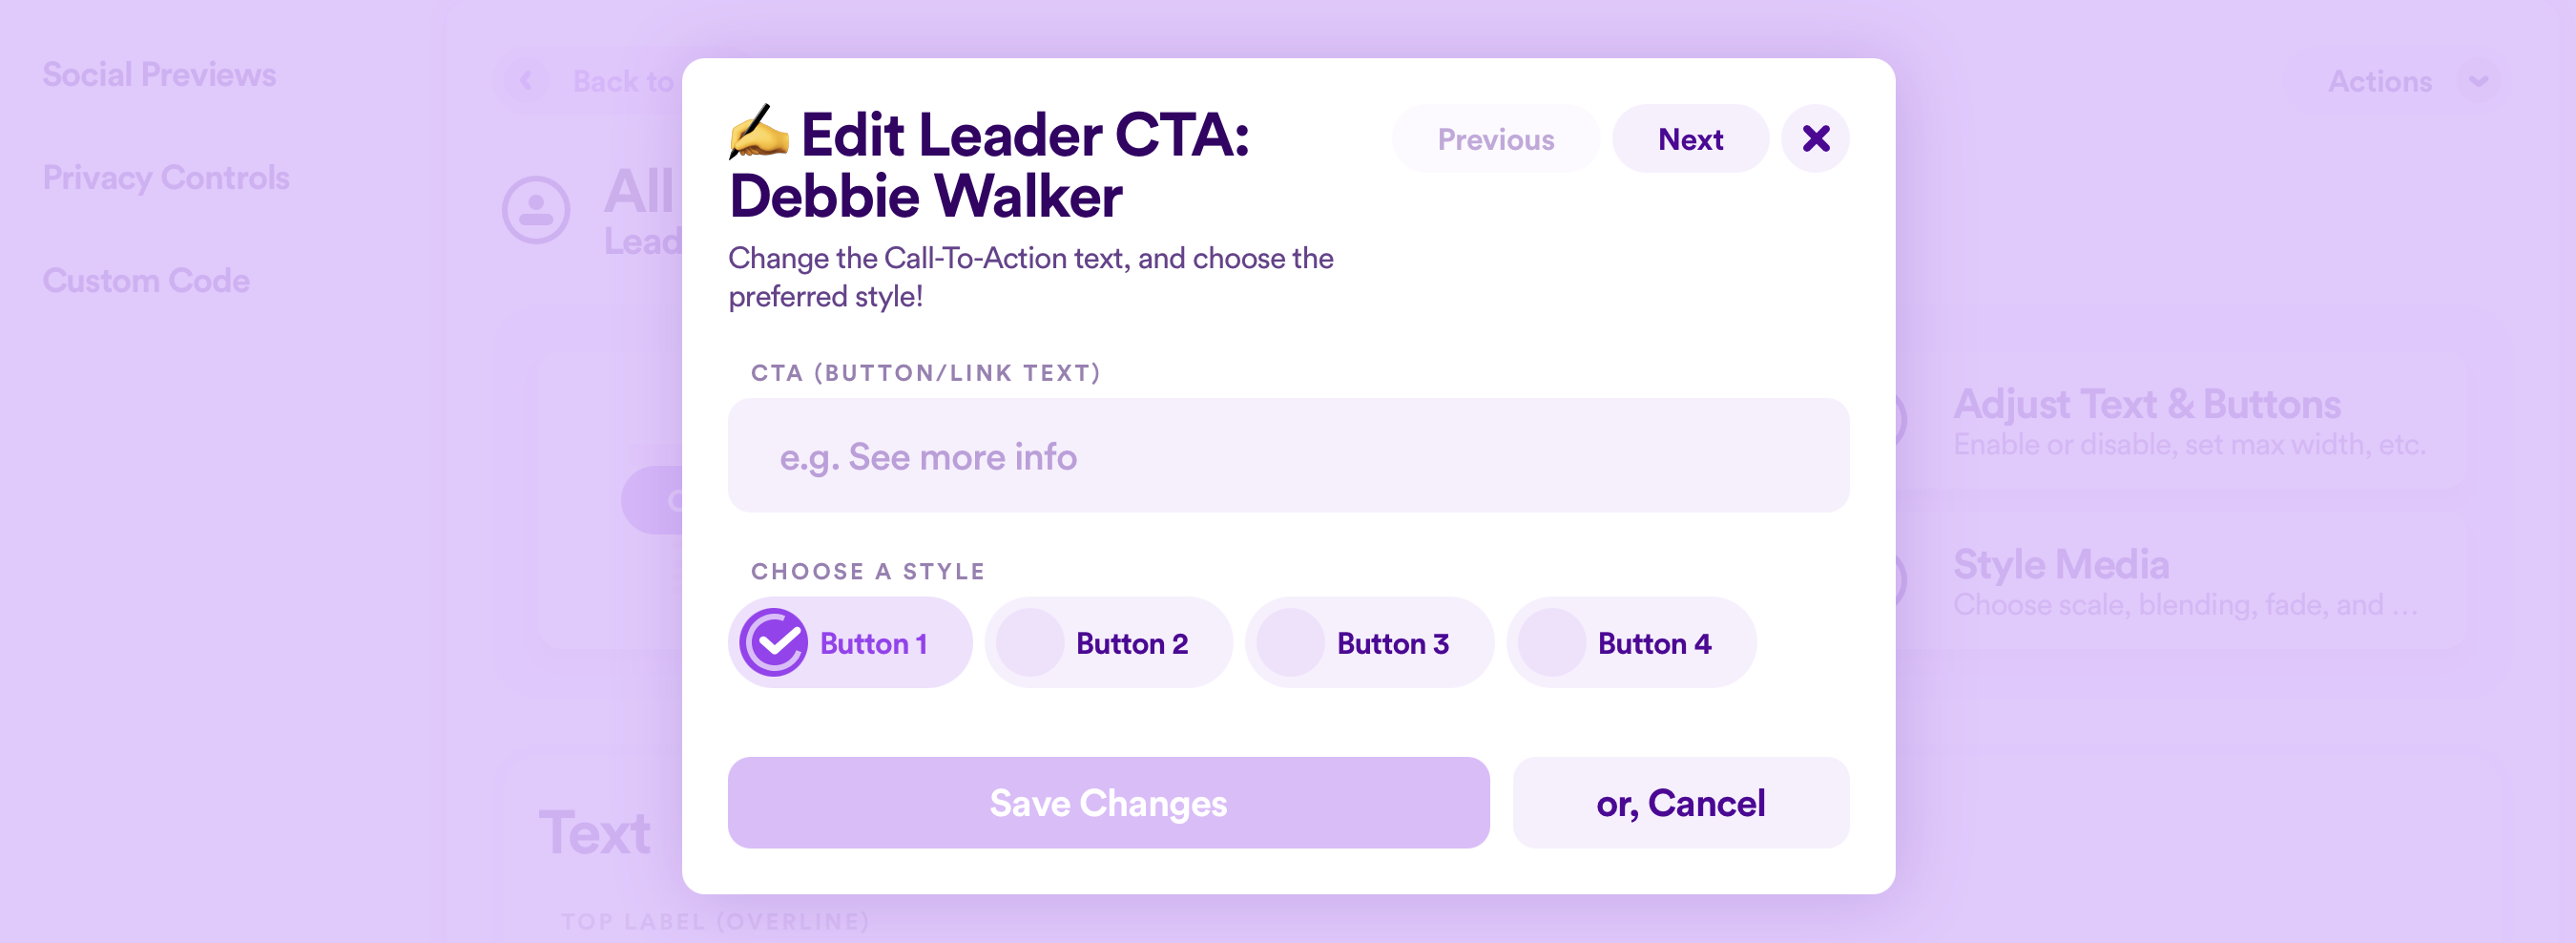
Note: Button styles are controlled site-wide in your overall Web Design settings here.
Once complete, click Save Changes.
Add Staff & Leaders Individually
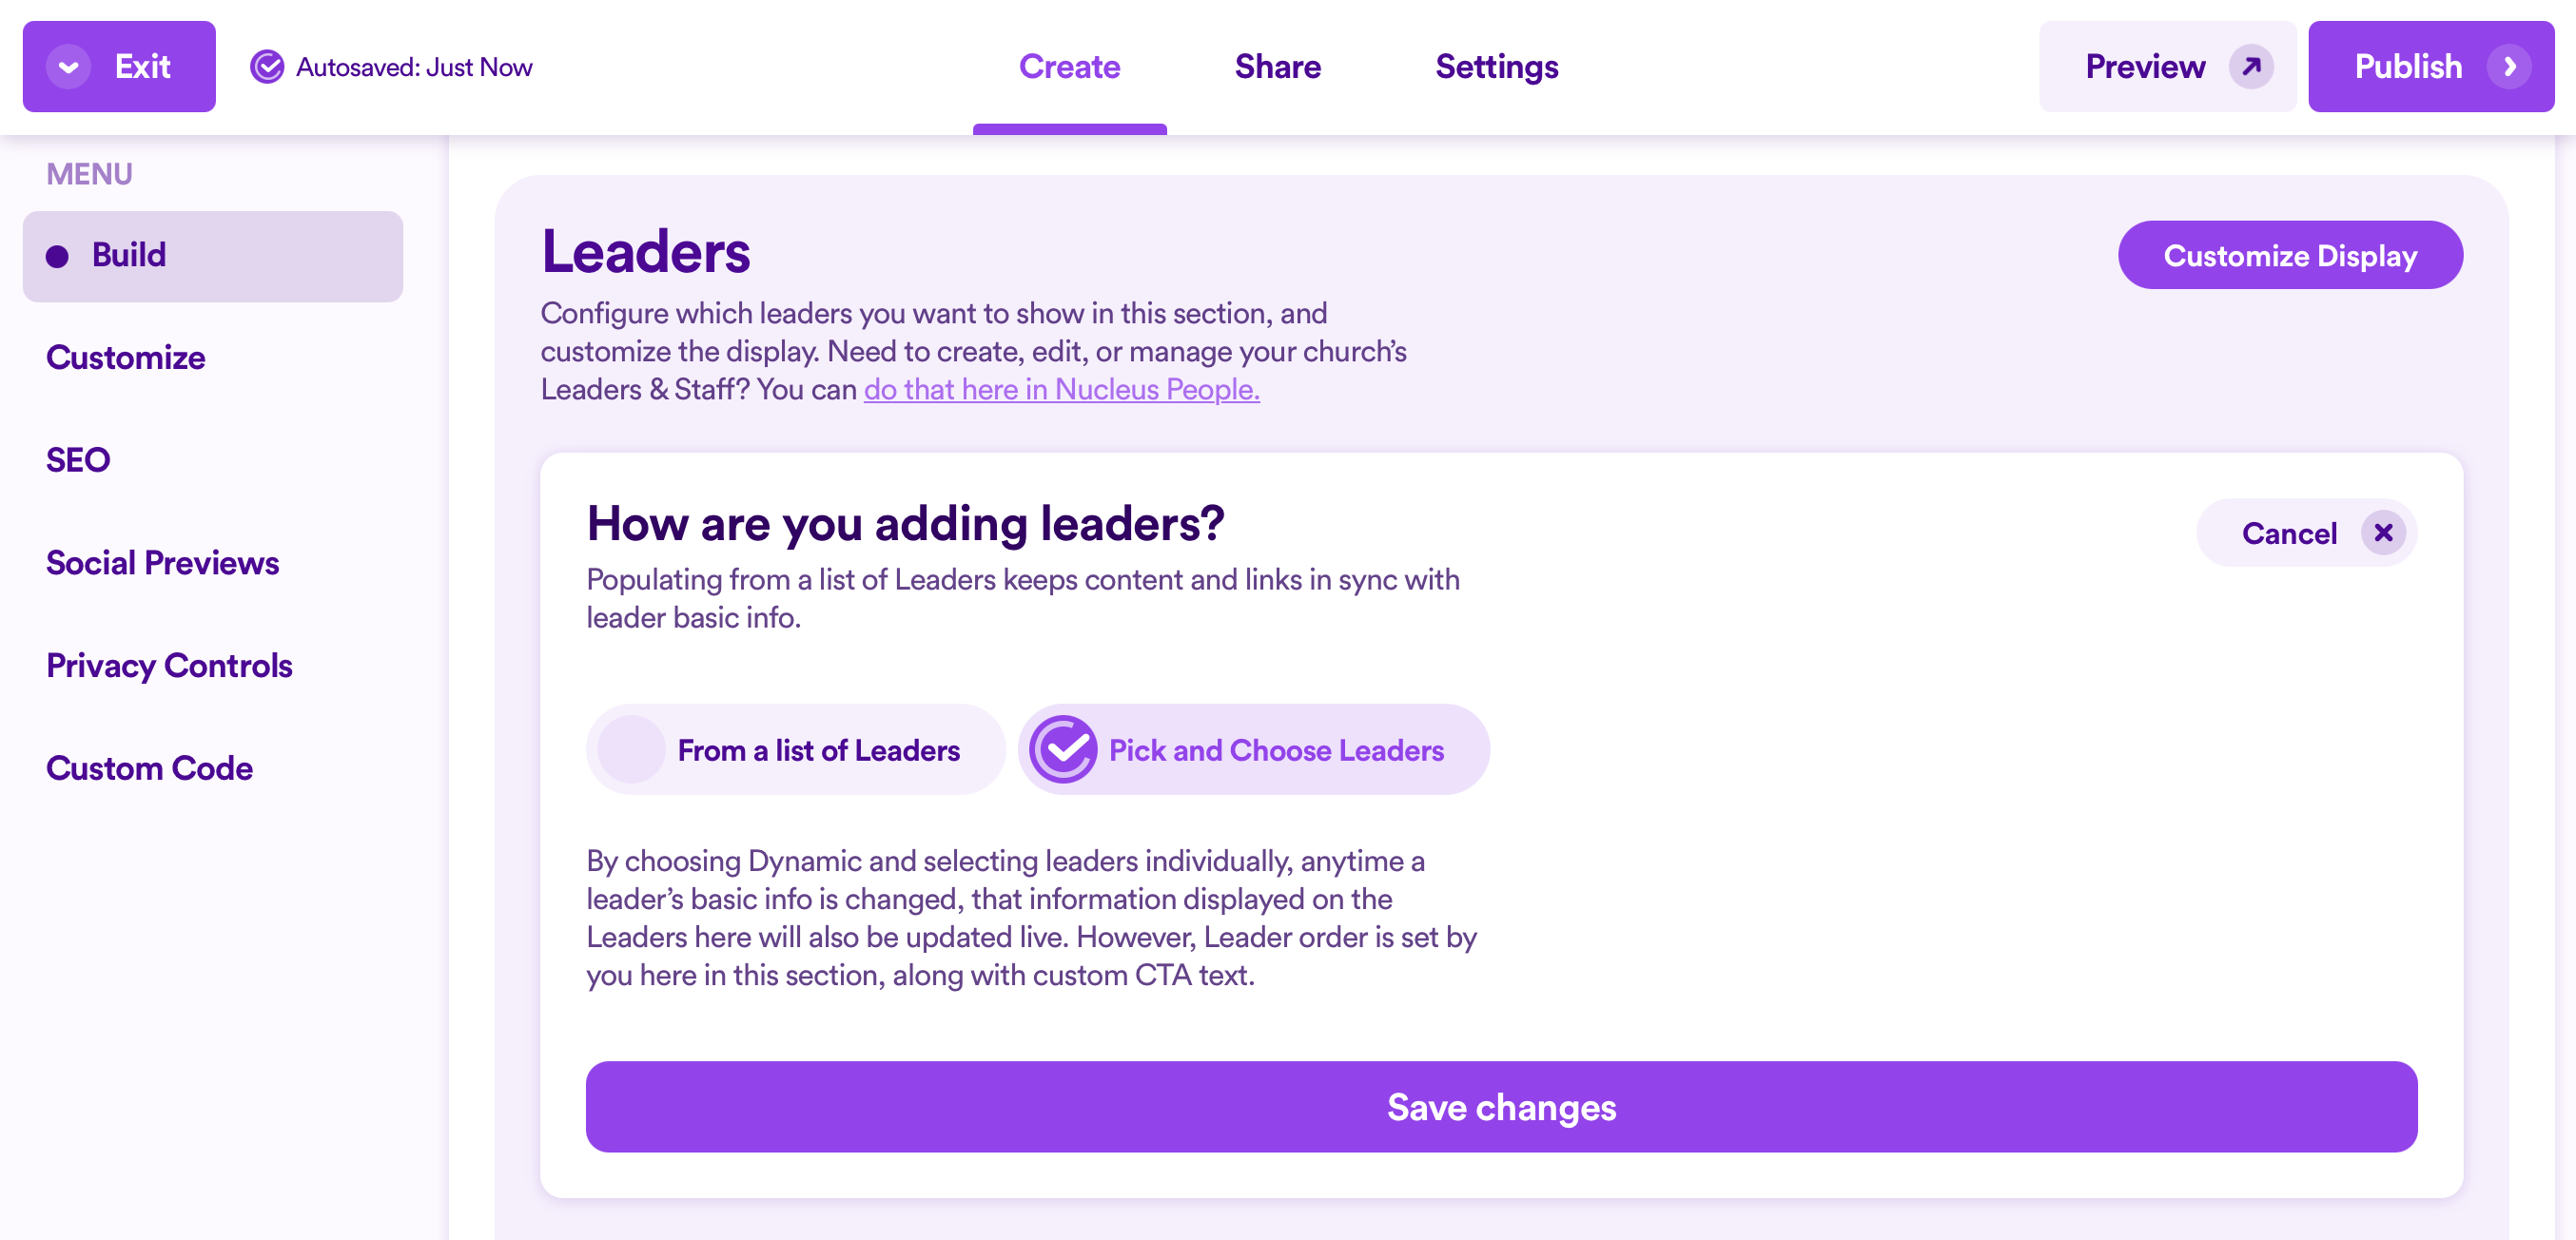
After having added a Staff & Leaders section, scroll down to Leaders, and click Begin Setup.
Then select Pick and Choose Leaders, and click Save Changes.
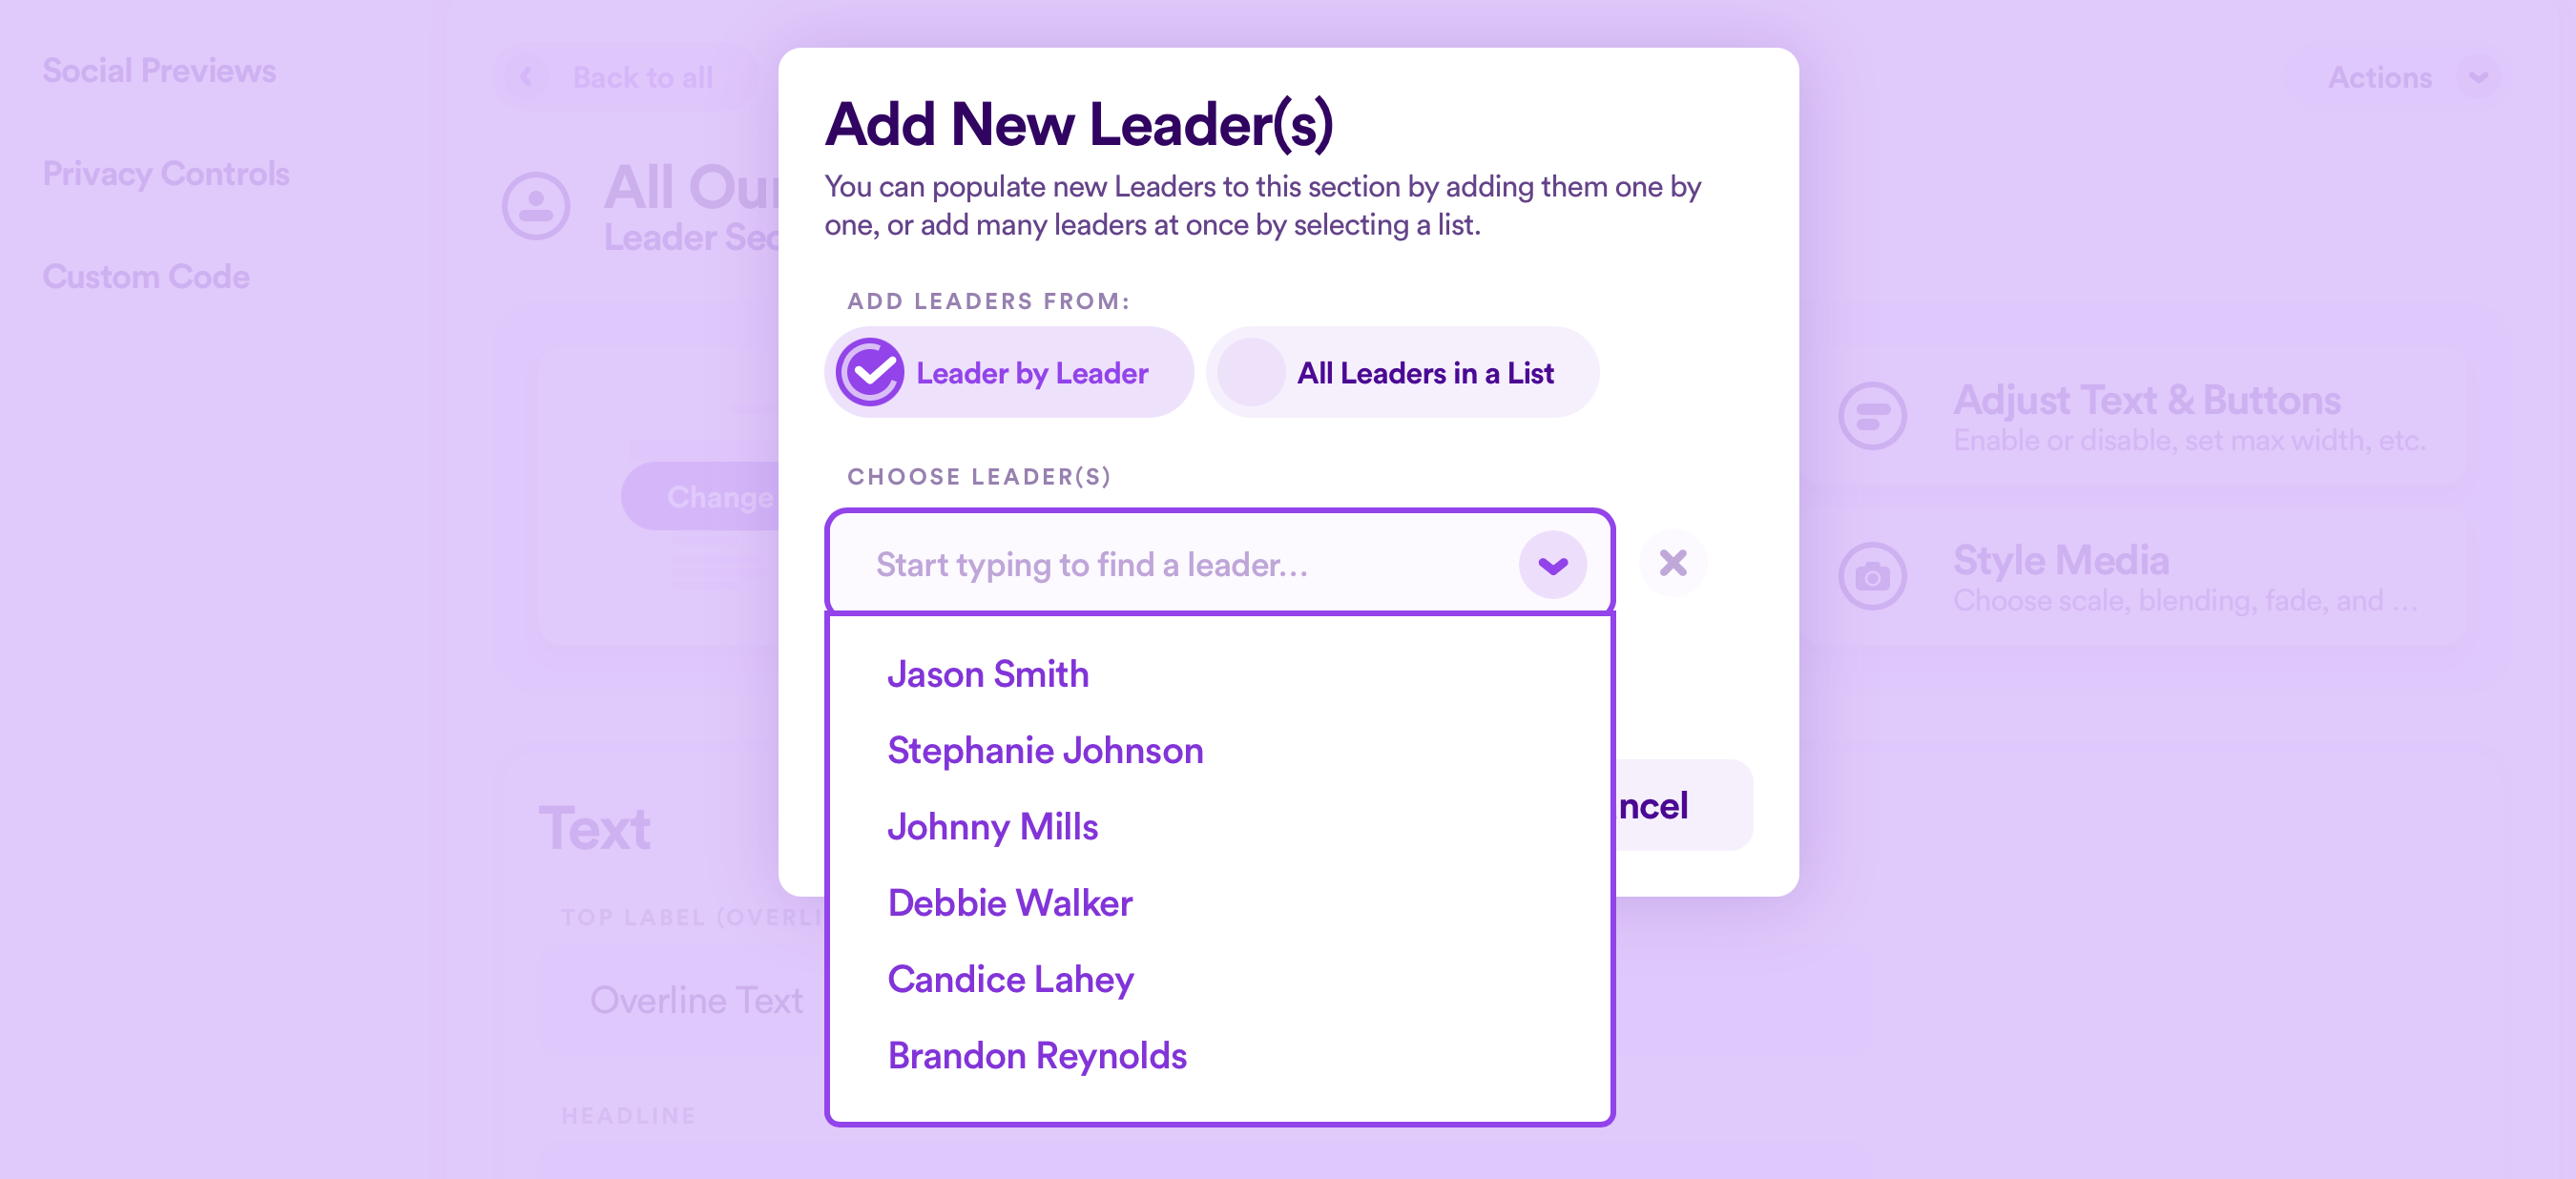
Next, click + Add New, where you will then be able to click the dropdown menu and select from every staff & leader profile you've already created in your People application here, or you can start typing their name (which can be helpful if you have a lot of profiles to choose from).
You can add as many people as you'd like. Once you're finished, click the purple button Add New Leaders.
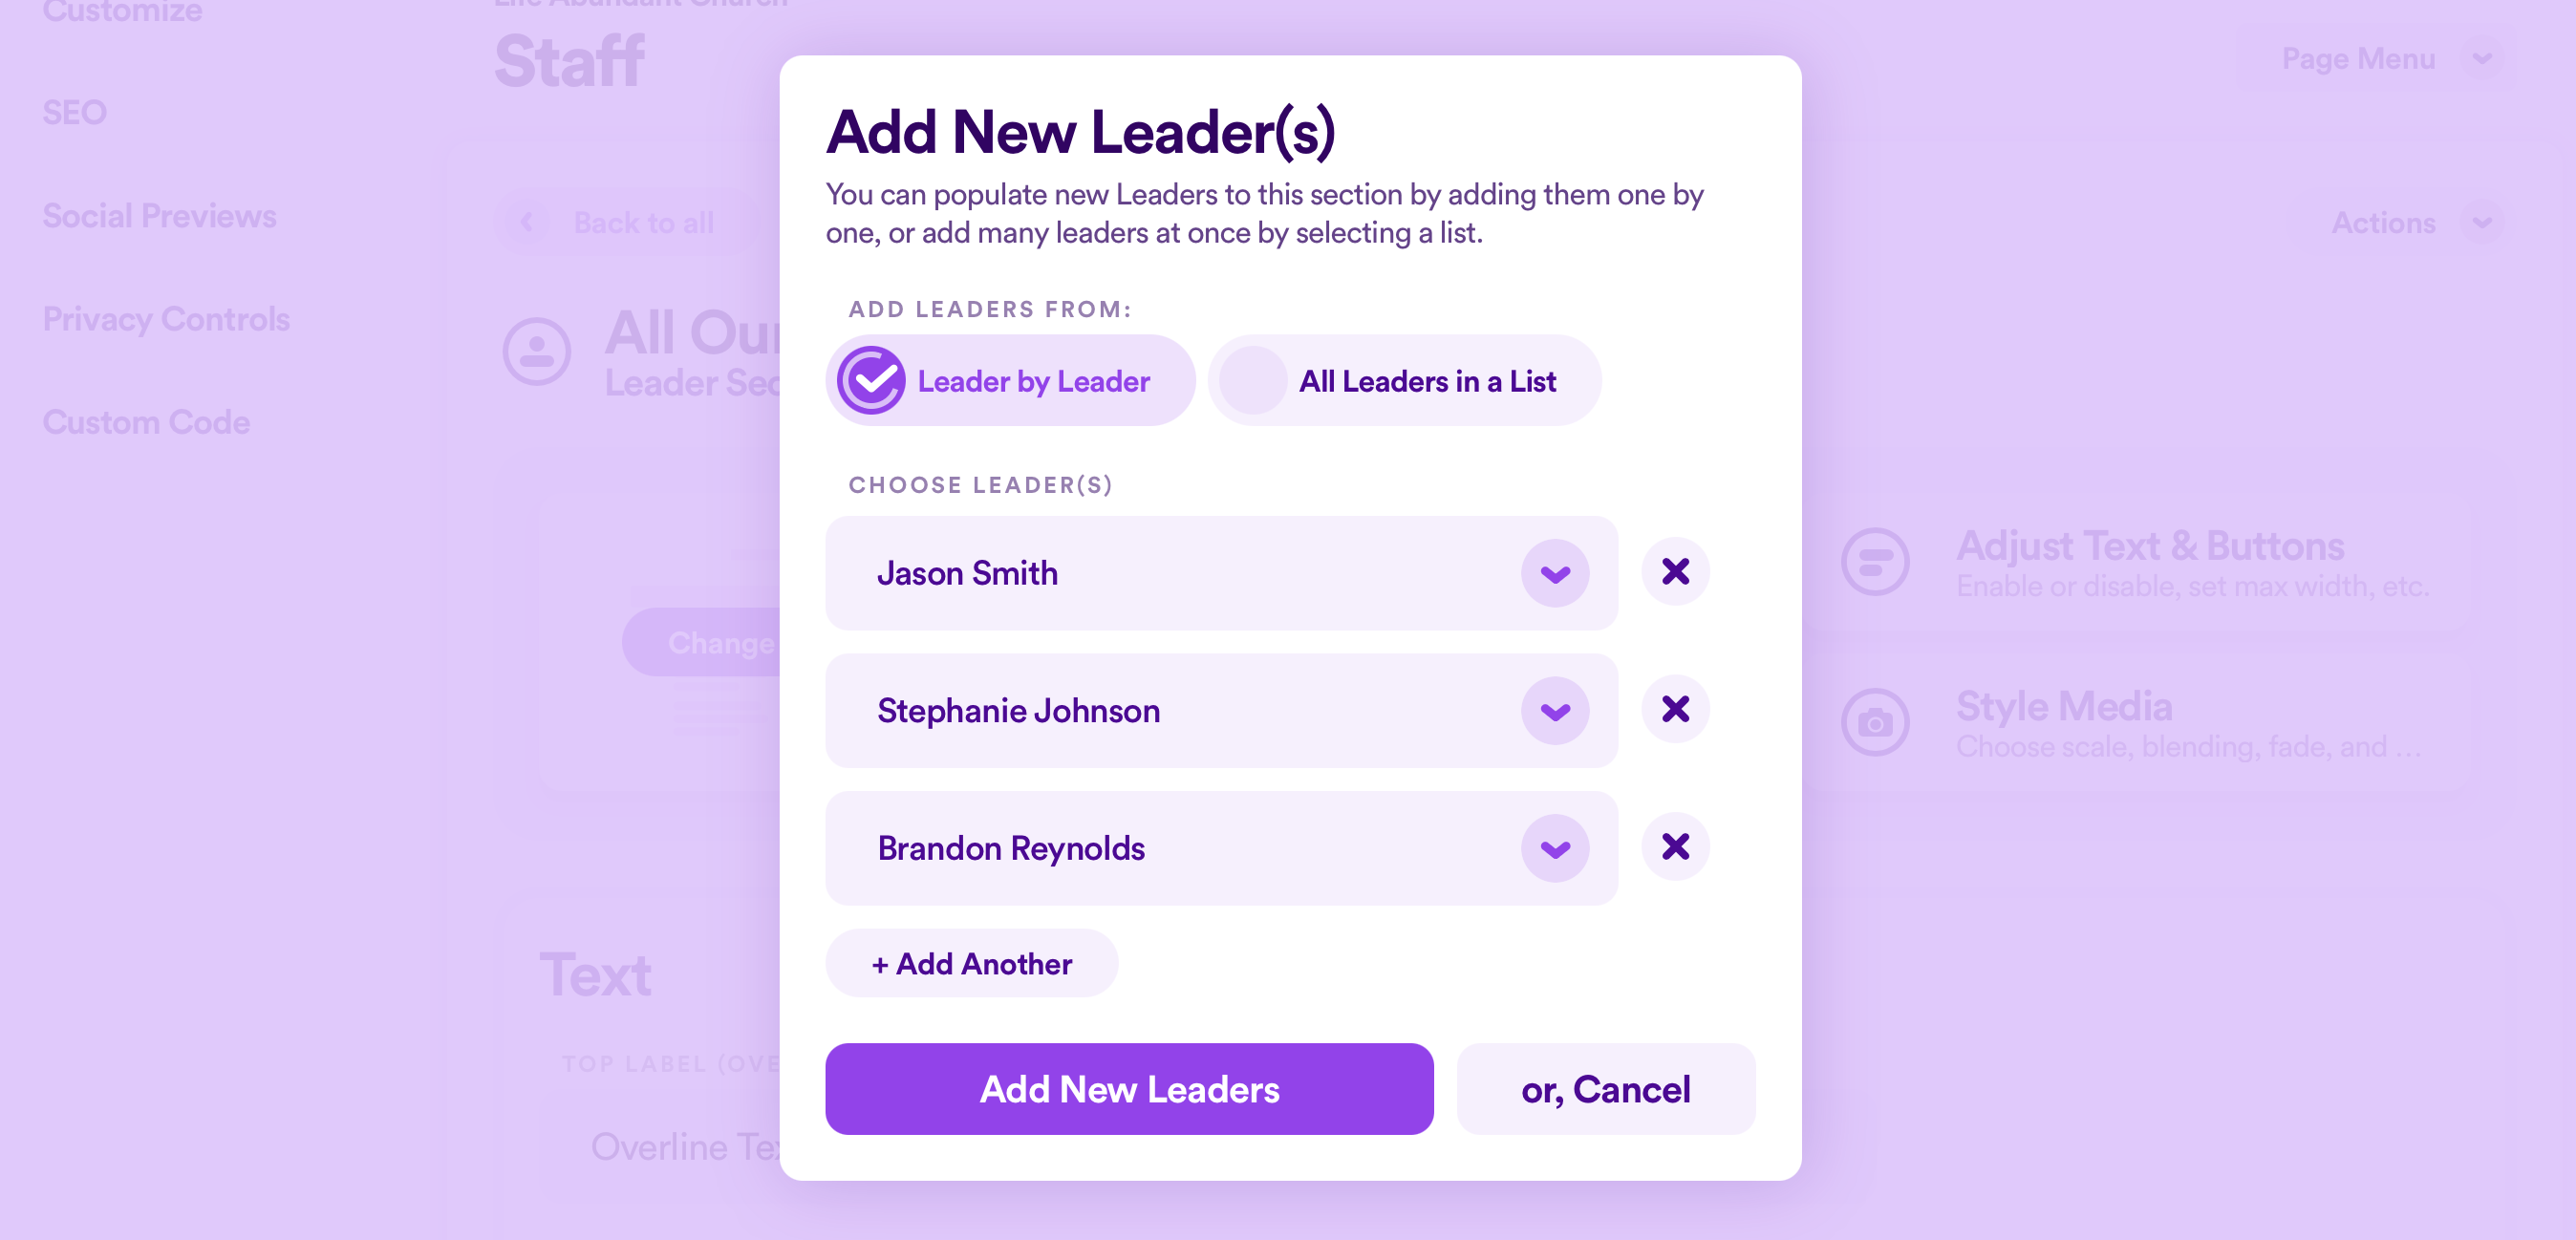
Now, you can rearrange the order of the leaders by clicking and holding the two lines on the far right, dragging it up/down, and releasing it in your desired order. You can also click to + Add Another person to your section.
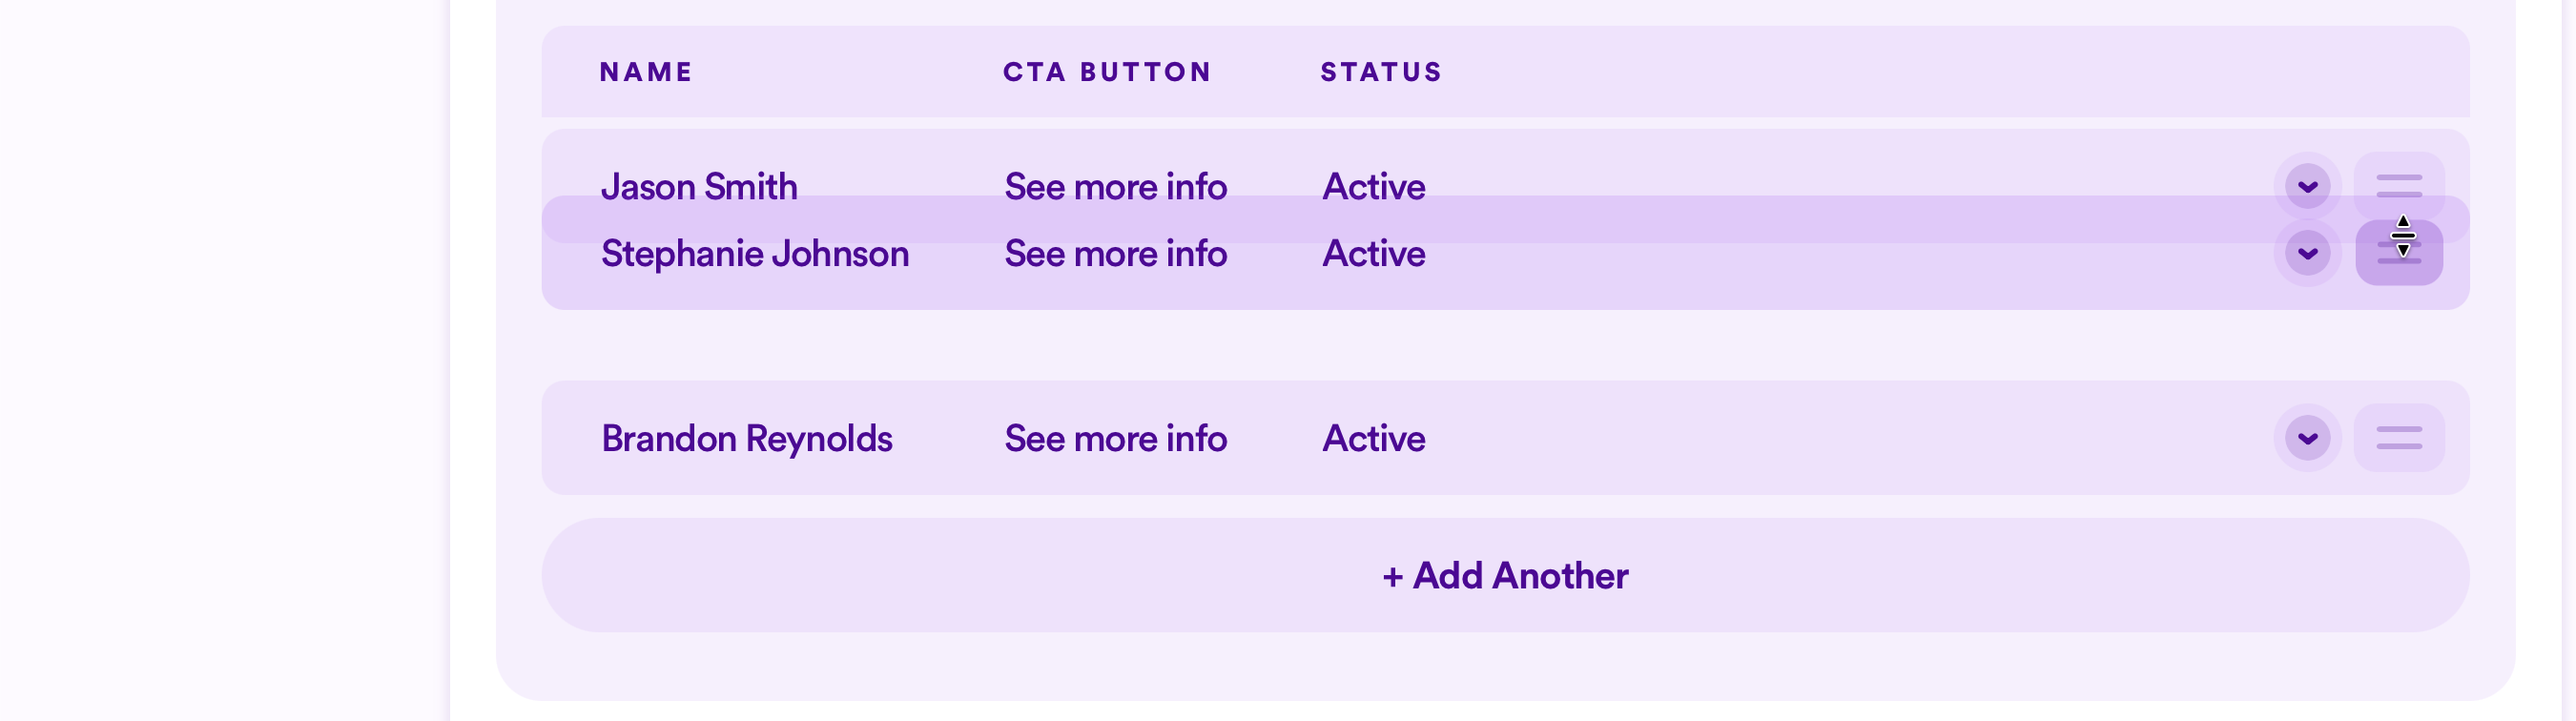
Just like adding people from a specific list, each person here will be displayed in a card style on the front end.
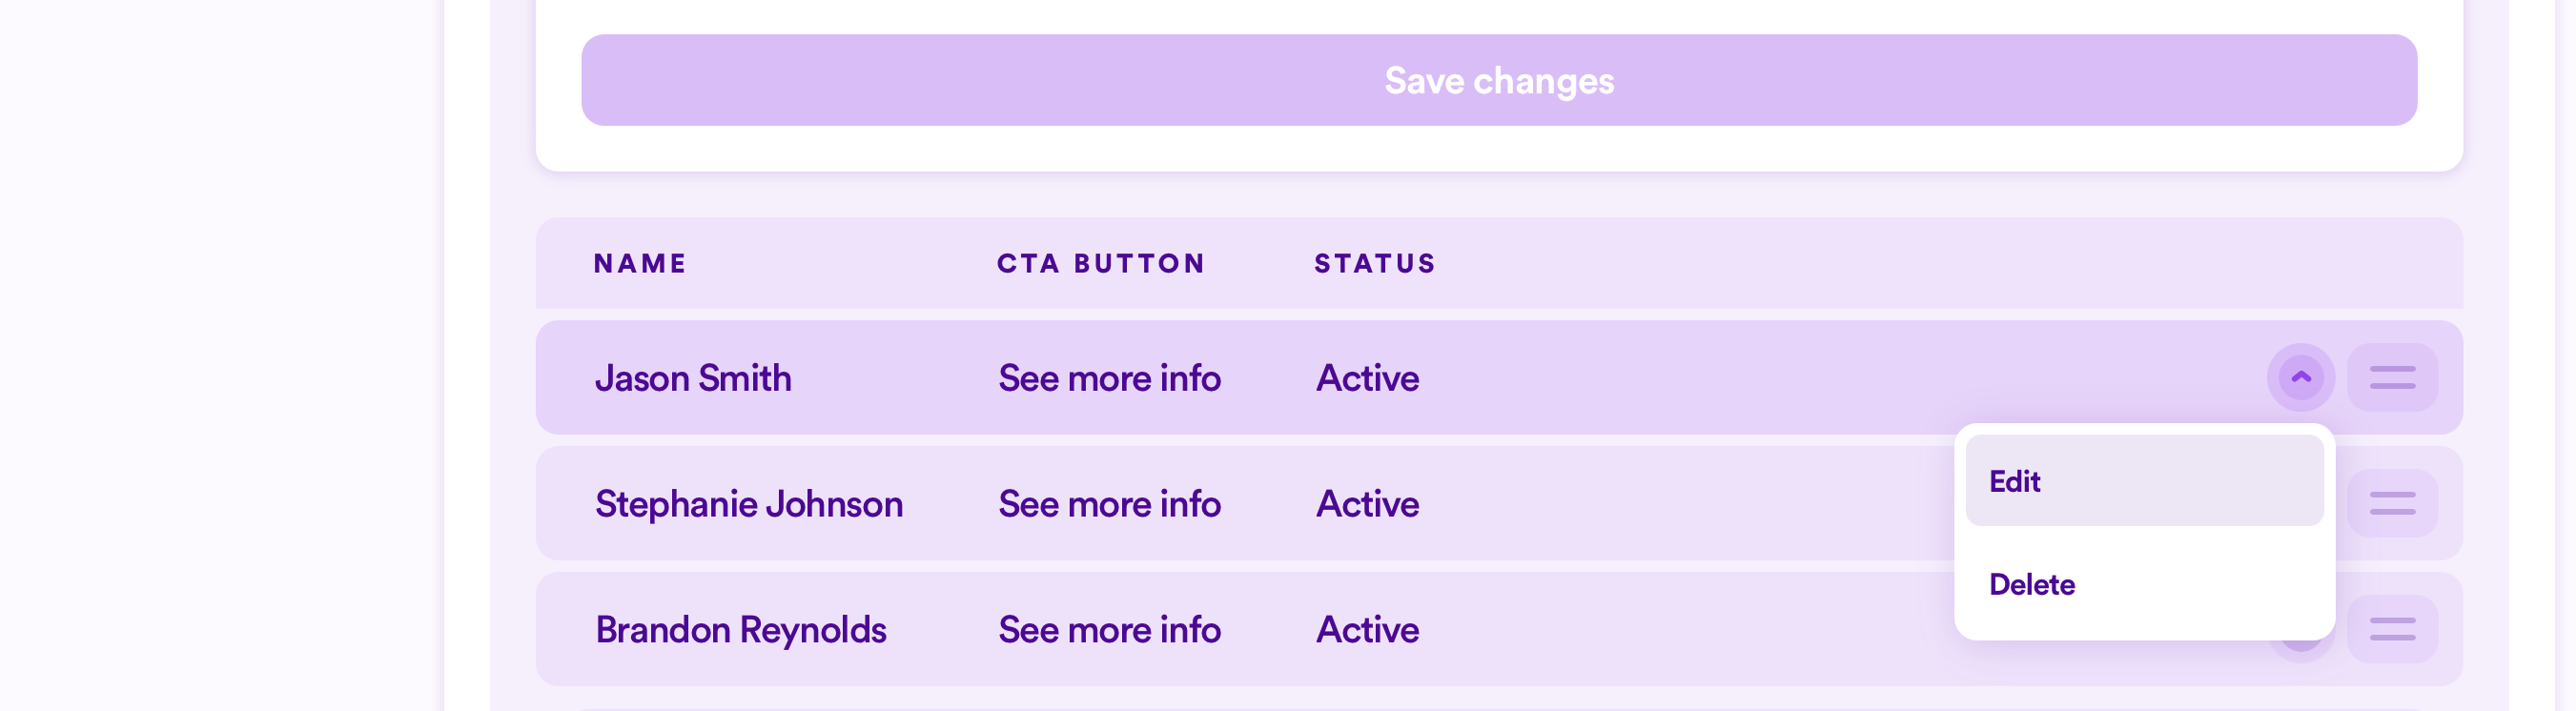
To change the text on each "See More Info" button as well as select the style each button appears as, click the down arrow on the far right of any person, and select Edit from the dropdown menu. (You can also Delete a person from your section as well.)
Next, edit the call-to-action (CTA) text, and select one of four button styles.
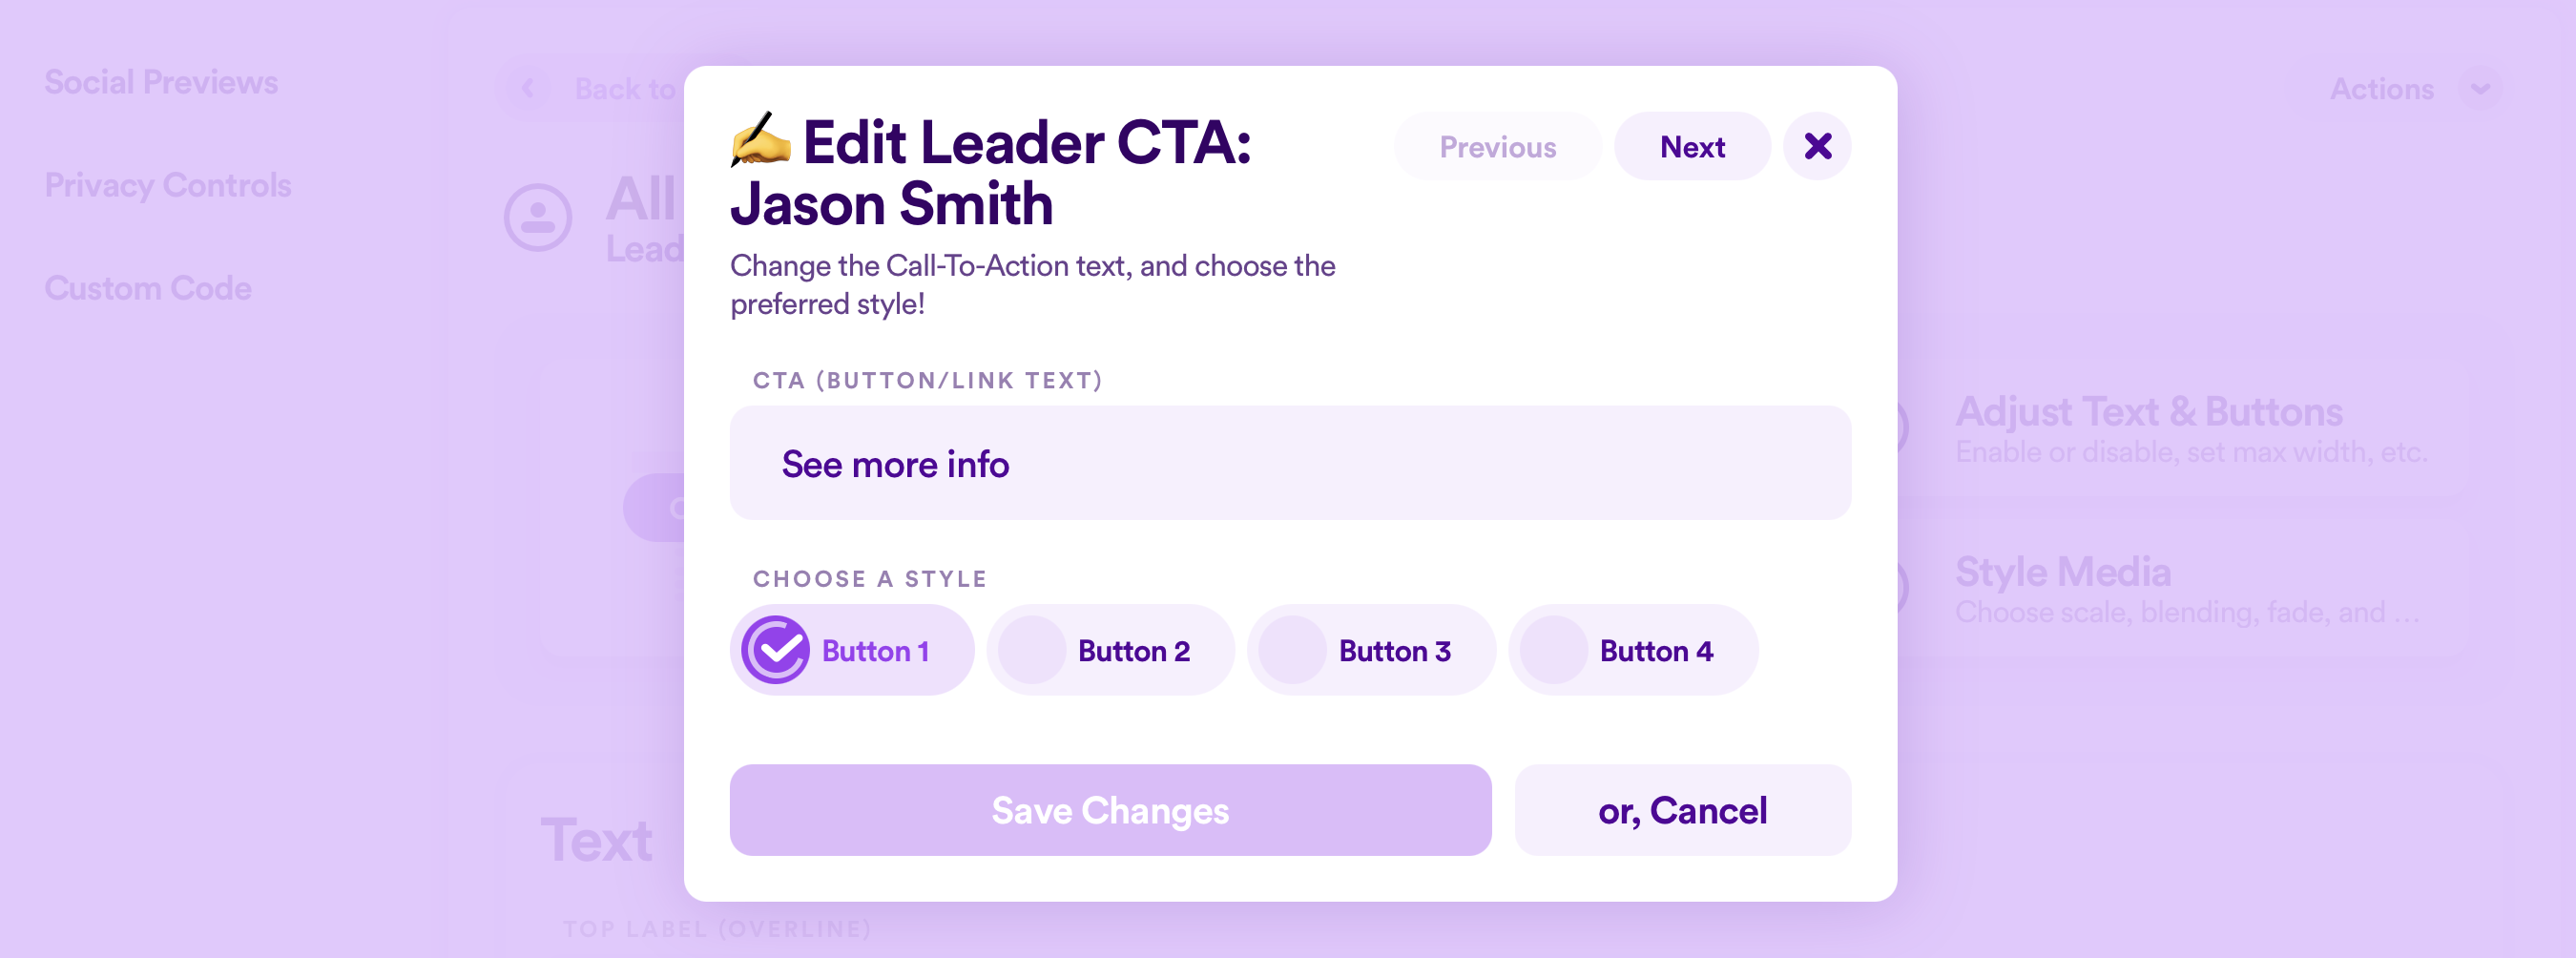
Note: Button styles are controlled site-wide in your overall Web Design settings here.
Once complete, click Save Changes.
Customize How Staff & Leaders Are Displayed
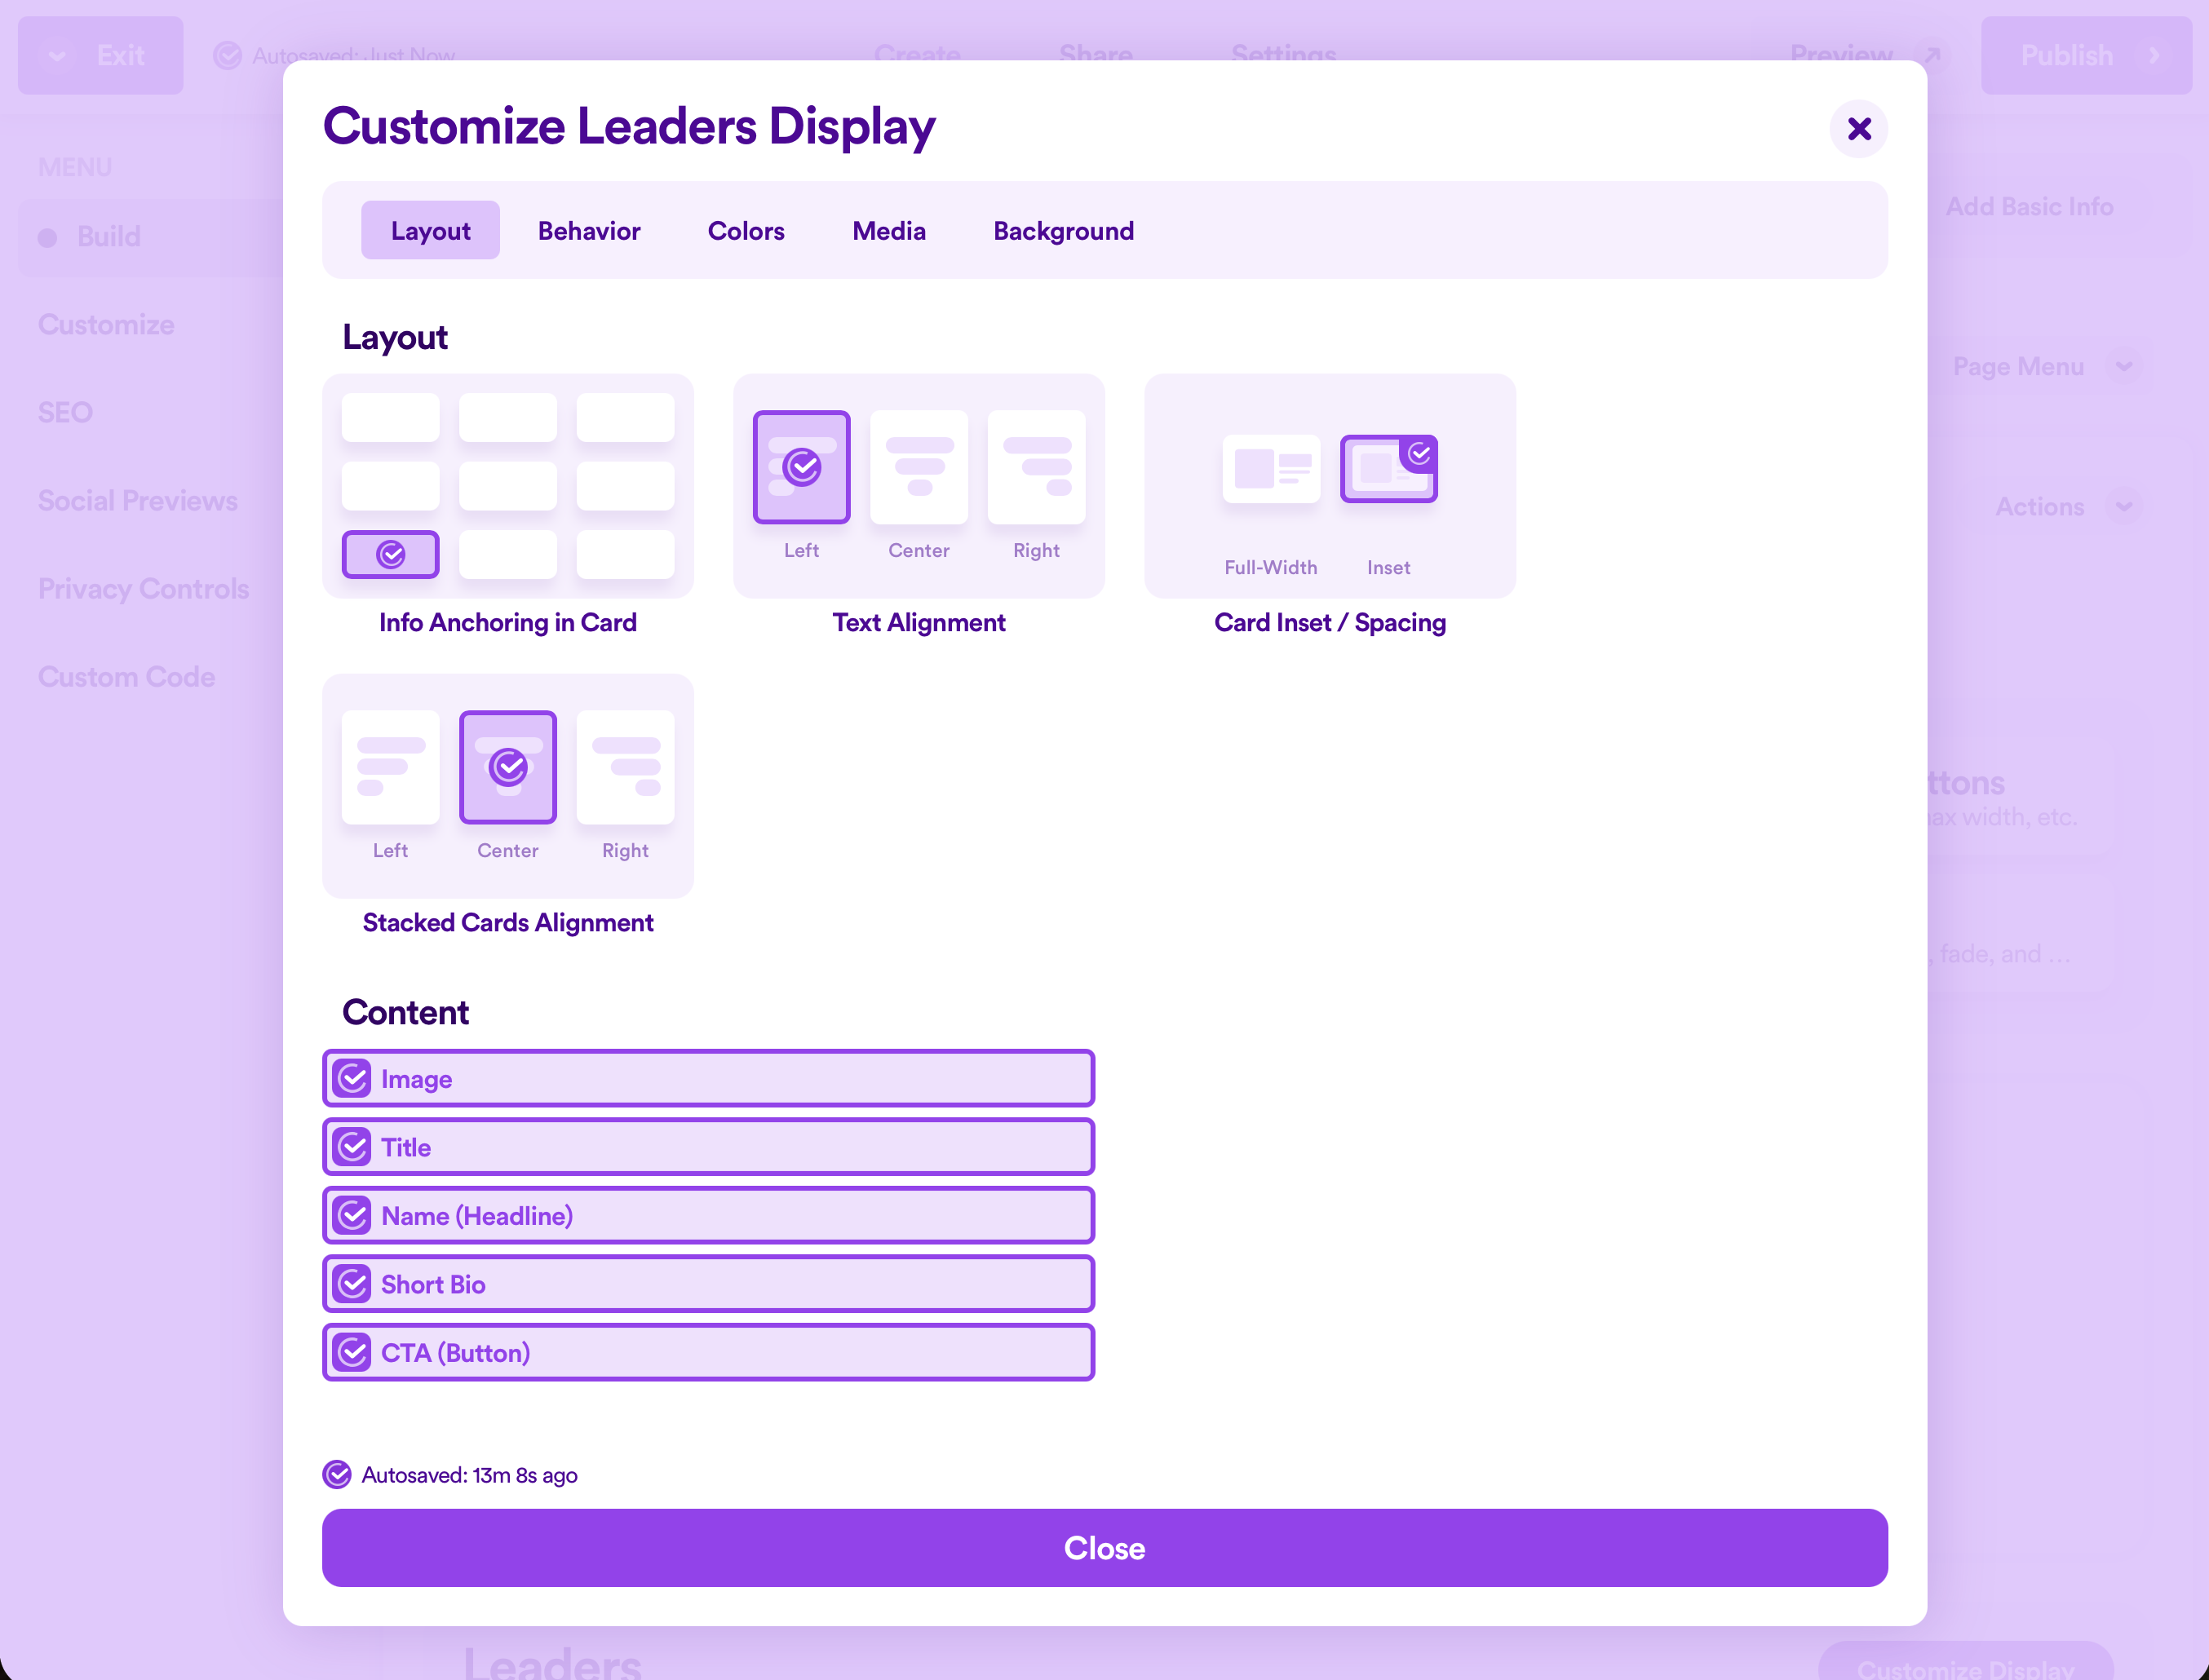
Now that you have all the people you wish to display, you can now edit how the cards are displayed in your section by clicking Customize Display.
From here, you will see an assortment of options for the following settings:
- Layout
- Behavior
- Colors
- Media
- Background.
Almost everything in these settings are identical to the settings when customizing the display of cards in a typical Cards section. The only difference is in the Content that can be displayed, since the content here will be specific to staff & leaders. Otherwise, everything else is exactly the same.
Because of the close similarities of how to customize the display, please view that portion of our Section Types: Cards guide.
Preview Your Page
In all places where you can create and edit your web pages or design options, Nucleus operates with an autosave feature. At any point in time, you can choose to preview your website to see how your changes in your Dashboard are affecting your website as a visitor to your site would see it.
Simply click Preview in the top right corner.
This will open a new tab in your browser and will take you to your Nucleus Web preview URL.
To go back to your Dashboard, click on the appropriate tab in your browser.
Note: Clicking on the Preview button will always open a new tab, so unless you close out each preview tab opened, you’ll end up with several tabs opened with different iterations of how you’ve changed the design of your website.
What Next?
The Staff & Leaders Section isn’t the only type of section you can add to a page. Check out some of these other guides to learn about different types of sections you can add to a page in your Nucleus website: